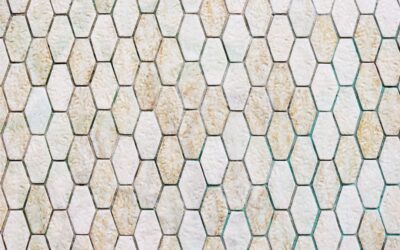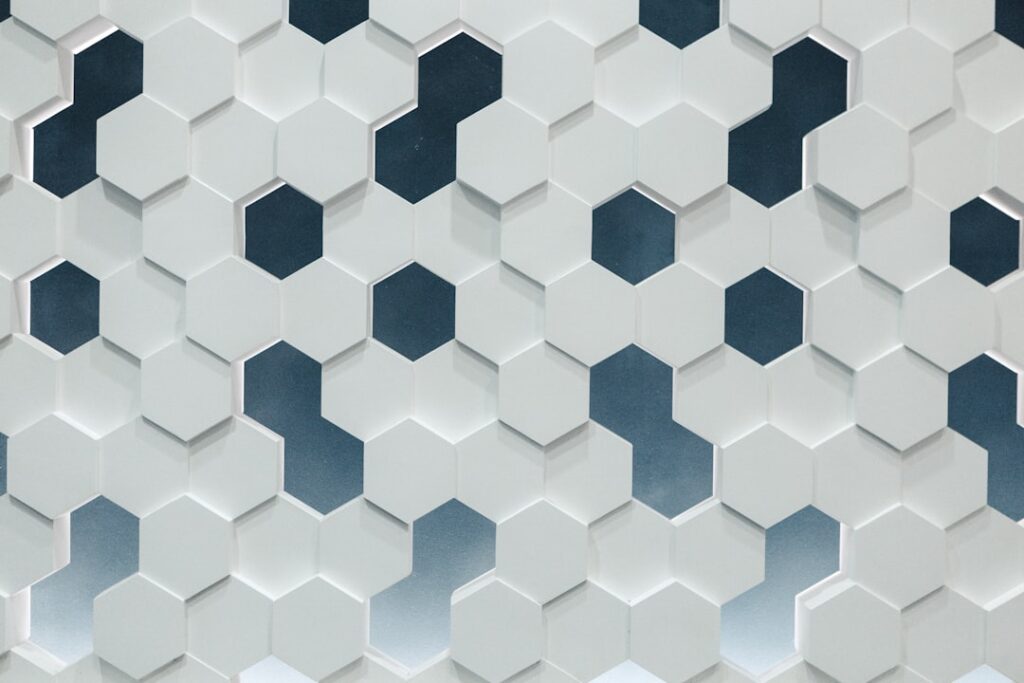
Few patterns survive a century of design trends, but the six-sided shape keeps coming back. Hex tile has covered American bathroom floors since the early 1900s, and it looks just as fresh in a modern kitchen backsplash today. The honeycomb geometry reads as both classic and contemporary, which is exactly why it shows up in restored Victorians and new-construction spec homes alike.
Part of our Tile & Grout guide — explore the full guide →
If you are weighing this shape for a remodel, the details matter more than the picture on the box. Size, material, grout color, and layout all change the final result dramatically. Here is what an experienced installer wants you to understand before the first piece goes down.
What Makes Hex Tile Different
The defining trait is the regular hexagon, a shape with six equal sides that tessellates without gaps. Because each piece touches six neighbors, the eye reads a continuous field rather than a rigid grid. That softens a room. Square and rectangular tile create strong horizontal and vertical lines, while the hexagon scatters those lines in three directions, which is why small mosaic versions feel almost organic underfoot.
You will find it sold two ways. Tiny one-inch and two-inch pieces usually come face-mounted or mesh-backed in roughly 12-inch sheets, so you set dozens at once. Larger format hexagons, anywhere from 4 inches across the flat to 12 inches or more, are set individually like standard floor tile.
Common Sizes and Materials
Material drives both look and budget. The most common options:
- Porcelain and ceramic – the workhorse. Durable, water-resistant, and the most affordable, typically $2 to $8 per square foot for the tile itself.
- Natural stone (marble, slate, basalt) – luxurious veining and depth, usually $8 to $25 per square foot, and it needs periodic sealing.
- Glass – bright and reflective, popular for backsplashes, often $10 to $30 per square foot.
- Cement (encaustic) – bold pigmented patterns, premium pricing, and sealing required.
Sizing is described by the measurement across the flats (point to opposite point runs larger). Small 1-inch and 2-inch mosaics suit shower floors because the dense grout lines add slip resistance. Mid-size 4-inch to 8-inch hexagons work well on bathroom and laundry floors. Large 10-inch and 12-inch versions make a graphic statement in entryways and open kitchens.
Where Hex Tile Works Best
Bathrooms remain the natural home for this shape, and for good reason. Small mosaics conform to a sloped shower pan better than big squares, and the extra grout grips wet feet. On the wall, a hex backsplash turns an ordinary range area into a focal point.
Beyond the bath, consider it for mudroom and laundry floors, fireplace surrounds, and accent walls. Stone hex in a foyer wears beautifully. One caution: very glossy or polished pieces get slippery, so save high-shine finishes for walls and pick a matte or honed surface for any floor that gets wet.
What Installation Really Involves
Setting hexagons is more demanding than a plain square grid, so plan your time and tools accordingly.
- Prep the substrate. Floors need a flat, rigid base, ideally cement backer board or an uncoupling membrane over plywood. Any high spots telegraph through small tile.
- Dry-lay first. Find your center, snap reference lines, and lay a few rows loose to plan cuts. Hex patterns push waste toward perimeter cuts, so budget 10 to 15 percent extra tile.
- Comb out thinset. Use a notched trowel sized to the tile, and back-butter larger pieces for full coverage.
- Set and check. Press sheets or pieces in, keep grout joints consistent, and beat the field flat with a grout float and rubber mallet to avoid lippage.
- Cut the edges. A wet saw with a diamond blade handles the angled perimeter cuts that hexagons demand. Take your time here; sloppy edge cuts are the giveaway of an amateur job.
For shower floors and any waterproofed area, follow the membrane manufacturer’s instructions exactly and let everything cure before grouting. If you are not confident on a wet area, hiring a licensed tile setter is money well spent.
Grout: The Detail That Changes Everything
Grout color decides whether your honeycomb whispers or shouts. A matching tone-on-tone grout makes the floor read as one soft surface. A contrasting grout, charcoal against white tile, for example, frames every hexagon and amplifies the geometry. Both are correct; the choice is purely aesthetic.
Use unsanded grout for joints under 1/8 inch and sanded grout for wider lines. With small mosaics you will have a lot of grout, so spend on a quality blend and seal cement-based grout after it cures. Stone tile should be sealed before grouting so the haze wipes off cleanly.
Cost Expectations
For a realistic budget, separate materials from labor. Tile runs the ranges listed above. Professional installation of a patterned floor like this typically adds $8 to $18 per square foot because of the cutting and layout involved, more for intricate stone or shower work. These are estimates that vary by region and project complexity, so collect a few local quotes rather than relying on a single number.
A small powder-room floor might total a few hundred dollars in materials, while a large stone-tile entry can climb quickly once labor is factored in.
Care and Longevity
Maintenance is straightforward. Sweep or vacuum grit, then damp-mop with a pH-neutral cleaner; skip acidic products on stone and cement. Reseal natural stone and cement tile on the schedule the manufacturer recommends, usually once or twice a year for floors. Porcelain and ceramic need almost nothing beyond routine cleaning.
Done well, hex tile is a lifetime surface. The shape has outlasted dozens of flooring fads, and a properly installed honeycomb floor will still look intentional and current long after trendier choices have dated. Choose quality material, respect the prep, and let the geometry do the rest.
Design Combinations Worth Considering
Because the format is so flexible, it rewards a little creativity. A border of solid hexagons framing a patterned center reads like an area rug built into the floor. Two-tone layouts, where scattered accent tiles break up a field of white, add interest without committing to a busy pattern. Picket and elongated hexagons, a stretched version of the classic shape, give a more modern, directional feel that works beautifully on contemporary walls.
You can also mix the format with other tile. Designers often transition from large-format rectangles in a main bath to small hex mosaics in the shower, using the change in scale to define zones. When planning any of these, lay the tiles out dry and photograph the arrangement before you commit; what looks balanced in your head can read lopsided once it covers a whole floor. A little upfront planning here is what separates a thoughtful installation from a generic one.
Prefer to explore on your own?
See how new flooring looks in your actual room in seconds — free, no signup.
Try the free Floor Studio →