Click lock flooring turned floor installation from a professional-only job into a confident weekend project, and the same method works whether you bought luxury vinyl plank or laminate. Learning how to install click lock flooring comes down to a handful of fundamentals done in the right order: a flat subfloor, a smart layout, the correct angle-and-tap locking motion, and disciplined expansion gaps. Get those right and the floor practically installs itself. Rush them and you get gaps, peaks, and lifted joints.
- Tools and Materials You Need
- Step 1: Acclimate and Prep the Subfloor
- Step 2: Plan Your Layout
- Step 3: Lay the Underlayment
- Step 4: Set the First Row and Expansion Gaps
- Step 5: The Angle-and-Tap Locking Method
- Step 6: Handle Cuts and Obstacles
- Step 7: Finish the Last Row and Trim
- Pro Tips That Prevent Callbacks
- Common Mistakes That Ruin a Floating Floor
- Special Situations: Stairs, Transitions, and Large Rooms
- Bottom Line
Tools and Materials You Need
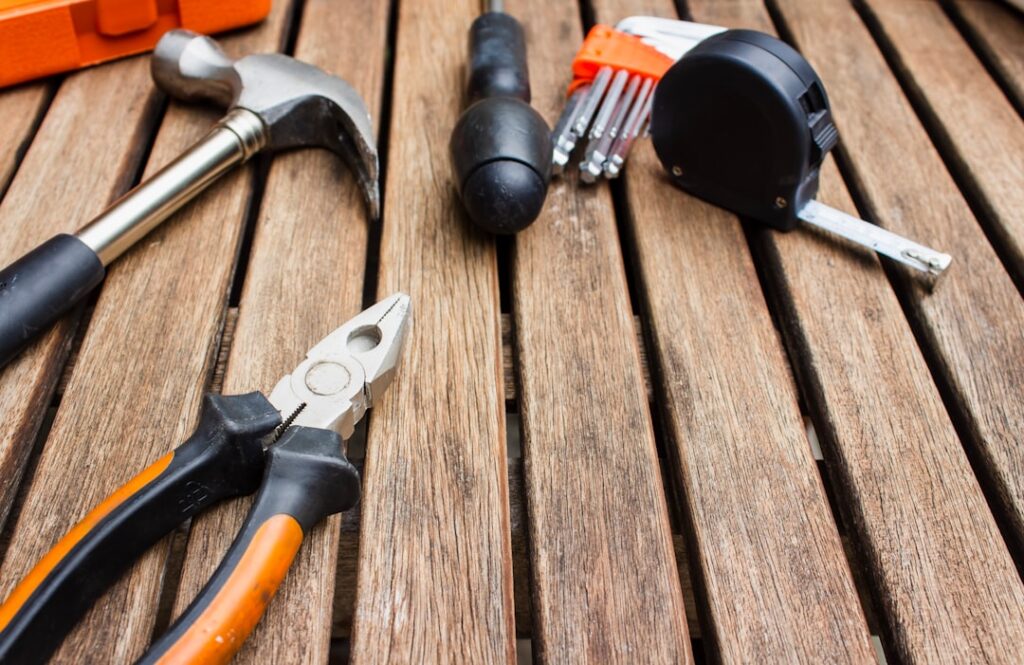
Gather everything before you start so you are not stopping mid-row:
- Tapping block and pull bar sized for click flooring
- Rubber mallet
- Spacers (1/4 to 3/8 inch)
- Utility knife (for vinyl) or a saw (for laminate), plus a jigsaw for cutouts
- Tape measure, pencil, and a speed square
- Underlayment, if not pre-attached to the planks
- Your flooring, plus 10 percent extra for cuts and mistakes
Step 1: Acclimate and Prep the Subfloor
First, let the flooring acclimate in the room for 48 hours so the planks reach the room’s temperature and humidity. Meanwhile, prep the subfloor, because this is the step that makes or breaks the job. The surface must be clean, dry, and flat within roughly 3/16 inch over 10 feet. Sweep and vacuum thoroughly, then check for high and low spots with a straightedge or long level. Sand down high spots and fill low spots with floor patch or self-leveler. A floating floor amplifies every dip and bump underneath it, so do not skip this.
Step 2: Plan Your Layout
Do not just start against a wall and hope. Measure the room’s width and divide by the plank width to see how wide the final row will be. If that last row would come out as a sliver under about 2 inches, trim the first row narrower so both edges end up balanced and stable. Plan to run the planks parallel to the longest wall or toward the main light source, which makes the seams less visible and the room feel larger.
Also plan your stagger. End joints in adjacent rows should be offset by at least 6 inches (check your product’s minimum) so the floor looks natural and locks together with maximum strength.
Step 3: Lay the Underlayment
If your planks do not have an attached pad, roll out underlayment now. Butt the seams, do not overlap them, and tape them per the manufacturer. Underlayment cushions the floor, dampens sound, and can add a moisture barrier over concrete. Skip this step only if your planks already have a pad bonded to the back.
Step 4: Set the First Row and Expansion Gaps
Start in a corner, working left to right, with the tongue side facing the wall (cut the tongue off the first row if your instructions call for it). Place spacers between the planks and every wall to hold a consistent 1/4- to 3/8-inch expansion gap. This gap is non-negotiable: click floors are floating and expand and contract with temperature, and a floor jammed tight against the walls will buckle and peak. Keep spacers in place until the whole floor is down.
Getting this first row perfectly straight is critical, because every other row references it. Check it with a chalk line or a long straightedge before you build off it.
Step 5: The Angle-and-Tap Locking Method
This is the core motion, and once you feel it click, the rest is repetition. To join a plank to the row before it, hold the new plank at roughly a 20- to 30-degree angle, insert the tongue into the groove of the installed plank, and lower it flat. It should drop and lock along the long edge.
Then join the short end to the plank beside it the same way, or slide it tight and tap. Use the tapping block and mallet, never hit the plank edge directly, to close any small gaps at the seams. Tap gently and evenly; overzealous pounding can damage the locking profile. For the final row and tight spots against a wall, switch to the pull bar to draw planks together where you cannot swing a mallet.
Step 6: Handle Cuts and Obstacles
For straight end cuts, score-and-snap vinyl with a utility knife or cut laminate with a saw. For door casings, undercut the trim with a flush saw and slide the plank underneath for a clean, professional edge rather than cutting the plank around it. Use a jigsaw for pipes and irregular shapes, cutting a hole slightly oversized and hiding the gap under an escutcheon or trim.
Step 7: Finish the Last Row and Trim
The final row almost always needs ripping to width. Measure at several points along the wall, since walls are rarely perfectly straight, and cut each plank to fit minus the expansion gap. Lock it in with the pull bar. Once the whole floor is down, remove all the spacers, install baseboard or quarter-round to cover the expansion gap (nail it to the wall, never to the floor), and add transition strips at doorways where the floor meets other surfaces.
Pro Tips That Prevent Callbacks
- Mix planks from several boxes as you go to blend color and pattern variation.
- Inspect each plank’s edges for factory debris before locking; a chip in the profile causes a peak.
- Never let a floor cross a doorway threshold in one continuous run beyond the manufacturer’s maximum span without a transition, or expansion will buckle it.
- Keep the room between 65°F and 80°F during and after installation for a stable result.
Common Mistakes That Ruin a Floating Floor
Most click-lock failures trace back to a short list of avoidable mistakes. Learn these and you dodge the callbacks:
- Skipping subfloor flatness: dips and bumps cause bouncy spots and cracked locking joints. This is the number-one cause of failure.
- No expansion gap, or blocking it: a floor pinned tight against walls or nailed baseboard buckles the first humid season.
- Not acclimating the material: planks installed cold or straight off the truck expand or contract afterward and open gaps.
- Ignoring the stagger minimum: end joints too close together weaken the lock and look patchy.
- Pounding the planks: aggressive mallet blows chip the locking profile and create peaks.
Special Situations: Stairs, Transitions, and Large Rooms
A few scenarios call for extra planning. Click-lock flooring should never be floated on stairs; it must be glued down on treads because the floating mechanism cannot handle the stress and safety demands of a stair. For very large open floors that exceed the manufacturer’s maximum continuous span, typically around 30 to 40 feet in either direction, you need an expansion joint or T-molding at doorways to break up the run, or the accumulated movement will buckle it. At every doorway and where your floor meets carpet, tile, or a different height, install the correct transition strip: a T-molding between equal heights, a reducer to a lower surface, and a threshold at exterior doors. Getting these transitions right is what makes a DIY floor look professionally finished.
Bottom Line
Knowing how to install click lock flooring is really about respecting four fundamentals: a dead-flat subfloor, a balanced layout, the gentle angle-and-tap lock, and a consistent expansion gap around every edge. Take the time on prep and your first row, work box to box for color blending, and the floating floor goes down fast, tight, and flat, giving you a professional result at a DIY price.
Prefer to explore on your own?
See how new flooring looks in your actual room in seconds — free, no signup.
Try the free Floor Studio →