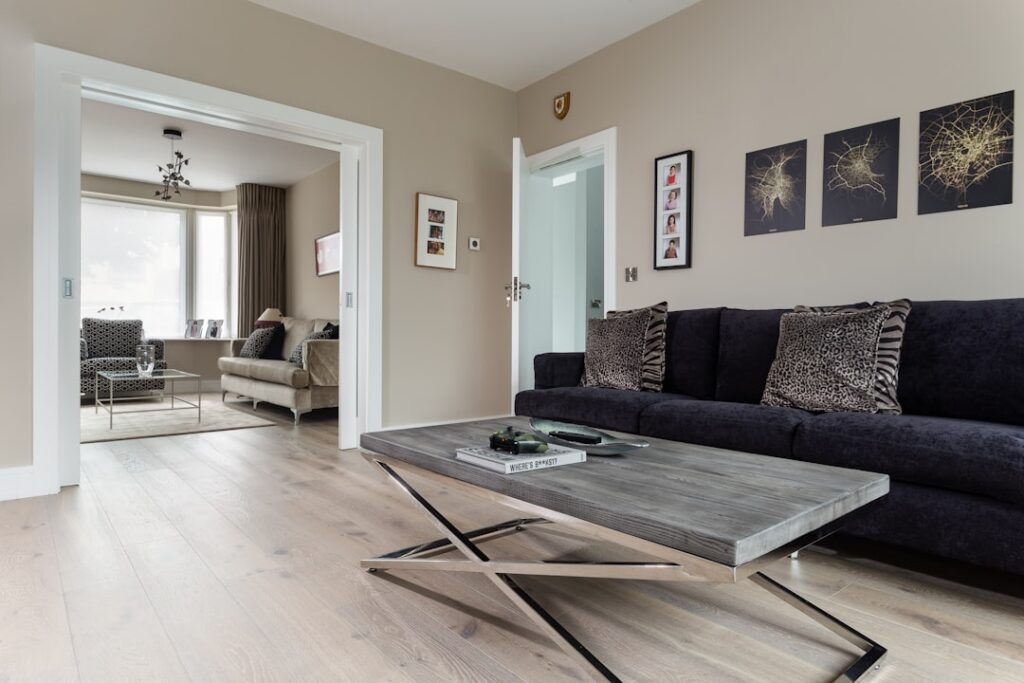
Learning how to install laminate flooring on plywood is one of the most rewarding weekend projects a homeowner can tackle, because plywood is nearly the ideal subfloor for a floating laminate floor. It’s flat, stable, and dry, which is exactly what laminate’s click-lock system needs. The catch is that laminate floats freely over the top rather than fastening down, so small mistakes in flatness, moisture, or expansion gaps show up fast as peaking seams or bouncy spots. Do the prep right and the planks practically install themselves.
Check the Plywood for Flatness First
Laminate demands a flat subfloor. The industry standard is no more than 3/16 inch of variation over a 10-foot span. Lay a long straightedge or level across the plywood in several directions and mark any dips or humps. High spots get sanded down; low spots get filled with a patching compound or floor leveler.
Uneven plywood is the number one cause of laminate that clicks apart or flexes underfoot. Spend the time here. A floor that rocks over a hump will eventually stress the locking joints until they separate.
Test for Moisture and Secure the Subfloor
Even though plywood over a crawlspace or basement can wick moisture, you should confirm the subfloor is dry before installing. Excess moisture warps laminate from below. If the plywood sits over a damp area, add a moisture barrier or choose an underlayment with a built-in vapor film.
While you’re down there, walk the entire floor and drive a screw into any spot that squeaks or moves. Fasten loose plywood tight to the joists. A silent, solid subfloor is far easier to work with and prevents future creaks that telegraph through the laminate.
Roll Out the Underlayment
Underlayment is not optional over plywood. It cushions the floor, quiets footsteps, and evens out the last tiny imperfections. Roll it out perpendicular to the direction you’ll lay the planks, butting seams edge to edge without overlapping, then tape the seams.
Choose a foam or felt underlayment rated for laminate. If your laminate already has an attached pad, do not add a second layer, doubling up makes the floor too soft and stresses the joints. One layer, seams taped, and you’re set.
Acclimate the Planks
Bring the laminate boxes into the room and let them sit flat for 48 hours before installing. Laminate expands and contracts with the room’s temperature and humidity, and acclimating lets the planks reach equilibrium. Skip this and the floor may expand after install, buckling against the walls.
Keep the room between 60°F and 80°F during acclimation and installation. Stack the boxes flat, not on end, so the planks stay true.
Plan Your Layout and Direction
Direction affects both looks and how the room feels. As a rule, run the planks parallel to the longest wall or toward the main light source from a window, which makes the seams less visible and the room feel larger. Measure the room width and divide by the plank width to see how wide the final row will be.
If that last row would be a skinny sliver, rip the first row narrower so both edges are balanced. Nobody wants a 1-inch strip of laminate along a prominent wall. Dry-lay a few rows to confirm the plan before you commit.
Leave the Expansion Gap
This is the rule that separates a lasting floor from a failed one. Laminate is a floating floor and must be able to expand. Leave a 1/4-inch to 3/8-inch expansion gap around every fixed object, walls, cabinets, pipes, and door jambs. Use spacers to hold the gap consistent as you work.
The baseboard or quarter-round trim hides the gap later. Never pin the floor down at the edges and never push planks tight to the wall. A floor with no room to move will peak up at the seams the first humid week of summer.
Lay the Planks
- Start in a corner with the tongue side facing the wall and spacers in place.
- Angle and click each plank into the previous one, tapping gently with a tapping block, never hitting the plank edge directly.
- Stagger the end joints at least 8 to 12 inches from row to row so seams never line up, which looks natural and adds strength.
- Cut the last plank of each row to length and use the offcut to start the next row when it’s long enough.
- Use a pull bar to close the final row tight against the previous one where there’s no room to swing a tapping block.
Tools You’ll Need
Gather your kit before you start so you’re not running to the store mid-row. A basic laminate install over plywood calls for:
- A tapping block and pull bar to close joints without damaging plank edges.
- Spacers to hold the expansion gap consistent around the perimeter.
- A jigsaw or miter saw for crosscuts, plus a jamb saw for undercutting door casings.
- A tape measure, speed square, and utility knife for layout and marking.
- A rubber mallet and a scrap plank offcut to protect the tongue while tapping.
Most of these are inexpensive, and a laminate installation kit bundles the tapping block, pull bar, and spacers for around $20. Good cutting tools make the biggest difference in a clean-looking finished floor, so a sharp blade is worth it.
Handling Doorways and Obstacles
The tricky cuts around doorways and pipes are where careful work pays off. Undercut door jambs and casings with a flush-cut saw so the planks slide underneath, which looks far cleaner than trying to cut the plank around the molding. For pipes, drill a hole slightly larger than the pipe, then cut a wedge out so you can fit the plank around it and glue the wedge back in.
At doorways where laminate meets tile, carpet, or another room’s flooring, plan for a transition strip and leave the expansion gap there too. Remember that a floating floor needs to move freely under every threshold, so never pin it down at a doorway.
Common Mistakes That Ruin the Job
Most laminate failures trace back to a handful of avoidable errors. Skipping acclimation causes buckling as the planks expand after install. Ignoring an uneven subfloor leads to bouncy spots and separated joints. And the classic mistake, forgetting or shorting the expansion gap, makes the floor peak up against the walls the first humid season.
Two more to watch: installing over a moisture-prone plywood subfloor without a vapor barrier, and stacking end joints too closely so seams line up and weaken the floor. Respect the prep, the gap, and the stagger, and laminate over plywood is nearly foolproof.
Finish and Enjoy
Once the field is done, pull the spacers, install or reinstall the baseboards, and add transition strips at doorways where the laminate meets other flooring. Undercut door jambs with a flush-cut saw so the planks slide underneath for a clean look. That’s the whole process for how to install laminate flooring on plywood, methodical prep, a floating field, and a respected expansion gap add up to a floor that stays tight for years.
Prefer to explore on your own?
See how new flooring looks in your actual room in seconds — free, no signup.
Try the free Floor Studio →