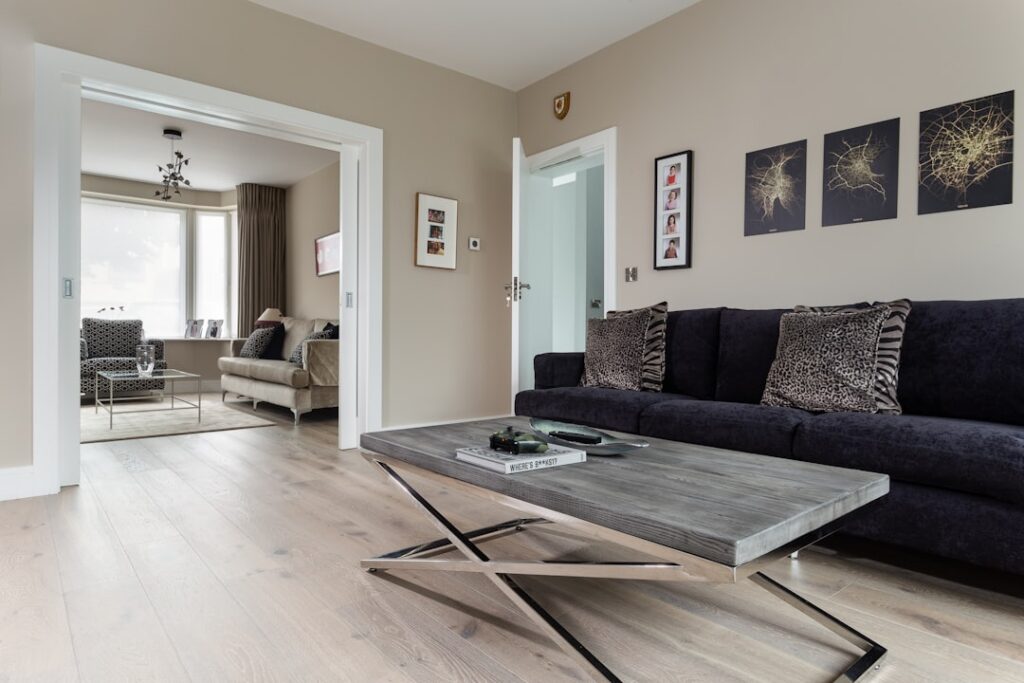
A hallway is one of the trickiest rooms to floor, and getting it wrong is obvious the moment you walk through. Learning how to lay laminate flooring in a hallway comes down to three things: choosing the right plank direction, handling the doorways that open off it, and connecting the hall cleanly to the rooms around it. Narrow, long, and full of transitions, hallways punish sloppy planning, but with the right approach you can lay a seamless, professional-looking floor in a weekend. Here is the process step by step.
- Which Direction to Run the Planks
- Tools and Materials You Will Need
- Step 1: Prep the Subfloor
- Step 2: Undercut the Door Casings
- Step 3: Lay Out the Underlayment and First Row
- Step 4: Stagger the Joints and Work Down the Hall
- Step 5: Handle the Doorways
- Step 6: Cut and Fit the Final Row
- Step 7: Install Trim and Transitions
- Dealing With a Hallway That Meets Multiple Rooms
- Handling an Angled or L-Shaped Hallway
- Pro Tips for a Flawless Hallway
Which Direction to Run the Planks
The single biggest decision is plank direction, and in a hallway there is a clear winner. Run the planks lengthwise, parallel to the long walls, so the boards flow down the corridor rather than across it. This makes the hall look longer, minimizes the number of visible end joints, and keeps the floor from looking like a stack of short segments.
There is one exception. If your hallway connects to open rooms and you want the flooring to run continuously from room to hall, match the direction of the adjoining space so the planks flow uninterrupted through the doorways. A continuous run looks far more expensive than breaking the floor at every threshold.
Tools and Materials You Will Need
Gather everything before you start so you are not running to the store mid-project:
- Laminate planks (order 10% extra for a hallway’s many cuts)
- Foam or cork underlayment, unless your planks have it attached
- Tapping block, pull bar, and rubber mallet
- Spacers for the 1/4-inch expansion gap
- Jigsaw or laminate cutter, plus a fine-tooth handsaw or oscillating multi-tool
- Tape measure, pencil, and a speed square
- Transition strips (T-molding, reducers) for doorways
- Undercut jamb saw for door casings
Step 1: Prep the Subfloor
Laminate needs a clean, dry, flat base. Vacuum thoroughly and check flatness with a straightedge; the subfloor should not deviate more than 3/16 inch over 10 feet. Sand down high spots and fill low spots with leveling compound. On concrete, tape down a plastic sheet for 24 hours and check for condensation to confirm the slab is dry enough. Acclimate the laminate flat in the hallway for at least 48 hours so the planks adjust to your home’s temperature and humidity.
Step 2: Undercut the Door Casings
This is the trick that separates amateur jobs from professional ones. Rather than cutting your planks to fit around door casings, cut the casings so the planks slide underneath. Lay a scrap plank flat against the casing, rest an undercut saw or a handsaw on top of it, and cut the casing at that height. Now the flooring tucks neatly beneath the trim with no fiddly notching required.
Step 3: Lay Out the Underlayment and First Row
Roll out the underlayment across the hallway, seams butted (not overlapped) and taped. Then plan your first row against the straightest long wall. Measure the hallway width and divide by the plank width; if the final row would come out narrower than 2 inches, trim the first row so both edges end up a similar, reasonable width. A hallway with a sliver of plank along one wall looks unbalanced.
Place spacers against the wall to maintain a 1/4-inch expansion gap, then lay the first row with the tongue side facing the wall. Click each plank end to end, keeping the row perfectly straight since everything that follows references it.
Step 4: Stagger the Joints and Work Down the Hall
Start the second row with the offcut from the first, as long as it is at least 8 to 12 inches, to create a staggered, random pattern. Never let end joints in adjacent rows land within 8 inches of each other; aligned seams look artificial and weaken the floor.
Angle each plank into the row above, press down, and tap it home with the tapping block along the long edge. Use the pull bar for the last plank in each row where there is no room to swing a mallet. Keep checking that your rows stay parallel to the wall as you move down the corridor.
Step 5: Handle the Doorways
Doorways are where hallways get complicated. You have two options at each opening:
- Continuous run: if the adjacent room’s floor is also laminate laid in the same direction, run the planks straight through for a seamless look, with just one long plank spanning the threshold.
- Transition strip: if the hall meets carpet, tile, or a different laminate, install a T-molding or reducer strip centered under the closed door. Leave the required expansion gap on both sides beneath the strip.
Fit planks around the door jambs using the casings you already undercut, so the boards disappear beneath the trim.
Step 6: Cut and Fit the Final Row
The last row almost always needs ripping to width. Measure the gap at several points along the hall, since walls are rarely perfectly straight, and transfer those measurements to each plank. Subtract the 1/4-inch expansion gap. Rip the planks with a jigsaw or table saw, then use the pull bar to snap the final row tight against the previous one.
Step 7: Install Trim and Transitions
Remove all the spacers. Cover the perimeter expansion gap with quarter-round or baseboard, nailing it into the wall, never into the floor, so the laminate can still float and move. Secure your transition strips at the doorways, and add a threshold at the top of any stairs. Walk the hallway and press any joints that feel proud to make sure everything is fully seated.
Dealing With a Hallway That Meets Multiple Rooms
Most hallways branch off into bedrooms, bathrooms, and living spaces, and each opening is a decision point. Plan the whole floor before you lay a single plank. Sketch the hallway and every doorway, and mark whether each room’s flooring will be continuous laminate or a different surface. This tells you where you need transition strips and where planks flow straight through.
Where the hallway laminate continues into a room, keep the plank direction and the row layout consistent so joints line up across the threshold. Where it meets tile or carpet, plan the transition strip location under the closed door. Thinking this through up front prevents the common mistake of reaching a doorway and realizing your rows no longer line up with the adjoining room.
Handling an Angled or L-Shaped Hallway
Not every hallway is a simple straight run. L-shaped and angled halls need extra planning so the pattern stays coherent around the bend. Establish your primary direction along the longest leg, then continue that same direction around the corner rather than rotating the planks. Turning the boards at the corner creates an awkward seam that draws the eye.
For angled walls, measure and cut each border plank individually, since the angle changes the cut for every board. A sliding bevel gauge lets you capture the exact wall angle and transfer it to the plank. Work slowly through corners, dry-fitting each cut before locking it in.
Pro Tips for a Flawless Hallway
- Buy from one lot number so color and pattern match across all boxes.
- Mix planks from several boxes as you go to blend any shade variation.
- Keep the expansion gap consistent everywhere; hallways connect to many rooms, so the floor needs room to move on all sides.
- Dry-fit at doorways first before committing, since these are the hardest cuts to redo.
Take your time with the layout and the doorways, and a hallway floor comes together faster than you expect. Master how to lay laminate flooring in a hallway and you will have the confidence to tackle the rooms it connects to next.
Prefer to explore on your own?
See how new flooring looks in your actual room in seconds — free, no signup.
Try the free Floor Studio →