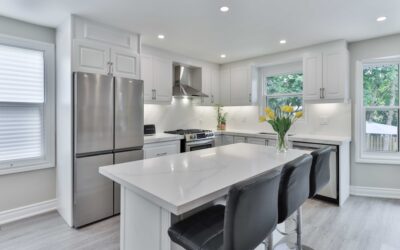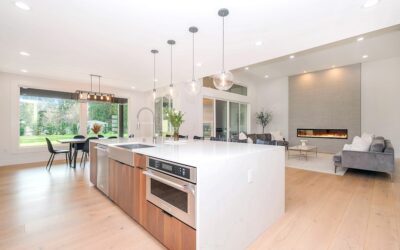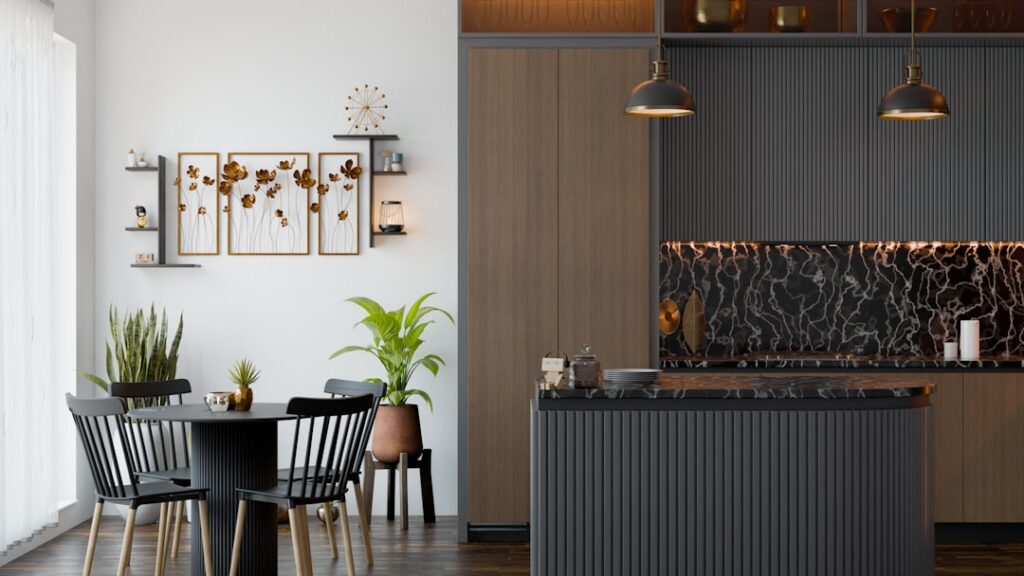
Not every kitchen has room for a freestanding island floating in the middle of the floor. Pushing a kitchen island against wall is a practical way to gain counter space, storage, and even seating in a room that cannot accommodate a true four-sided island. Purists will tell you an island by definition stands alone, but in real homes the wall-hugging version, often technically a peninsula, solves the same problems in a smaller footprint. This guide explains when the layout makes sense, the clearances to respect, and how to make it look deliberate.
Part of our Kitchen Remodeling guide — explore the full guide →
- Island Versus Peninsula: A Quick Clarification
- When Placing an Island Against a Wall Makes Sense
- The Clearances You Cannot Ignore
- Design Configurations That Work
- Adding Seating
- Plumbing, Electrical, and Appliances
- Storage and Function
- Making It Look Intentional
- Lighting the Island
- Choosing the Countertop
- Ventilation for Island Cooktops
- The Bottom Line
Island Versus Peninsula: A Quick Clarification
Strictly speaking, an island is open on all four sides, while a peninsula connects to a wall or run of cabinets on one end. When people search for a kitchen island against a wall, they usually mean either a peninsula or an island pushed close to a wall with a walkway behind. Both deliver extra work surface and storage; the difference is whether the unit is fully attached or simply positioned near the wall. Knowing which you are building affects clearances and plumbing.
When Placing an Island Against a Wall Makes Sense
This layout shines in a few common situations:
- Narrow kitchens that cannot spare the 36-plus inches of walkway a freestanding island needs on all sides.
- Galley or L-shaped kitchens where a peninsula closes off one end to create a U-shaped work zone.
- Open-concept spaces where an island against a half wall separates the kitchen from a living area while defining the boundary.
- Homes wanting seating but lacking room for a table, since a wall-adjacent island can host stools on its open side.
If your kitchen is short on floor area but you crave more counter and storage, anchoring the island to a wall is often the only way to fit one at all.
The Clearances You Cannot Ignore
Whether the island is attached or just close to a wall, clearance rules keep the kitchen functional. Crowd the walkways and the whole room becomes frustrating to cook in.
- Main walkways: Leave at least 36 inches of clear passage around the island, and 42 to 48 inches in a kitchen where two people cook or where the space is a work aisle between the island and other counters.
- Appliance zones: If a dishwasher, oven, or fridge opens toward the island, allow at least 42 inches so the appliance door can open and someone can still pass.
- Seating overhang: Bar stools need about 24 inches of width each and 12 to 18 inches of knee clearance under the overhang.
- Wall-side gap: If the island is not attached, either push it tight to the wall or leave a full walkway of 36 inches; a narrow, useless gap of a foot or two just collects crumbs.
Design Configurations That Work
The Attached Peninsula
Connecting the island directly to your existing cabinet run creates a seamless L or U shape. This maximizes counter continuity and eliminates any awkward gap. The open end and one long side can host seating, giving you a breakfast bar without a separate table. This is the most space-efficient version and the easiest to integrate with existing cabinetry.
The Near-Wall Island with Rear Storage
If you want a true island but the room is tight, position it a full walkway’s distance from the wall and put cabinetry or open shelving on the wall behind it, turning that wall into a pantry or coffee station. This keeps the island freestanding while making the wall productive.
The One-Side-Open Island for Seating
Push the island close to one wall and reserve the opposite long side for stools. The wall side can house the sink or cooktop plumbing and wiring, while diners sit facing out into the room. This works well in open-concept homes where the island backs up to a living space.
Adding Seating
Seating is one of the biggest reasons homeowners want an island, and a wall-adjacent island can absolutely accommodate stools, just not on every side. Plan seating on the open side or end. Standard counter-height islands are 36 inches tall and pair with 24- to 26-inch stools; a raised bar section at 42 inches pairs with 30-inch stools. Allow 24 inches of linear space per seat and enough overhang, typically 12 inches for counter height, so knees fit comfortably underneath.
Plumbing, Electrical, and Appliances
Placing an island near or against a wall can actually simplify utilities. Running plumbing and electrical is easier when the island is close to a wall than when it sits marooned in the middle of the room, since the lines have a shorter, more direct path. If you want a sink, dishwasher, cooktop, or outlets in the island, factor those runs into the design early. Code requires outlets on islands and peninsulas of a certain size, and any island cooktop needs proper ventilation, so plan for a downdraft or an overhead hood accordingly.
Storage and Function
The body of the island is prime storage. Use deep drawers for pots and pans, a cabinet for small appliances, or open shelving and a wine rack on the exposed end. If the island backs to a wall, the wall side can hold a bank of cabinets or a built-in microwave. Think about what your kitchen lacks, prep space, pantry storage, or a spot for the trash and recycling, and let the island fill that gap.
Making It Look Intentional
The difference between a peninsula that looks built-in and one that looks like a mistake is in the details. Match or deliberately contrast the island cabinetry with the rest of the kitchen; a contrasting island color is a popular way to make it a focal point. Cap it with a durable countertop, quartz or butcher block, that ties into the overall palette. Add pendant lighting over the seating area to anchor it visually. Finish any exposed sides and the back panel so no unfinished cabinet backs show. These touches signal that the island was planned, not squeezed in.
Lighting the Island
Good lighting turns a wall-adjacent island from a utility surface into a focal point. Hang pendant lights over the seating or prep area, spaced evenly and centered on the island’s usable length. As a rule, use two or three pendants over a standard island, keeping them about 30 to 36 inches above the countertop so they illuminate the surface without blocking sightlines. If the island backs to a wall with upper cabinets, add under-cabinet lighting on that wall to brighten the work zone. Layered lighting, pendants for task and ambiance plus recessed cans overhead, makes the whole area more functional and inviting.
Choosing the Countertop
The island top takes heavy use, so choose a durable, easy-care material. Quartz is the most popular for its stain resistance and low maintenance, and it comes in patterns that mimic marble without the upkeep. Butcher block adds warmth and doubles as a cutting surface, though it needs periodic oiling. Granite offers natural stone character and heat resistance. Many homeowners use the island as a chance to introduce a contrasting countertop or a waterfall edge that makes it a design statement distinct from the perimeter counters. Whatever you pick, add a slight overhang on the seating side so knees fit comfortably beneath it.
Ventilation for Island Cooktops
If your design puts a cooktop in the island, ventilation becomes a real planning issue. Because there is no wall behind an island cooktop, you cannot use a standard wall-mounted hood. Options include a ceiling-mounted island hood suspended above the cooktop, which must be sized to cover the burners and vented to the outside, or a downdraft system that rises from behind the cooktop and pulls smoke down. Island hoods are more effective but more visible and costly; downdrafts are sleek but less powerful. Plan the ventilation route early, since ducting from a mid-room island to an exterior wall or roof can be the trickiest part of the whole project.
The Bottom Line
Placing a kitchen island against a wall, whether as an attached peninsula or a near-wall island, is a smart, space-saving solution for kitchens that cannot host a freestanding one. Respect the walkway clearances, plan seating on the open side, route utilities while the design is on paper, and finish the details so it reads as intentional. Done thoughtfully, a wall-adjacent island delivers the counter space, storage, and casual seating of a full island in a footprint that actually fits your room.