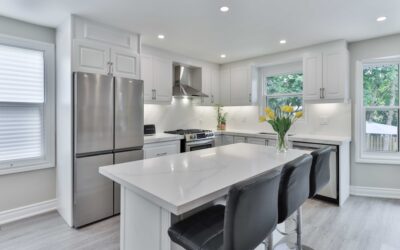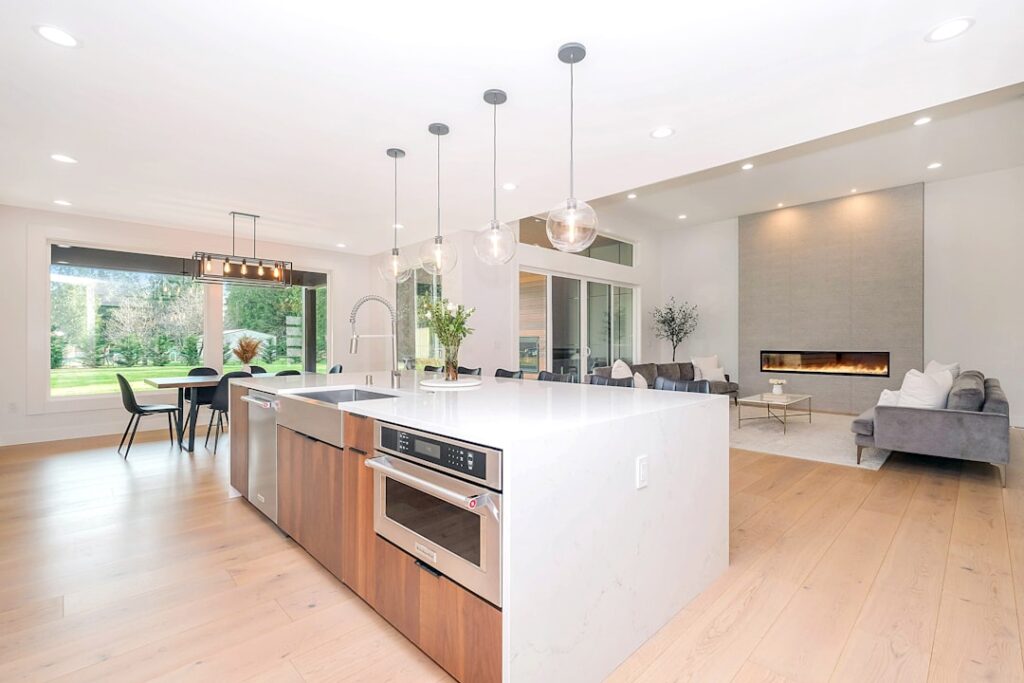
When a kitchen is too narrow for a true freestanding island, homeowners often assume they are out of luck. They are not. A kitchen island attached to wall, which is technically a peninsula, delivers most of the counter space, storage, and seating of a full island while fitting into rooms that could never accommodate one. Building a kitchen island attached to wall means connecting a run of cabinets to an existing wall or cabinet bank so it juts into the room on three open sides. This guide covers when a wall-attached island makes sense, the clearances you must respect, and what the project costs.
Part of our Kitchen Remodeling guide — explore the full guide →
Island Versus Peninsula: Know the Difference
A freestanding island floats in the middle of the kitchen with walkways on all four sides, which demands a large footprint. A wall-attached island, or peninsula, connects to a wall or an existing cabinet run at one end and extends outward, leaving three sides open. Functionally it offers the same counter, cabinet, and seating benefits, but it needs far less floor space because one end anchors to the room rather than requiring a walkway.
This distinction matters because it opens the island concept to kitchens that are simply too small for the real thing. A galley or L-shaped kitchen that cannot fit a freestanding island with proper walkways around it can often accept a peninsula extending off one leg. If you have been told your kitchen is too small for an island, a wall-attached configuration is usually the answer worth exploring.
When a Wall-Attached Island Makes Sense
Attaching the island to a wall solves several problems at once. It works in narrow kitchens where four-sided clearance is impossible. It creates a natural divider between the kitchen and an adjoining dining or living space, defining the rooms without a wall. And it can be cheaper and simpler to run utilities to, since one end connects to existing cabinetry and walls where plumbing and electrical may already be nearby.
It is also the better choice when you want seating but lack room for a table. A peninsula with an overhang on the open side seats two to four people on stools, combining food prep and casual dining in one structure. For open-concept homes, the peninsula doubles as a subtle boundary that keeps the kitchen from bleeding visually into the living area while keeping sightlines open.
Clearances You Cannot Ignore
The whole point of a peninsula is to add function without choking the walkways, so clearance rules govern the design. Kitchen design guidelines call for a minimum walkway of about 36 inches around the peninsula, and at least 42 inches, ideally 48 inches, in the main work aisle where you stand between the peninsula and opposing counters, especially if two cooks share the space. Squeeze the aisle tighter than that and the kitchen feels cramped and works poorly.
If you plan seating, add clearance behind the stools: allow roughly 44 inches from the counter edge to the nearest obstruction so people can pull stools out and pass behind them. For the seating overhang itself, a standard counter-height overhang is about 12 inches to give knees room, more for bar height. Sketch the layout to scale and confirm every walkway before committing, because a peninsula that blocks the flow to the refrigerator or a doorway is worse than no peninsula at all.
Adding Utilities and Function
A peninsula can be as simple as base cabinets with a countertop or as involved as a full second work zone. Because one end attaches to the wall, running electrical for outlets is often straightforward, and code generally requires receptacles for a counter of usable size, so plan for at least one or two outlets. Many homeowners add a prep sink or relocate the cooktop to the peninsula, both of which turn a simple counter into a genuine work center.
Adding a sink or a gas or electric cooktop raises the complexity substantially. A sink needs a supply line, a drain, and a vent, and running drain and vent lines into a peninsula can be the hardest part of the whole project, sometimes requiring a specialized venting configuration. A cooktop needs the right electrical or gas supply and, in many cases, ventilation. This plumbing and electrical work should be planned by professionals and permitted where required, since hidden supply and drain lines and gas connections carry real risk if done wrong.
Design and Storage Choices
A peninsula multiplies storage, so plan the cabinetry to earn its space. The end that faces the open room can hold shallow cabinets, open shelves, or a bookcase for cookbooks, while the working side holds deep drawers and cabinets. Deep drawers for pots and pans are more useful than doors on a peninsula because you access them from a standing position. If you include seating, decide between counter height, which flows with the standard 36 inch counter, and a raised bar-height section that hides kitchen clutter from diners.
Match the peninsula’s cabinets and counter to the existing kitchen so it reads as part of the room, or deliberately contrast it as a design feature with a different counter material or cabinet color. Pendant lighting over the peninsula both illuminates the work surface and visually anchors the structure. Keep the overhang supported; a long unsupported counter overhang needs concealed steel brackets or corbels to carry the load, especially with heavy stone tops.
Cost and How to Approach the Build
A wall-attached island spans a wide cost range depending on scope. A basic peninsula of stock base cabinets with a laminate or butcher-block top can run $1,000 to $3,000. Add semi-custom cabinets, a stone countertop, and seating, and you are into $3,000 to $8,000. Bring in a sink, a cooktop, plumbing, electrical, and permits, and a fully outfitted peninsula can reach $8,000 to $15,000 or more, since the utility work dominates the budget.
Approach the project by locking the layout and clearances first, then deciding how much function you want built in. A simple counter-and-storage peninsula is well within reach of a competent DIYer who can level and secure base cabinets and have a countertop templated and installed. Once you add plumbing, gas, or significant electrical, bring in licensed trades and pull the required permits. Done thoughtfully, a wall-attached island gives a modest kitchen the workspace, storage, and casual seating of a much larger room without the footprint a freestanding island would demand.
Anchoring the Peninsula Securely
Unlike a freestanding island, which is simply screwed to the floor, a peninsula must connect solidly at the wall end so it cannot shift or rack over years of leaning and stool traffic. The base cabinets are typically fastened to the floor with cleats or screws through the cabinet frame, and the wall-connected end ties into the adjacent cabinet run and, where possible, into wall studs. Getting the cabinets dead level across the whole run is critical, because a countertop, especially a stone one, telegraphs any dip or hump and can crack if it bridges an unsupported low spot.
The seating overhang needs its own support. A countertop that extends more than about 6 inches past the cabinet face on the seating side needs concealed steel support brackets, flat bar let into the cabinet top, or corbels to carry the weight of the overhang plus anyone who leans on it. Stone tops are heavy and unforgiving, so undersizing the overhang support is a common and expensive mistake. Plan the support before the countertop is templated so the fabricator knows how far the top will project and what is holding it up.
Common Mistakes to Avoid
The single most frequent regret is choking the walkways to gain a bigger peninsula. It is tempting to push the counter out another six inches for more workspace, but if that narrows the main aisle below 42 inches the whole kitchen suffers every day. Always protect the walkways first and size the peninsula to what is left, not the other way around. Another mistake is blocking a natural traffic path, so route the peninsula so it does not stand between the sink, stove, and refrigerator in a way that forces you to walk around it constantly.
People also underestimate outlets and lighting. Code generally requires receptacles along a peninsula counter, and cooks quickly find they want power for small appliances, so plan at least a couple of outlets and consider whether a pop-up or side-mounted outlet suits your look. Overhead pendant lighting should be sized and hung at a height that lights the work surface without blocking sightlines across the room, typically with the bottom of the pendants around 30 to 36 inches above the counter. Nail these details in the planning stage and your wall-attached island will feel like it was always part of the kitchen rather than an addition squeezed in later.