When homeowners scroll through kitchen island images for inspiration, the photos that stop them are rarely the flashiest; they are the ones that solve a real problem like extra prep space, casual seating, or hidden storage. An island is the hardest-working feature in a modern kitchen, and the design choices behind those photogenic results follow a few clear principles. This guide translates the most-saved island ideas into practical advice you can apply to your own space, from layout and size to materials and lighting.
Part of our Kitchen Remodeling guide — explore the full guide →
- What Makes an Island Photograph Well
- Sizing Your Island Correctly
- Popular Island Layouts
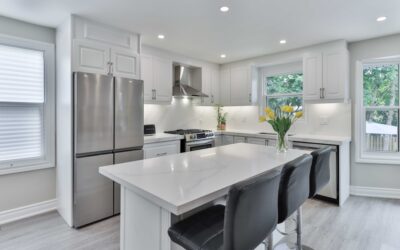
- Seating Ideas That Work
- Countertop Materials for Islands
- Lighting Above the Island
- Storage and Function Behind the Scenes
- Color and Style Directions
- Small Kitchen Island Ideas
- Mistakes to Avoid With an Island
- Bringing Inspiration Into Reality
What Makes an Island Photograph Well
The islands that fill design galleries share common traits: clean proportions, a contrasting countertop or base color, thoughtful lighting, and clutter-free surfaces. A two-tone look, such as a navy or green base paired with a white quartz top, is one of the most-photographed combinations because the contrast reads beautifully in images and in person. The lesson is that strong materials and a focal-point color do more for the look than expensive gadgets.
Sizing Your Island Correctly
Great islands start with proportion. The most common mistake in real kitchens is an island that crowds the walkways. Aim for at least 36 to 42 inches of clearance on all sides, and up to 48 inches where two people work or pass at once. A typical island runs around 3 by 6 feet, but the right size depends entirely on your room. Tape the footprint on the floor before committing and walk the paths you use daily.
Popular Island Layouts
- Prep-and-storage island: A simple rectangle with cabinets below and open counter above, the most versatile layout.
- Island with seating: An overhang on one side for stools, ideal for casual meals and homework.
- Cooktop or sink island: Integrates a work zone, freeing the perimeter and improving the cooking triangle.
- Double island: Two separate islands in large kitchens, one for prep and one for gathering.
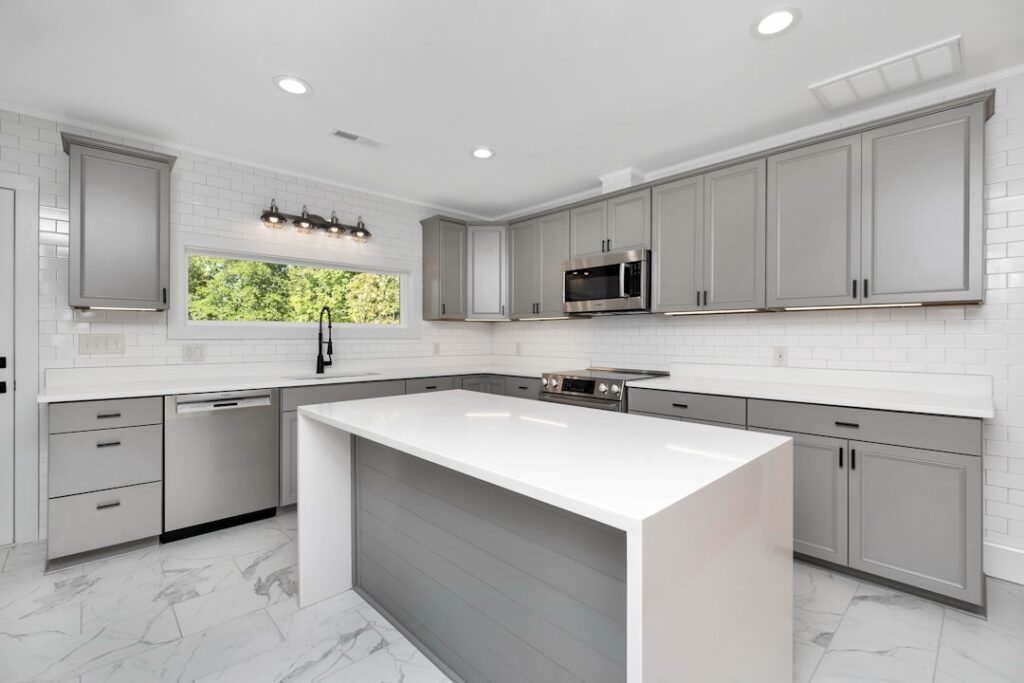
- Waterfall island: The countertop material cascades down the sides, a sleek, modern signature look.
Seating Ideas That Work
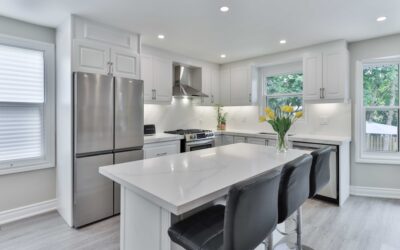
Seating is the feature most people search island images for. Plan 24 inches of width per stool so guests are not crowded, and match stool height to your counter: counter-height stools (about 24 to 26 inches) for a standard 36-inch surface, and bar-height stools (about 29 to 30 inches) for a raised 42-inch ledge. An overhang of 12 to 15 inches gives knees comfortable room. Backless stools tuck away cleanly and keep the island looking open in photos and in life.
Countertop Materials for Islands
The countertop is the visual anchor. Quartz dominates inspiration photos for its consistent patterns and low maintenance, while natural granite and marble bring unique veining that no two slabs share. Butcher block tops add warmth and a true prep surface, and a waterfall edge in any of these materials creates the dramatic look that defines high-end kitchen images. Many homeowners pair a hardworking quartz perimeter with a wood island top, or vice versa, for contrast.
Lighting Above the Island
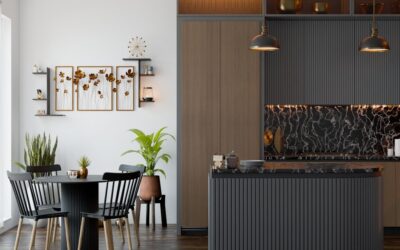
Few elements transform a photo like the right lighting. Pendant lights are the classic choice: hang two or three fixtures roughly 30 to 36 inches above the countertop and space them evenly across the island length. Larger islands look balanced with a row of three pendants or a single linear fixture. Layer in recessed lighting for task work and the island instantly becomes the styled focal point you see in galleries.
Storage and Function Behind the Scenes
The cleanest island images hide a lot of smart storage. Deep drawers for pots, a pull-out trash and recycling bin, open shelving on the seating end for cookbooks, and a microwave drawer all keep counters clear. Consider adding outlets along the side for small appliances and a second sink if the island serves as a prep zone. Good function is what keeps a beautiful island looking that way day to day.
Color and Style Directions
Trends in saved island photos lean toward warm woods, deep cabinet colors, and natural stone, with a move away from all-white kitchens. A contrasting island base remains the easiest way to add personality without committing the whole room. Matte black hardware, brass faucets, and integrated wood accents are the details that recur across the most popular images.
Small Kitchen Island Ideas
Not every island needs to be a grand centerpiece. In compact kitchens, the most-saved images show clever small-footprint solutions: a slim 2 by 4 foot island on locking casters that rolls out of the way, a narrow prep cart with a butcher block top, or a peninsula attached to existing cabinetry that delivers island benefits without consuming a full walkway. Even a modest island under 10 square feet can add prep space, a couple of stools, and storage. The key in a small space is keeping at least 36 inches of clearance so the room never feels cramped.
Mistakes to Avoid With an Island
- Oversizing the island until walkways shrink below 36 inches
- Placing a sink or cooktop in the island without planning plumbing and ventilation
- Choosing stools that are the wrong height for the counter
- Forgetting to add outlets, leaving cords draped across the surface
- Treating it as a catch-all surface that ends up permanently cluttered
The beautiful islands in your saved photos look effortless because they avoid exactly these pitfalls. Plan function first, and the polished look follows.
Bringing Inspiration Into Reality
When you find an image you love, analyze why it works rather than copying it outright. Note the counter-to-base color contrast, the lighting style, the seating arrangement, and the proportions relative to the room. Then adapt those principles to your own square footage, ceiling height, and budget. A designer or cabinet maker can help translate a magazine-worthy concept into a layout that fits your plumbing, traffic patterns, and how your household actually cooks and gathers.
Use kitchen island images as a starting point, but translate the look into your own dimensions, traffic flow, and storage needs. Nail the proportions, choose a countertop and base color with real contrast, plan comfortable seating, and light it well. Do that and your island will be both the most useful and the most beautiful spot in the kitchen, worthy of its own photo.