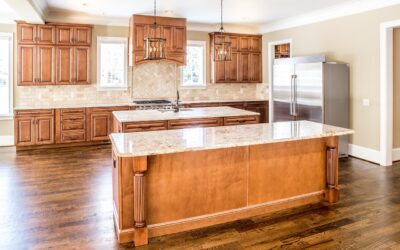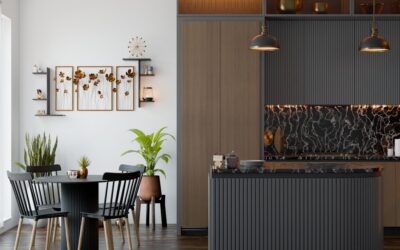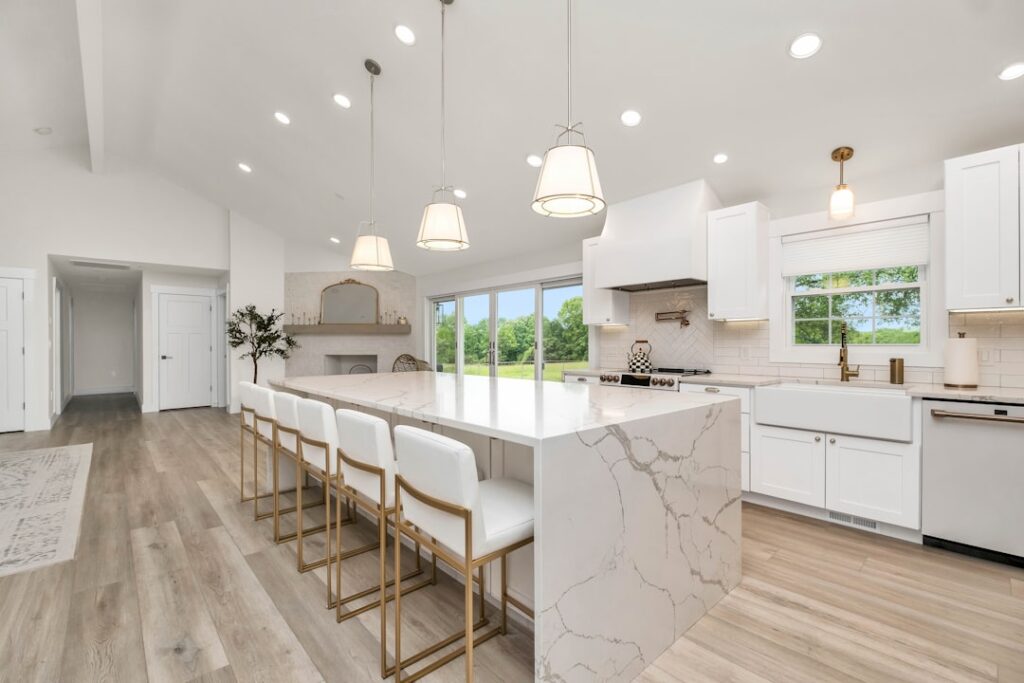
The island is the heart of most modern kitchens, and the lights above it are the jewelry that finishes the room. Done well, kitchen pendant lighting over island delivers focused task light for prep and homework while serving as a bold design statement that anchors the whole space. Done poorly, pendants hang too high, too low, crowded, or sparse, and the effect falls flat. This guide walks through how many pendants to hang, how to space them, the correct hanging height, sizing, style, and the wiring basics so your island lighting looks and works exactly right.
Part of our Kitchen Remodeling guide — explore the full guide →
- Why Pendants Belong Over an Island
- How Many Pendants Do You Need?
- Spacing Pendants Correctly
- The Right Hanging Height
- Sizing Pendants to the Space
- Choosing a Style
- Light Output and Bulbs
- Wiring and Installation Basics
- Linear Pendants vs. Individual Pendants
- Coordinating With the Rest of Your Kitchen Lighting
- Common Mistakes to Avoid
Why Pendants Belong Over an Island
Islands do double duty as prep stations and gathering spots, and they need dedicated light because they usually sit away from the room’s main fixtures. Pendants solve this by delivering:
- Task lighting right where you chop, mix, and serve.
- A design focal point that draws the eye and sets the kitchen’s style.
- Visual definition, framing the island as its own zone.
- Layered light that complements recessed cans and under-cabinet lighting.
Because they hang at eye level, pendants carry outsized design weight, they’re one of the first things anyone notices when they walk in.
How Many Pendants Do You Need?
The number depends on island length and pendant size. A reliable approach:
- Two large pendants for islands up to about 6 to 7 feet, a clean, balanced look.
- Three medium pendants for islands 7 to 9 feet long, the most common configuration.
- A single large linear pendant as an alternative to a row, one long fixture spanning the island.
- Odd numbers (one or three) generally look more balanced than even numbers when using several small pendants.
A common design rule: leave roughly 6 inches or more of island top on each end beyond the outer pendants so the row feels centered, not cramped.
Spacing Pendants Correctly
Even spacing is what separates a professional look from a haphazard one. Guidelines:
- Center the group over the island’s centerline, both front-to-back and end-to-end.
- Space pendants 24 to 30 inches apart center to center for typical medium fixtures.
- Divide the island into equal segments: for three pendants, split the length into thirds and center a pendant in each.
- Keep pendants at least 6 inches from the island’s edges.
Measure and mark before drilling, symmetry errors are glaringly obvious once the fixtures are up.
The Right Hanging Height
Height is the detail people get wrong most often. The standard:
- Hang pendants so the bottom sits 30 to 36 inches above the countertop.
- For tall ceilings (9 feet or higher), you can hang slightly higher, but keep the bottom of the fixture above eye level of anyone standing at the island.
- Make sure sightlines across the island stay clear, you should be able to see the person across from you without ducking.
Too high and the pendants lose their intimacy and task-light benefit; too low and they block views and get in the way. When in doubt, 32 inches above the counter is a safe target.
Sizing Pendants to the Space
Scale matters as much as height. To size pendants:
- Match diameter to island size: larger islands carry larger or more numerous pendants.
- Total fixture width rule: the combined width of the pendants (plus gaps) should be less than the island length, leaving margin on each end.
- Ceiling height: taller rooms can support larger, more dramatic fixtures.
A too-small pendant over a big island looks lost; an oversized one overwhelms. Ordering one fixture first to test the scale in person can save an expensive mistake.
Choosing a Style
Pendants set the tone, so coordinate them with the kitchen’s overall style:
- Modern/contemporary: sleek metal, glass globes, or minimalist linear fixtures.
- Farmhouse: metal shades, cage lights, or seeded-glass jars.
- Industrial: exposed bulbs, dark metal, and warehouse-inspired shades.
- Transitional: clear glass or drum shades that bridge classic and modern.
Coordinate the pendant finish with your cabinet hardware and faucet, matching metals ties the room together and reads as intentional design.
Light Output and Bulbs
Pendants must actually light the work surface, not just look pretty:
- Aim for enough combined output to task-light the island, roughly 2,400 to 4,000 lumens total across the pendants for an average island.
- Choose 2700K to 3000K warm-white LEDs to match typical kitchen lighting and keep food looking appetizing.
- Put the pendants on a dimmer so you can shift from bright prep light to a soft dinner ambiance.
- Consider whether the shade directs light downward (great for task) or diffuses it (better for ambiance) and mix with recessed cans accordingly.
Wiring and Installation Basics
If a ceiling box already exists over the island, swapping or adding pendants is manageable; adding new boxes or relocating them is a bigger job:
- Turn off the circuit breaker and confirm the wires are dead with a voltage tester.
- Install a ceiling box rated for the fixture weight, especially for heavy linear pendants.
- For multiple separate pendants, you’ll either wire each to its own box or feed them from a single box with a multi-port canopy.
- Match wires by color: black to black (hot), white to white (neutral), and ground to ground.
- Adjust the cord/chain length to set the correct height before final assembly.
- Restore power and test, then confirm even height and spacing.
Relocating boxes or running new circuits is a job for a licensed electrician, especially if it involves opening the ceiling or adding to a loaded circuit.
Linear Pendants vs. Individual Pendants
One of the first choices is whether to hang a row of separate pendants or a single linear fixture. Each has strengths:
- Individual pendants offer flexibility, you can adjust spacing, mix nothing but the count, and they suit both traditional and modern kitchens. They’re the more common and more forgiving choice.
- Linear suspension fixtures deliver a clean, architectural line and even light across a long island. They install from a single ceiling box, simplifying wiring, but you commit to one length and can’t re-space them.
- Cluster pendants group several small shades on one canopy for a sculptural, tighter footprint over a compact island.
For a long, narrow island, a linear pendant often looks the most intentional; for a standard island, a row of two or three individual pendants gives you the most control over the final look.
Coordinating With the Rest of Your Kitchen Lighting
Island pendants shouldn’t work alone, they’re one layer in a complete lighting plan. A well-lit kitchen combines:
- Recessed ceiling cans for general ambient light across the room.
- Under-cabinet lighting for countertop task work along the perimeter.
- Island pendants for focused task and decorative light at the center.
- Optional toe-kick or in-cabinet accent lighting for depth and nighttime navigation.
Put each layer on its own switch or dimmer so you can dial in exactly the light you need, bright and full for cooking, or just the pendants dimmed low for a relaxed evening. This layering is the single biggest factor separating a flat, over-lit kitchen from a warm, inviting one.
Common Mistakes to Avoid
- Hanging pendants too high, losing both intimacy and task light.
- Choosing fixtures too small for a large island.
- Uneven spacing or an off-center group.
- Skipping a dimmer and being stuck at one harsh brightness.
- Clashing the pendant finish with the rest of the kitchen’s metals.
Kitchen pendant lighting over island is where function and fashion meet: the fixtures brighten your busiest work surface while defining the kitchen’s entire aesthetic. Nail the fundamentals, an appropriate number of correctly sized pendants, even spacing centered over the island, and a hanging height of 30 to 36 inches above the counter, then dress it up with a style and finish that echo your cabinets and faucet. Add a dimmer and warm LEDs, and you’ll have island lighting that works beautifully for chopping vegetables at 6 p.m. and setting a relaxed mood for dinner guests an hour later.