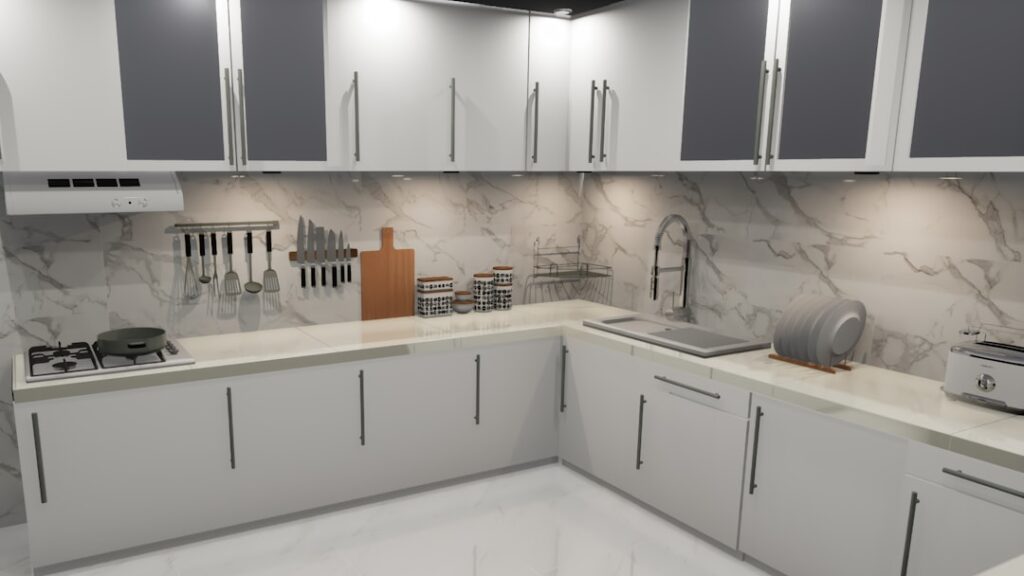
After three decades of remodeling kitchens, I can tell you that kitchen walls decorating is where most homeowners get the biggest visual payoff for the least money. You don’t have to gut the room or replace cabinets to change how the whole space feels. Smart kitchen walls decorating works because the walls are the largest surface you see and the easiest to update without permits, plumbers, or a second mortgage.
- Start With Paint Color and the Right Sheen
- Backsplash and Tile: The Workhorse Wall
- Open Shelving and Functional Wall Storage
- Wall Art and Gallery Walls
- Peel-and-Stick Wallpaper for Pattern Without Commitment
- Chalkboard Walls, Herb Walls, and Plate Displays
- Small Kitchens vs. Large Kitchens
- Budget and Renter-Friendly Ideas
This guide walks through the ideas I recommend most, plus the practical stuff nobody mentions: which paint sheen survives splattered spaghetti sauce, how to handle grease and steam near the range, and what actually works in a rental where you can’t pick up a paintbrush.
Start With Paint Color and the Right Sheen
Paint is still the cheapest, fastest way to transform a kitchen. A gallon runs $35 to $70 for a quality interior latex, and one gallon covers roughly 350 to 400 square feet, so most kitchens take one to two gallons. The bigger decision isn’t the color, though. It’s the sheen.
Flat and matte paints look beautiful but they’re a mistake in a kitchen. They trap grease and can’t be scrubbed without burnishing a shiny spot into the wall. For kitchen walls, you want a finish that resists moisture and wipes clean. Here’s how I rank them:
- Eggshell: A soft, low-luster finish that’s the minimum I’d use on kitchen walls. It hides minor drywall flaws and tolerates light wiping. Good for walls away from the cooking zone.
- Satin: My default recommendation. It’s washable, holds up to regular cleaning, and looks refined without a plasticky shine. This is the sweet spot for most kitchens.
- Semi-gloss: The toughest, most scrubbable option. I use it on trim, the wall directly behind the range, and any spot that sees heavy splatter. The trade-off is that it shows every dent and roller mark, so prep matters.
For color, warm neutrals like greige, soft white, and pale clay never date themselves and bounce light around small kitchens. If you want drama, paint a single accent wall or the area below open shelving in a deep navy or forest green. Just keep the high-traffic, high-splatter zones in something you can scrub.
Backsplash and Tile: The Workhorse Wall
The backsplash earns its keep. It protects the wall between the counter and the upper cabinets, which catches most of the grease, water, and sauce in the room. A classic 3-by-6-inch white subway tile costs as little as $0.50 to $2 per square foot and looks clean for decades. Natural stone, handmade zellige, and glass mosaics run $15 to $50 per square foot and become the focal point.
If a full tile job is out of budget, you have two solid shortcuts. Peel-and-stick tile panels mimic the look for $8 to $15 per square foot and install in an afternoon with no thinset or grout. For an even cheaper fix, a sheet of tempered hardboard or a panel of acrylic mounted behind the range gives you a wipeable, seamless surface.
Whatever you choose, run the backsplash all the way up to the underside of the cabinets, and seal the joint where tile meets countertop with a flexible silicone caulk, not grout. That seam moves, and grout will crack.
Open Shelving and Functional Wall Storage
Open shelves turn a blank wall into storage and display at the same time. A pair of solid wood or iron-bracket shelves costs $40 to $120 and holds everyday dishes, glasses, and a few plants. The look is airy and keeps a small kitchen from feeling boxed in by upper cabinets.
Be honest with yourself, though. Open shelving collects grease and dust, especially within a few feet of the cooktop. If you cook with a lot of oil, keep the shelves on a wall away from the range, and use them for items you handle daily so nothing sits long enough to film over.
Other wall-mounted functional ideas
- A magnetic knife strip frees up counter space and adds a clean horizontal line.
- A rail-and-hook system (the European-style rod with S-hooks) hangs utensils, mugs, and pot lids within reach.
- A pegboard, painted to match the wall, organizes pans and tools and reads as intentional rather than utilitarian.
Wall Art and Gallery Walls
Kitchens are often the last room people decorate with art, which is a missed opportunity. A grouping of framed prints, vintage botanical illustrations, or black-and-white food photography warms up the room instantly. Build a gallery wall around a single color thread or frame style so it feels collected, not chaotic.
Practical tip from the field: hang art at least a couple feet from the range and sink so steam and splatter don’t ruin it. For anything closer to the action, use prints behind glass or framed pieces you can wipe down, and skip the irreplaceable originals.
If you have an awkward narrow wall by a doorway or the end of a cabinet run, a single tall vertical piece or a leaning framed print on a ledge fills it without crowding.
Peel-and-Stick Wallpaper for Pattern Without Commitment
Removable wallpaper changed the game for anyone nervous about pattern. It runs $30 to $50 per roll, goes up with no paste, and peels off cleanly when you’re ready for a change. That makes it ideal for an accent wall, the inside of a glass cabinet, or the back of open shelves.
Two cautions earned from experience. First, peel-and-stick adheres best to smooth, clean, satin-finished walls. On textured drywall or flat paint, the corners lift over time. Second, keep it out of the direct splash zone behind the sink and stove. Steam and grease will eventually loosen the adhesive there. Used on a dry feature wall, it holds beautifully for years.
Chalkboard Walls, Herb Walls, and Plate Displays
These are the personality pieces that make a kitchen feel like yours. A chalkboard wall is one quart of chalkboard paint, about $15 to $20, rolled onto a smooth section of wall or the inside of a pantry door. It’s a running grocery list, a menu board, and a spot for the kids all in one.
A living herb wall puts basil, thyme, and mint within arm’s reach of the cutting board. Mount small pots on a rail or use a vertical planter, and position it where it gets a few hours of light. Fresh herbs that you actually use are decor that pays you back.
And don’t overlook the classic plate display. A handful of vintage or hand-thrown plates hung in a loose arrangement, or stacked on a wall-mounted rail, adds color and texture cheaply. Flea markets and estate sales are full of beautiful plates for a few dollars each.
Small Kitchens vs. Large Kitchens
Scale changes the strategy. In a small or galley kitchen, the goal is to make the walls recede and the room feel taller. Stick with light, reflective colors, keep open shelving minimal, and choose one focal point rather than competing patterns. A single backsplash that runs from counter to cabinet visually stretches the space.
Large kitchens can carry more. You can afford a bold accent wall, a substantial gallery arrangement, or a deep color on the lower walls beneath a chair rail. The risk in a big kitchen is blandness, so use the extra square footage to add texture: shiplap, beadboard, or a tile that draws the eye.
Budget and Renter-Friendly Ideas
You can refresh kitchen walls for well under $200 if you’re strategic. Paint plus a peel-and-stick backsplash is the highest-impact combo for the money. Thrifted art and plates cost almost nothing and add the most personality.
For renters who can’t paint, lean on damage-free options:
- Peel-and-stick wallpaper and tile (test a small corner first to confirm clean removal).
- Adhesive picture-hanging strips for art, which hold several pounds and come off without holes.
- Tension-rod and freestanding shelving instead of drilled brackets.
- Framed fabric or a hung tapestry to add color and soften a wall.
Whatever your situation, good kitchen walls decorating comes down to balancing looks with the realities of a room that cooks, steams, and splatters. Choose washable finishes near the action, save the delicate touches for the dry zones, and you’ll end up with a kitchen that’s both beautiful and easy to live in.