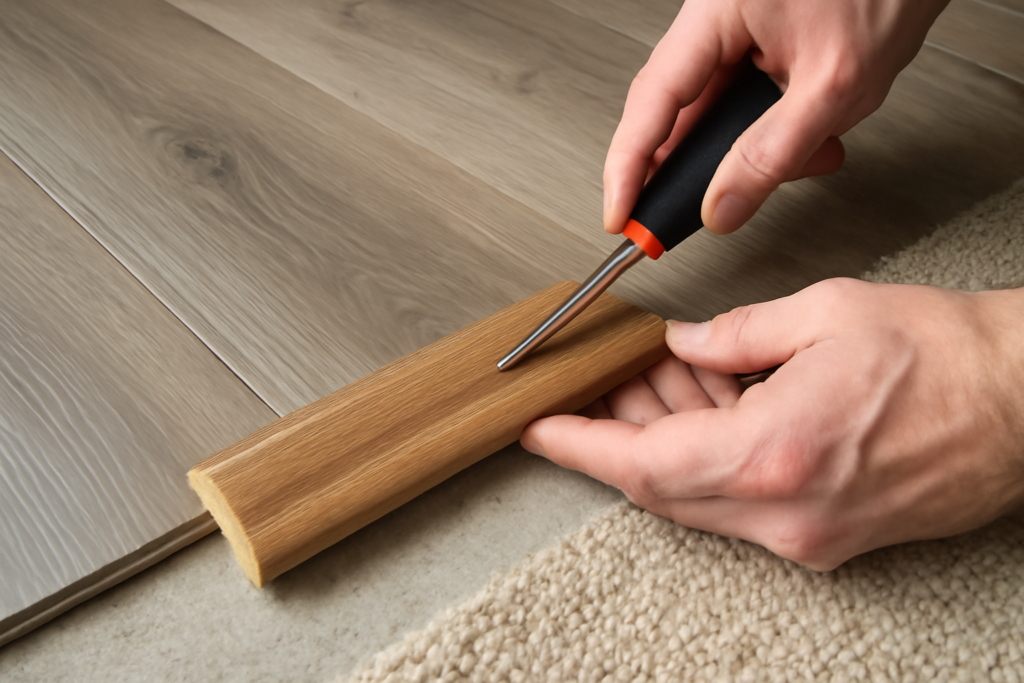
A beautifully installed laminate floor can still look unfinished if the edges are left raw where the planks meet a doorway, a slider, or carpet. That is the job of the laminate flooring end cap, the transition molding that caps an exposed edge, hides the expansion gap, and protects the plank ends from chipping. It is one of the smallest parts of a flooring project and one of the most commonly misunderstood. Here is what an end cap does, when you need one, and how to install it cleanly.
- What a Laminate End Cap Is
- End Cap vs. Other Transition Moldings
- When You Need an End Cap
- Choosing the Right End Cap
- Tools and Materials
- How to Install a Laminate End Cap
- Pro Tips for a Clean Finish
- Track-Mounted vs. Glue-Down End Caps
- Common End Cap Mistakes to Avoid
- The Finishing Touch That Matters
What a Laminate End Cap Is
An end cap, also called an end molding, square nose, or carpet reducer depending on the profile, is a transition piece designed to finish the edge of a laminate floor where it does not meet another equal-height hard floor. It has a finished top surface that matches your planks and a track or lip that covers the cut edge of the last row.
Because floating laminate must have a 1/4- to 3/8-inch expansion gap at every edge, that gap needs to be hidden. Along walls, baseboard and quarter-round do the job. At open edges and doorways, the end cap does it while also giving you a smooth, safe transition underfoot.
End Cap vs. Other Transition Moldings
Laminate transitions come in a family, and choosing the wrong one leaves an awkward step or gap. Here is how the end cap differs from its cousins.
- End cap: Finishes an edge that meets a vertical surface or drops off, such as a sliding door track, fireplace hearth, or exterior threshold.
- T-molding: Bridges two hard floors of equal height in a doorway, like laminate to tile.
- Reducer: Transitions laminate down to a thinner floor, such as vinyl or low tile.
- Carpet reducer / square nose: Transitions laminate to a slightly lower carpeted room.
- Stair nose: Wraps the front edge of a step.
If your laminate ends against something it cannot lock into or step evenly onto, an end cap is almost always the correct choice.
When You Need an End Cap
Reach for an end cap in these common situations. Sliding glass and patio doors have a raised track that laminate cannot butt into cleanly, so an end cap finishes the run against it. Exterior doorways and thresholds need one to cap the floor at the entry. A fireplace hearth, a raised tile landing, or a floor vent along the field are other typical spots.
You also use one where laminate meets carpet at a doorway if the carpet sits noticeably lower, or where a floor simply ends at an open edge like the top of a sunken room. Anywhere the plank edge would otherwise be exposed and vulnerable, the end cap protects it.
Choosing the Right End Cap
Match three things. First, color: buy the molding from your flooring line or a close color-matched profile so it blends rather than clashes. Second, height: confirm the end cap suits your laminate’s thickness, typically 8mm or 12mm, so the top sits flush. Third, mounting style: some end caps snap into a metal track you screw to the subfloor, while others glue directly down. Track-mounted versions are more secure and allow the floating floor to move.
Standard lengths run about 78 to 94 inches, so measure your edge and buy enough to cover it in one piece where possible for a cleaner look.
Tools and Materials
Gather these before you start:
- Laminate end cap molding and its mounting track if applicable
- Miter saw or fine-tooth hacksaw to cut the molding and track
- Tape measure and pencil
- Drill and screws, or construction adhesive for glue-down styles
- Rubber mallet and a scrap block to seat the molding without marring it
- Painter’s tape and a damp rag for cleanup
How to Install a Laminate End Cap
The process is quick once the floor is down and the expansion gap is set.
- Measure and cut. Measure the length of the edge and cut the end cap and its track to match with a miter saw. For an angled meeting, miter the ends for a tight joint.
- Position the track. Center the mounting track over the expansion gap so the end cap’s lip will cover the plank edge. The track should not pinch the laminate; the floor must stay free to move.
- Fasten the track. Screw the track into the subfloor every 8 to 12 inches, or run a bead of construction adhesive for a glue-down profile. Avoid screwing through the laminate itself.
- Snap in the end cap. Set the molding into the track and tap it down with a mallet against a scrap block until it seats fully and sits flush against the floor.
- Check and clean. Confirm the cap covers the gap with no plank edge showing, wipe any adhesive squeeze-out, and let glue-down installs cure before traffic.
Pro Tips for a Clean Finish
Dry-fit the molding before fastening anything, because a track screwed in the wrong spot is a pain to move. Never nail or screw the end cap tight through the laminate plank; that pins the floating floor and causes buckling as it expands with humidity. Keep the expansion gap intact under the cap; the whole point of the transition is to hide that gap while letting the floor breathe.
If the color match is not perfect, a matching seam filler or a touch-up marker along the joint blends the last few percent. And for a busy doorway, the track-mounted style holds up far better than glue alone over years of foot traffic.
Track-Mounted vs. Glue-Down End Caps
How you fasten the end cap affects both durability and how well your floating floor performs. Track-mounted systems use a metal or plastic channel that screws to the subfloor; the molding then snaps into that track. The advantage is that the track holds firm under years of traffic while still letting the laminate expand and contract underneath, which is exactly what a floating floor needs. This is the better choice for busy doorways and exterior thresholds.
Glue-down end caps skip the track and bond directly to the subfloor with construction adhesive. They install faster and sit lower, which some homeowners prefer at a slider, but the bond can loosen over time in high-traffic spots and they offer less room for the floor to move. Whichever you choose, the golden rule is the same: fasten the molding to the subfloor, never through the laminate plank itself. Pinning the floating floor with a screw or nail is the fastest way to cause buckling once humidity rises.
Common End Cap Mistakes to Avoid
A few recurring errors turn a simple transition into a problem. The first is closing up the expansion gap; some installers push the last row tight to the doorway and screw the cap down over it, leaving the floor no room to grow. The result is buckling within a season. Always keep the 1/4- to 3/8-inch gap and let the end cap hide it.
The second common mistake is buying the wrong profile, such as using a T-molding where an end cap belongs, which leaves an awkward lip or gap at a slider track. The third is skipping the dry-fit and gluing a track in the wrong spot, then fighting to reposition it. And finally, forgetting to match the height to your laminate thickness leaves the cap sitting proud or sunk, creating a trip point. Take a plank sample to the store and match color, profile, and height together.
The Finishing Touch That Matters
An end cap is a small piece with an outsized effect. It turns a raw plank edge at a slider, threshold, or open drop-off into a clean, protected, professional transition, and it lets your floating laminate expand and contract as it must. Choose a color-matched profile in the right height, mount it over the expansion gap without pinning the floor, and your laminate looks finished from every angle.
Prefer to explore on your own?
See how new flooring looks in your actual room in seconds — free, no signup.
Try the free Floor Studio →