The difference between a luxury vinyl plank floor that looks factory-perfect and one riddled with gaps and cracked ends usually comes down to the toolkit. Having the right LVP installation tools on hand before you open the first box saves hours, protects the planks, and keeps your joints tight. I’ve watched more than one weekend project stall because someone tried to tap planks together with a hammer and a scrap of wood. This checklist covers every tool worth owning, why it matters, and roughly what it costs so you can budget the job properly.
Measuring and Layout Tools
Every good install starts with accurate measurement and a smart layout. Skip this and you’ll end up with a sliver-width row against the far wall that screams amateur.
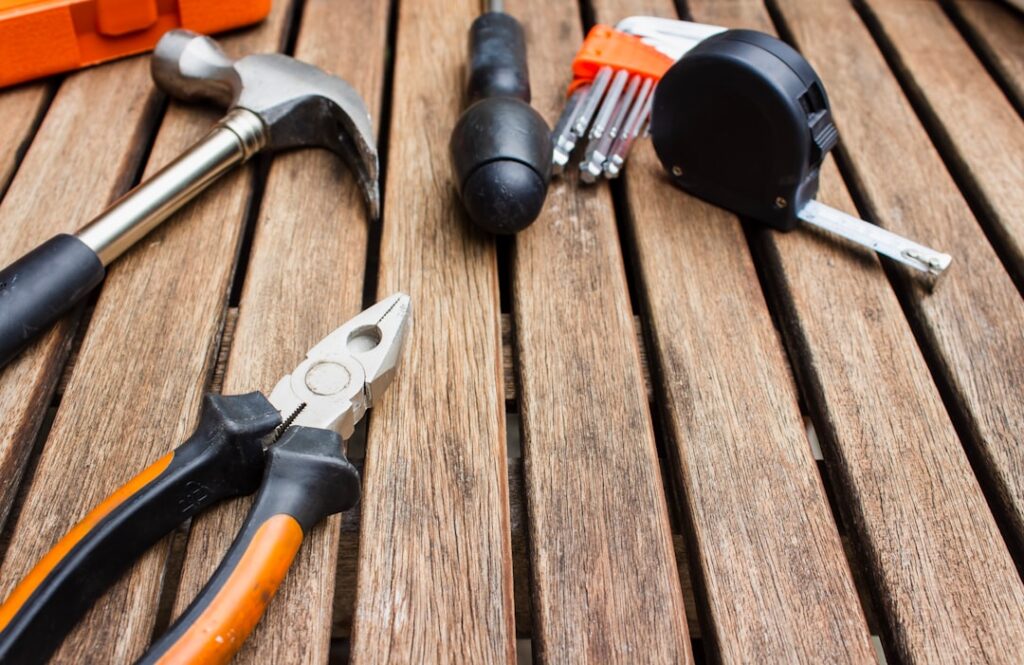
- Tape measure: a 25-foot tape is the backbone of the job.
- Chalk line: snaps your starting reference line straight across the room.
- Speed square or combination square: marks clean 90-degree cut lines on planks.
- Pencil and marker: pencil for planks, marker for the backing when you need it to show.
Dry-lay your first two rows before committing so you can check the pattern and adjust the starting width. A little planning here prevents a bad-looking final row.
Cutting Tools
Most rigid-core and standard LVP cuts with a simple score-and-snap method, which is one reason the product is so DIY-friendly. That said, you’ll want a couple of options for different cuts.
- Utility knife: a heavy-duty knife with fresh blades scores planks for straight snaps; keep spare blades handy because dull blades tear the wear layer.
- Vinyl plank cutter (guillotine-style): a $40 to $90 lever cutter that makes fast, dust-free straight cuts, ideal for a big room.
- Jigsaw: handles curves, notches around door casings, and pipe cutouts.
- Miter saw or table saw: optional but great for high-volume straight and angled cuts, especially rigid SPC planks.
For rigid SPC core planks, a fine-tooth carbide blade on a miter saw gives the cleanest edge. Cut vinyl outdoors or with dust collection when using power saws.
The Fitting Toolkit
This trio is what closes the joints and protects the plank edges, and it’s where beginners most often try to improvise and cause damage. Buy the real tools; they’re cheap.
- Tapping block: a hard plastic block you strike to seat the long-side joints without crushing the plank edge.
- Pull bar: a metal bar for closing end joints against a wall where a tapping block won’t fit.
- Rubber mallet: delivers controlled force to the tapping block and pull bar.
- Spacers: maintain the critical 1/4 to 3/8 inch expansion gap around the perimeter.
A basic tapping block, pull bar, and spacer kit runs $15 to $30 and pays for itself on the first row. Never strike a plank directly with a metal hammer; you’ll deform the locking edge and the next plank won’t seat.
Subfloor Prep Tools
LVP telegraphs bumps and dips, so subfloor prep is not optional. The tools here determine whether your floor sits flat and quiet or rocks and clicks underfoot.
- 6-foot level or straightedge: checks flatness; you want no more than 3/16 inch of variance over 10 feet.
- Floor scraper: removes old adhesive, paint, and high spots.
- Shop vacuum: a spotless subfloor is essential; a single pebble creates a rocking plank.
- Trowel: needed if you’re spreading self-leveling compound or glue-down adhesive.
Safety and Finishing Gear
Don’t overlook the small stuff. Knee pads alone justify their cost after the second hour on a hard subfloor. You’ll also want safety glasses when using power saws, work gloves, and a first pass of masking to protect adjacent finishes. For finishing, an undercut jamb saw lets you slide planks neatly under door casings instead of notching around them, which looks far more professional. A caulk gun and matching color caulk finish transitions and edges near tubs or cabinets.
Kneeling comfort and blade management deserve special mention because they’re what wear you down on a big install. Good gel knee pads or a foam kneeling board save your knees over hours on a hard subfloor, and they pay for themselves in the fact that you’ll actually keep working carefully instead of rushing to stand up. Keep a generous supply of fresh utility blades on hand, too; a dull blade tears the vinyl wear layer and leaves ragged edges that show at the seams, so snap or swap blades often rather than pushing a tired one. These small comfort and consumable items are easy to overlook when you’re pricing out the flashy power tools, but they’re exactly what separate a clean, patient install from a sloppy, hurried one.
Nice-to-Have Extras
These aren’t strictly required, but they make bigger jobs go faster and cleaner. Consider them if you’re flooring a whole house rather than a single room.
- Oscillating multi-tool: perfect for undercutting jambs and trimming tight spots.
- Laser level: speeds up long, straight layout lines across open floor plans.
- Transition and reducer strips: finish doorways and height changes between rooms.
- Roller (for glue-down): a 75 to 100 pound roller ensures full adhesive contact on stick-down LVT.
Tools That Differ for Glue-Down LVT
If you’re installing glue-down luxury vinyl tile rather than click-lock plank, a few tools change. Glue-down demands a notched trowel sized to the adhesive manufacturer’s spec, usually a 1/16-inch U-notch or similar, to spread the correct amount of adhesive. You’ll also need a 75- to 100-pound floor roller to press the tiles into full contact and work out air pockets, which you can rent from most flooring suppliers for around $20 to $40 a day. Keep clean rags and the recommended adhesive remover handy, because squeeze-out at the seams needs wiping before it cures. The tapping block and pull bar you’d use for click-lock aren’t needed here, since the tiles butt together rather than lock.
Renting vs. Buying
Not every tool is worth owning if you’re doing one room. Weigh the cost of renting against buying for the pricier items.
- Worth buying: tapping block, pull bar, spacers, utility knife, square, and tape measure, all cheap and endlessly reusable.
- Consider renting: a floor roller for glue-down, or a large concrete grinder for subfloor prep, since they’re expensive and rarely needed again.
- Buy if you’ll reuse it: a jigsaw, miter saw, or oscillating multi-tool earns its keep across many home projects, not just flooring.
A good rule: buy the small hand tools, rent the big specialty machines, and only invest in power tools you’ll genuinely use again.
Budgeting Your Toolkit
A homeowner starting from scratch can assemble a solid set of LVP installation tools for $100 to $250, depending on how many power tools you already own. The core fitting kit, a good utility knife, spacers, a square, and a tape measure are the non-negotiables and total well under $75. Everything else scales with the size of the job. Buy quality on the tapping block, pull bar, and cutting tools, and you’ll reuse them across future projects. Spend a little upfront, and your first luxury vinyl floor will go down faster, tighter, and looking like a pro laid it.
Prefer to explore on your own?
See how new flooring looks in your actual room in seconds — free, no signup.
Try the free Floor Studio →