
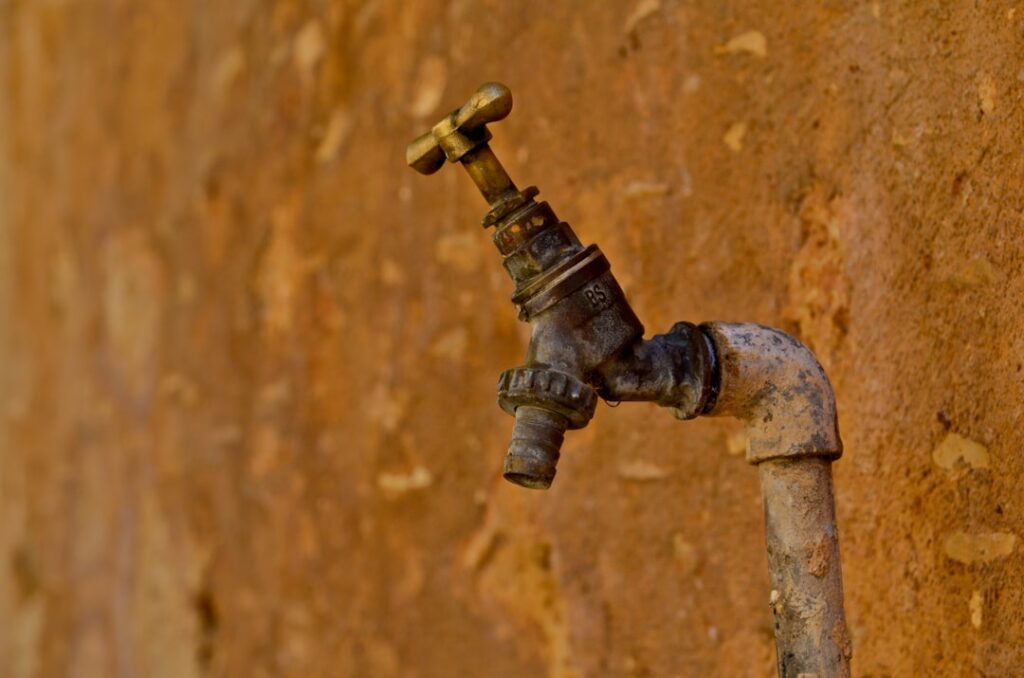
Knowing where your main water supply valve sits and how to operate it is the single most valuable piece of plumbing knowledge you can have. When a pipe bursts, a water heater ruptures, or a supply line to the washing machine lets go, a home can take on hundreds of gallons in minutes, and every second you spend hunting for the shutoff is drywall, flooring, and framing you will pay to replace. A 1/2-inch supply line failure can release roughly 50 gallons of water per hour under normal household pressure.
This guide shows you where to look for the valve, how to tell a gate valve from a ball valve, the exact steps to shut water off under pressure, and the annual maintenance that keeps the valve from seizing when you finally need it. Take ten minutes today to find yours and turn it, because the middle of a flood is the worst time to learn.
Where the Main Valve Is Located
Most homes have their main shutoff on the interior side of the front foundation wall, because that is where the municipal supply line enters the house. In a house with a basement, look along the wall that faces the street, often near the water meter, roughly 3 to 5 feet up from the floor or right where the pipe comes through the concrete. In a home built on a slab, the valve is frequently in the garage, in a utility closet, or near the water heater.
In warmer climates without basements, the shutoff may be outside on an exterior wall, in a recessed box, or at the ground-level meter. Crawlspace homes often hide the valve just inside the crawl access near the front wall. Trace the largest-diameter pipe from the water meter into the house; the first valve you reach on that line is your main interior shutoff. Tag it now with a bright zip tie or label so anyone in the household can find it.
The Water Meter and Curb Stop
Outside, near the street or sidewalk, you will find the water meter box, usually a rectangular concrete or plastic lid set flush with the ground and marked “water.” Lift the lid and you will see the meter and, on the street side of it, the utility’s own valve. On the house side sits a second valve, sometimes called the customer or curb-side shutoff, that controls water to your entire property.
The curb stop next to the meter is a backup if your interior valve fails or leaks. Some designs need a special long-handled curb key rather than a wrench, and a few are technically the water utility’s property that they prefer you not touch. Still, in a genuine emergency where the interior valve will not close, shutting the meter-box valve stops all water to the home. Know that it exists before you need it.
Gate Valves vs. Ball Valves
Two valve types dominate residential main shutoffs, and they operate very differently. A gate valve has a round wheel-style handle and works by raising or lowering an internal wedge. To close it, turn the wheel clockwise, and expect to rotate it several full turns before the water stops. Gate valves are common in homes built before the 1990s and are prone to corroding, so an old one may leak from the stem or refuse to seal fully after years of sitting open.
A ball valve has a straight lever handle and closes with a single 90-degree quarter turn. When the lever runs parallel to the pipe, water flows; when you rotate it perpendicular to the pipe, the flow stops. Ball valves are more reliable, seal completely, and are the standard on modern installs. If you still have an aging gate valve, replacing it with a full-port ball valve during a plumbing service call is inexpensive insurance and makes emergency shutoffs faster and surer.
How to Shut Off the Water in an Emergency
When water is actively flooding, move fast but deliberately. For a ball valve, grab the lever and rotate it a quarter turn until it stops, perpendicular to the pipe. For a gate valve, turn the wheel clockwise, “righty-tighty,” and keep turning until it is fully seated and the flow drops off. Do not force a stuck wheel so hard that you snap the stem; if it will not budge, go to the meter box and close the curb-side valve instead.
After the main is closed, open a faucet on the lowest level of the house to relieve pressure and drain the lines, which reduces dripping at the failure point while you make repairs. If the emergency is isolated to one fixture, such as a toilet or sink, you may only need the individual fixture shutoff, a small oval or lever valve on the wall behind or beneath that fixture, and can leave the rest of the house with water.
Main Shutoff vs. Individual Fixture Shutoffs
Your home has a layered system of valves, and using the right one saves you disruption. The main water supply valve kills water to the entire house and is what you reach for during a major burst, a whole-house repair, or an extended vacation. Individual fixture shutoffs, sometimes called stop valves or angle stops, sit at each toilet, sink, dishwasher, and washing machine and let you fix one fixture while the rest of the household keeps running water.
Water heaters and outdoor spigots usually have their own dedicated shutoffs too. Knowing which valve controls what lets you avoid closing the main every time you replace a faucet washer. As a rule, use the closest downstream valve to the problem; reserve the main shutoff for emergencies and jobs that affect the whole plumbing system.
Exercise the Valve Once a Year
A valve that sits untouched for a decade often seizes, and gate valves in particular can freeze in the open position or fail to fully close when corrosion builds on the internal wedge. Once a year, exercise your main shutoff by closing it fully and reopening it. This breaks up mineral deposits, keeps the stem moving freely, and confirms the valve still seals when you need it.
After reopening a gate valve, back the wheel off a quarter turn from fully open; running it hard against the stop can cause it to stick over time. While you are down there, look for green corrosion, white mineral crust, or moisture around the stem and body, all early signs the valve is on its way out. Pair this task with testing smoke detectors each spring so you remember it.
Teaching the Whole Household
A valve only protects you if the person standing in the flood knows how to reach it. Walk every adult and older child in the house to the main shutoff, show them the difference between a lever ball valve and a wheel gate valve, and have each one turn it off and back on once so the motion is familiar under stress. Post a small laminated card near the valve and another on the refrigerator noting the location and the direction to turn.
Keep the path to the valve clear year-round; storage boxes stacked in front of a basement shutoff cost precious minutes during a burst. If you travel often or rent the home out, consider an automatic water shutoff device that senses a leak and closes an electronic valve on the main line, or at minimum shut the main off before any trip longer than a weekend so a slow failure cannot flood an empty house.
When the Valve Leaks or Won’t Turn
If your main valve weeps from the stem, you can sometimes stop a minor drip by gently snugging the packing nut behind the handle a fraction of a turn with a wrench. Overtightening will make it harder to operate, so go slowly. A valve that leaks from the body, cracks, or refuses to turn at all needs replacement, and because that work happens on the pressurized main line, it is a job for a licensed plumber who can coordinate a curb-stop shutoff with the utility.
Never attack a stubborn gate wheel with a breaker bar or pipe wrench for extra leverage; old brass and cast valves snap, turning a nuisance into an active flood. If your main valve is a decades-old gate style, budget $150 to $350 to have a plumber swap it for a modern quarter-turn ball valve. Reliable access to your main water supply valve is cheap protection against the four- and five-figure cost of water damage.


