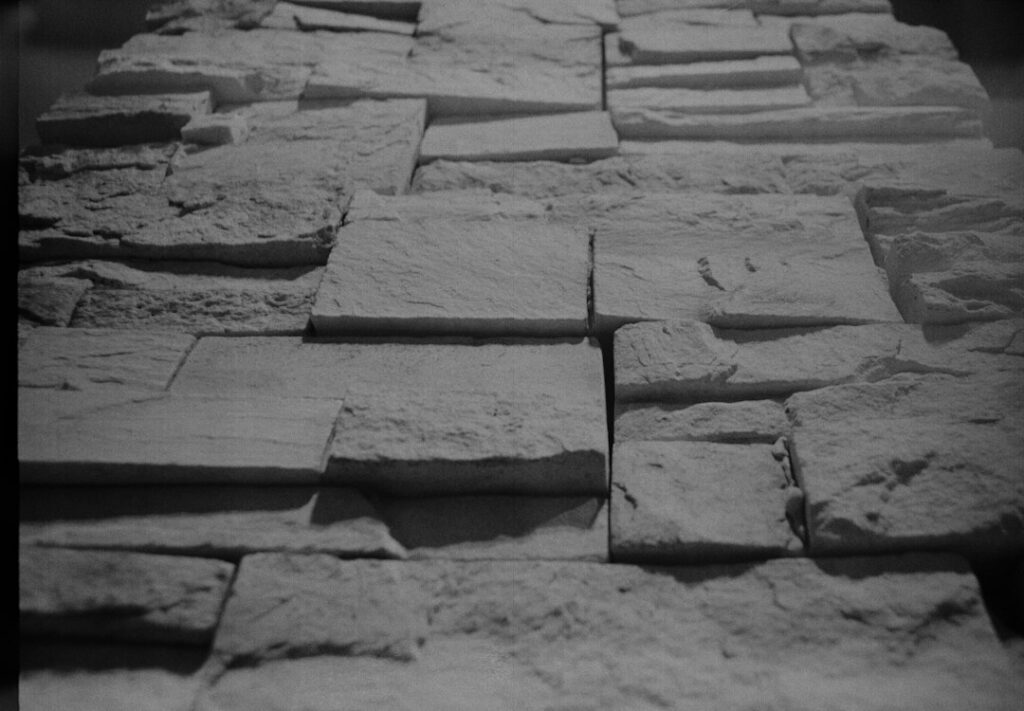
Most homeowners assume a stone look means days of mixing mortar, troweling a scratch coat and pointing joints. Mortarless stone veneer skips all of that. These dry-stack panels are molded from a lightweight concrete or composite blend, then fastened mechanically with screws or a clip rail, so the wall looks like stacked ledgestone without a single bucket of mud.
The short answer to “how does it install?” is this: you prepare a flat, weather-resistant substrate, run a starter strip at the bottom, then screw or clip each interlocking panel into the sheathing or furring, working up the wall and wrapping corners with matching L-shaped pieces. A careful DIYer can finish a 150 sq ft wainscot in a weekend. The tricky parts are water management and layout, not the stonework itself.
- What Mortarless Stone Veneer Is and How It Differs
- Where Mortarless Stone Siding Works Best
- Tools and Materials
- Substrate Prep and Flashing Details
- Step-by-Step Dry-Stack Panel Installation
- Corner Pieces, Openings and Trim
- Cost of Mortarless Stone Veneer
- Silica Dust and Ladder Safety
- Troubleshooting Common Problems
- When to Call a Pro
- Frequently Asked Questions
Mortar-set manufactured stone and natural thin-cut stone are different products with different rules. Dry-stack panel systems carry their own installation instructions, and following them is what keeps the warranty and the wall intact.
What Mortarless Stone Veneer Is and How It Differs
A panel of mortarless stone veneer is typically 8 to 10 inches tall and 3 to 4 feet long, with a tongue-and-groove or shiplap edge so each course locks into the one below. The back is flat, and a nailing or screw flange runs along the top edge. Some systems use a metal or plastic rail screwed to the wall, and the panels hook onto that rail instead of taking screws directly.
Compare that to traditional adhered stone. Mortar-set stone siding needs a water-resistive barrier, metal lath, a scratch coat about 1/2 inch thick, and then each stone buttered and pressed in place. Natural thin stone veneer is real quarried rock sawn to about 1 inch thick and also set in mortar. Both are heavier, take longer and usually call for a mason.
- Weight: dry-stack panels often run 3 to 6 pounds per square foot, versus 10 to 15 for mortar-set stone.
- Cure time: none. Panels are finished the moment the last screw goes in.
- Skill level: closer to installing siding than to masonry.
- Look: best for stacked ledgestone and tight-fitting profiles; rough fieldstone with wide grout joints still needs mortar.
Where Mortarless Stone Siding Works Best
Mortarless stone siding shines on wainscots below lap or panel siding, foundation skirting, porch columns, fireplace surrounds, mailbox posts and accent walls. Interior fireplace surrounds are popular too, provided you keep the manufacturer’s clearance to the firebox and use a noncombustible backer where the instructions require it.
It is a weaker choice on large, two-story elevations in high-wind or heavy-rain zones unless the system is rated for that exposure. Check the product’s wind-load rating and the approved substrates. Many panels may be fastened only into wood sheathing, plywood, OSB or furring strips over masonry, not into foam or drywall alone.
Tools and Materials
Gather everything before you start so you are not hunting for a blade halfway up a column.
- Panels, corner pieces, starter strip, ledger or trim caps, and the system’s color-matched touch-up kit
- Corrosion-resistant screws of the length specified (often 2 inch exterior screws with a 1-inch penetration into framing or sheathing)
- Water-resistive barrier (house wrap or felt) and self-adhered flashing tape
- Metal or vinyl drip edge or weep screed for the bottom course
- Pressure-treated furring strips if you are going over brick, block or uneven walls
- A wet tile saw with a diamond blade, or an angle grinder with a masonry blade
- 4-foot level, chalk line, tape measure, drill-driver, caulk gun and exterior sealant
- Safety glasses, hearing protection, gloves and an N95 or P100 respirator
A wet tile saw is worth renting or borrowing. It cuts panels cleanly, keeps the dust down and gives you straight factory-looking ends at corners and window returns.
Substrate Prep and Flashing Details
Water ruins more stone installations than anything else, so most of your effort belongs here. Start with sound sheathing. Replace any soft or delaminated areas, and make sure the wall is flat within about 1/4 inch over 10 feet so the panels do not rock.
Install the water-resistive barrier shingle-style, upper sheets lapped over lower ones by at least 2 inches. Tape seams with flashing tape. Around windows and doors, the head flashing should lap over the barrier, and sill pan flashing should direct water out, not behind the panels.
At the bottom of the wall, set a drip edge or weep screed so moisture that gets behind the veneer has an exit. Keep the bottom course at least 4 inches above finished grade and about 2 inches above patios, walkways or roofing. Where the veneer meets a roof (a porch roof below a wall, for example), use step and kickout flashing so roof runoff never lands on the top edge of the stone.
Over masonry or concrete block, fasten pressure-treated furring strips vertically at 16 inches on center with masonry anchors. That gives the screws something to grip and creates a small drainage gap behind the panels.
Step-by-Step Dry-Stack Panel Installation
Anyone planning a stone siding installation without mortar follows roughly this sequence, and it applies to most screw-on and clip-rail systems. Always confirm spacing and fastener counts in your specific product’s instructions.
- Snap a level line. Measure up from the lowest point of grade, mark the top of the starter strip, and snap a chalk line across the entire wall. A level first course prevents a wavy wall at the top.
- Install the starter strip. Screw it along the line, into framing or furring, at the spacing listed. For clip-rail systems, mount the first rail now.
- Dry-lay and plan the corners. Set out a few panels on the ground and shuffle them so color and texture vary. Corners go in first on each course, so mark where they land.
- Set the first corner piece. Seat it on the starter strip, check plumb on both faces, and fasten through the flange.
- Run the first course. Slide panels into the corner’s interlock, seat them on the starter, and drive screws through the top flange. Do not overdrive; the screw head should sit flush, not crush the flange.
- Stagger joints. Offset vertical seams at least 8 inches from the course below. Use cut-off pieces to start the next row so you waste little material.
- Cut at openings. Measure, mark, and cut on the wet saw. Leave about 1/8 to 1/4 inch at windows and trim, then fill with color-matched exterior sealant.
- Finish the top. Cap the final course with a ledger stone, sill piece or trim board, flashed so water sheds outward over the face of the stone.
- Touch up. Dab exposed cut edges and screw heads with the touch-up stain so nothing reads as raw gray concrete.
Corner Pieces, Openings and Trim
Corners make or break the illusion of real stone. Outside corners use factory L-shaped pieces that alternate long and short legs on each course, mimicking how a mason interlocks stones. Inside corners usually do not need special pieces. You simply butt panels together and caulk the joint, or run a small trim strip.
Window and door returns look best when you plan a full or near-full course right under the sill. If the math leaves a 2-inch sliver, adjust the starter height slightly rather than ending with a skinny strip. Many product lines include sill and trim accessories designed to match the panel depth. Using matched accessories avoids gaps where water can enter.
Cost of Mortarless Stone Veneer
Prices vary by region and profile, but these general ranges help with budgeting:
- Panels: roughly $8 to $15 per square foot for materials.
- Corner pieces: priced per linear foot, often two to three times the flat-panel cost per foot of coverage.
- Accessories and flashing: add about 10 to 15 percent.
- Professional install: commonly $10 to $20 per square foot for labor, depending on height and detail.
That puts a finished, professionally installed wall in a similar range to mid-grade manufactured stone, but the DIY savings are larger because there is no masonry skill or cure time involved.
Silica Dust and Ladder Safety
Cutting any concrete-based panel releases crystalline silica dust, which can damage your lungs over time. Cut with a wet saw or a dust-shrouded grinder hooked to a HEPA vacuum, wear an N95 or P100 respirator, and cut outdoors downwind from open windows. Clean up with a HEPA vacuum or wet wiping, never dry sweeping.
For anything above shoulder height, use a sturdy extension ladder set at a 4-to-1 angle, or better, a rented scaffold or pump jacks so you can stage panels at working height. Keep three points of contact, never carry a box of panels up a ladder, and have a helper hand pieces up. For work on a second story or above, hire a pro with proper scaffolding and fall protection.
Troubleshooting Common Problems
- Panels will not seat in the interlock: debris or a high screw head on the course below. Clear it and back the screw out a quarter turn.
- Visible gaps at seams: the wall is not flat. Shim behind the panel with a thin furring shim or plane the high spot.
- Repeating pattern: you pulled panels from one box. Mix at least three boxes at a time.
- Staining or efflorescence at the bottom: water is not exiting. Check the weep screed and clearance to grade.
- Top course looks unfinished: add a cap or sill piece and flash it.
When to Call a Pro
DIY makes sense for wainscots, columns and single-story accent walls. Bring in a siding contractor or mason when the job involves second-story walls, extensive roof-to-wall transitions, rotted sheathing, or a fireplace surround that needs specific clearances. A pro can also verify that the existing wall can carry the load and that the flashing ties into your current siding without trapping water.
Frequently Asked Questions
Is mortarless stone veneer as durable as real stone?
Quality panels are freeze-thaw rated and color-fast for decades when installed with correct flashing and clearances. They are not as impact resistant as solid stone, so avoid spots where a mower or car might hit them.
Can I install dry-stack stone panels over existing siding?
Usually not. Remove lap siding or vinyl first so the panels fasten into flat sheathing with a proper water-resistive barrier behind them.
Do mortarless panels need grout or sealer?
No grout is needed. Sealer is optional on most products; check the instructions, because some sealers change the color or trap moisture.
Can I use mortarless stone siding indoors?
Yes. Interior accent walls and fireplace surrounds are common uses. Fasten into studs or a plywood backer and respect fireplace clearances.
How long does a dry-stack stone wall take to install?
A practiced DIYer can cover 75 to 100 sq ft per day once the substrate and flashing are ready. Corners and openings slow the pace.