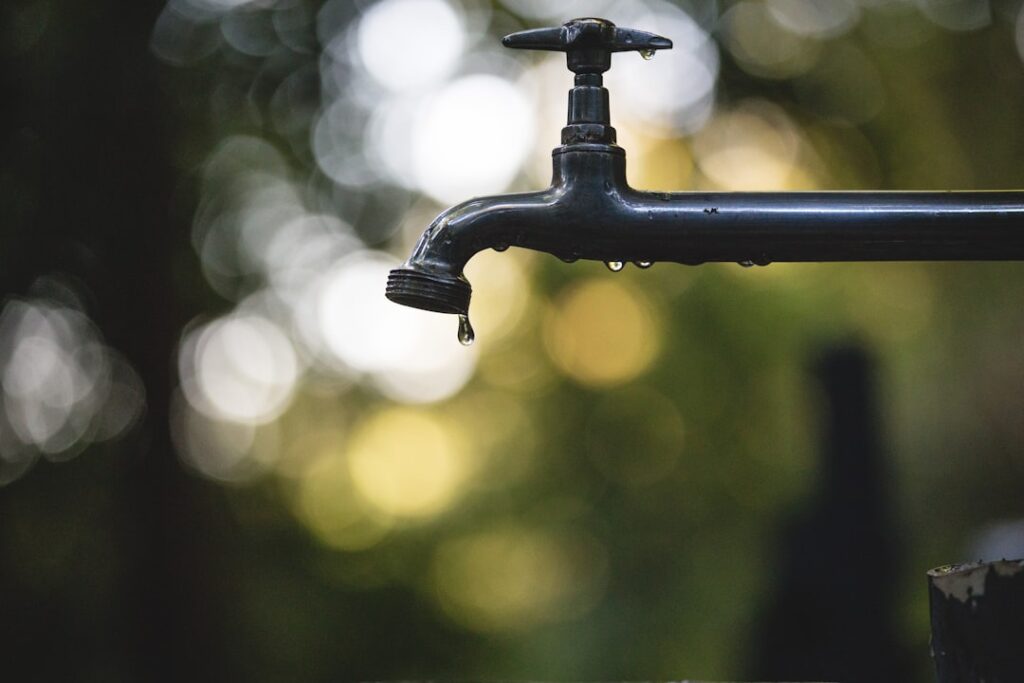
A dripping outdoor spigot wastes hundreds of gallons a month, and if the leak is coming from the wrong place, it can mean a burst pipe hiding inside your wall. An outside water faucet leaking falls into two very different categories: a drip from the spout, which is a simple washer or packing fix, and water leaking from the handle or from inside the wall, which on a frost-free faucet often signals a cracked pipe from freeze damage. Diagnosing which one you have is the first and most important step.
The reason an outdoor faucet deserves more attention than its humble appearance suggests is that it is the one plumbing fixture that straddles the boundary between inside and outside your home. Part of it hangs in the weather, exposed to freezing temperatures, while part of it connects to pipes running through your heated walls. When it fails, the consequences range from trivial to serious depending entirely on which part failed. A worn washer dripping from the spout wastes water and is a minor annoyance. A pipe cracked by winter freeze, hidden inside the wall, can spray water into your framing every time you open the valve, rotting studs and breeding mold long before you notice a stain on the drywall. That is why diagnosing the location of the leak is not just the first step, it is the step that determines whether you are facing a five-minute repair or a call to protect your home from water damage. Read the water’s behavior carefully, match it to the causes below, and you will know immediately which situation you are in and exactly how to handle it.
- Two Very Different Leaks
- Understanding Frost-Free vs Standard Spigots
- Fixing a Spout Drip
- Fixing a Handle Leak
- When the Pipe Has Cracked
- Preventing Future Leaks
- Winterizing Your Outdoor Faucets Step by Step
- Cost and When to Call a Pro
- Rebuilding the Packing and Stem Washer
- Garden Faucet Leaking at the Hose Connection or Vacuum Breaker
Two Very Different Leaks
Where the water comes from tells you almost everything. A leak from the spout, dripping out the end of the faucet when it is shut off, is a worn seat washer, an easy and cheap repair. A leak around the handle when you turn the water on points to worn packing or a bad packing nut, also a simple fix.
The one to take seriously is water that appears only when the valve is open and seems to come from behind the faucet or from inside the wall. On a frost-free (freeze-proof) hydrant, that pattern usually means the long internal pipe cracked during a freeze, and water is spraying inside your wall every time you open the tap. That is a repair you cannot ignore.
Understanding Frost-Free vs Standard Spigots
Two types of outdoor faucets hang on American houses, and they fail differently. A standard compression spigot has its valve right at the wall, making it simple to repair but prone to freezing and bursting in cold climates. A frost-free (or frost-proof) faucet has a long stem, typically 6 to 12 inches, that carries the actual valve seat deep inside the heated wall, so the water shuts off well back from the freezing exterior.
Knowing which you have shapes the repair. On a frost-free unit, the entire stem assembly usually comes out as one piece for service, and a wall-side leak points to a cracked internal tube. On a standard spigot, everything you need is right at the exterior wall.
Fixing a Spout Drip
A drip from the end of the faucet is the most common and easiest leak to solve.
- Shut off the water. Close the indoor shutoff feeding the outdoor line, or the main if there is no dedicated valve, then open the faucet to drain it.
- Remove the handle and stem. Unscrew the handle screw, loosen the packing nut, and back the stem out of the body.
- Replace the seat washer. At the end of the stem, remove the brass screw and the old rubber washer, and install a new washer of the same size.
- Reassemble and test. Slide the stem back in, tighten the packing nut, reattach the handle, and turn the water on to confirm the drip is gone.
Buy an assorted washer kit for a couple of dollars so you have the right size on hand. A worn or wrong-size washer is the single most common reason an outdoor faucet drips.
Fixing a Handle Leak
Water weeping around the handle while the faucet runs means the packing has failed. First, try simply tightening the packing nut a quarter to half turn with a wrench; often that alone stops the seep. If it keeps leaking, shut off the water, remove the stem, and replace the packing washer or wrap fresh graphite packing string around the stem beneath the nut.
On a frost-free faucet, the same handle-area leak is usually cured by replacing the stem’s packing and O-rings, which come in a repair kit matched to the faucet brand. While you have it apart, coat the new seals with plumber’s grease so they seat smoothly and last.
When the Pipe Has Cracked
If water appears inside the wall or gushes from behind the faucet only when it is open, you likely have a burst frost-free pipe from freeze damage. This happens when a hose is left attached over winter, trapping water in the stem that freezes, expands, and splits the tube. The exterior can look fine while water sprays into the wall cavity every time you open the valve.
The fix is to replace the entire frost-free faucet. Shut off the water, unthread or unsolder the old unit, and install a new frost-free hydrant of the same length, sloped slightly downward so it self-drains. If it is soldered or you are unsure about the connection, this is a reasonable point to call a plumber, since a leak inside the wall can rot framing and breed mold fast.
Preventing Future Leaks
Most outdoor faucet failures are preventable. Every fall, disconnect and drain all garden hoses, because a hose left attached is the number one cause of frozen, cracked spigots. Close the indoor shutoff to the outdoor line and open the spigot to drain it, and add an insulated faucet cover in hard-freeze regions for cheap insurance.
Consider upgrading an old standard spigot to a frost-free model if you live where winters bite. Inspect the faucet each spring when you turn the water back on, watching the handle and the wall behind it closely on the first use.
Winterizing Your Outdoor Faucets Step by Step
Since freeze damage causes the worst outdoor faucet leaks, a few minutes of fall prep prevents the most expensive repair on this list. Follow the same routine every year before the first hard freeze.
- Disconnect every hose. A hose left attached traps water in the spigot, and that water freezes, expands, and cracks the pipe. This is the single most important step.
- Shut off the indoor valve. Find the dedicated shutoff on the pipe feeding each outdoor faucet and close it.
- Drain the spigot. Open the outdoor faucet fully and leave it open so any remaining water drains out and has room to expand if it freezes.
- Insulate the faucet. Slip an inexpensive foam faucet cover over the spigot in hard-freeze regions for cheap extra protection.
A true frost-free faucet self-drains when installed with a slight downward slope, but it only works if no hose is attached to trap water in the stem. Even with frost-free hydrants, disconnect the hoses.
Cost and When to Call a Pro
The economics of this repair strongly favor doing it yourself when the fix is simple. A washer or packing kit costs just a few dollars, and a full replacement frost-free faucet runs roughly $15 to $40 at the hardware store. Swapping a threaded spigot is well within reach of a confident homeowner with a pipe wrench and some plumber’s tape.
Call a professional when the situation involves soldered copper connections you are not comfortable sweating, a leak clearly coming from inside a finished wall, or signs of water damage and mold in the framing. A plumber typically charges $150 to $300 to replace an outdoor faucet, more if wall access or soldering is involved, which is money well spent against the cost of a rotted wall cavity. Catch an outside water faucet leaking early, match the repair to the source, and you turn a potential wall-wrecking disaster into a five-dollar washer swap.
Rebuilding the Packing and Stem Washer
Most spout drips and handle weeps come down to two cheap parts inside the stem, and rebuilding them takes about 20 minutes once the water is off. Start by closing the indoor shutoff and opening the spigot to bleed the pressure. Loosen the packing nut with an adjustable wrench, usually a 7/8-inch or 1-inch hex, and back the entire stem out counterclockwise. At the tip you will find a rubber seat washer held by a single brass screw; a worn, grooved, or hardened washer is the classic spout-drip culprit. Swap it for the same size from an assorted washer kit, which costs $3 to $5 and carries the common 00, 0, and 1/2-inch flat washers. Snug the retaining screw firmly but not so hard that you dish the washer.
If water was seeping around the handle instead, the packing behind the packing nut is the target. On older stems you simply wind two or three turns of fresh graphite packing string clockwise around the shaft beneath the nut; on newer frost-free stems you slide on a replacement packing washer and O-ring from a brand-matched repair kit. Coat both with plumber’s grease so they seat without dragging. If the leak is freeze damage, a frost-free stem measures 6 to 12 inches long and the whole unit unthreads or unsolders for replacement; install the new one pitched about 1/4 inch of downward slope over its length so it self-drains, and never leave a hose attached over winter to trap water in the tube.
Garden Faucet Leaking at the Hose Connection or Vacuum Breaker
Not every garden faucet leaking problem starts inside the valve. A lot of outdoor drips happen only when a hose is attached, or they come from the small backflow device screwed onto the spout. These are among the easiest leaks to fix, but they are easy to misdiagnose as a failed washer or cracked pipe.
| What you see | Likely cause | Fix |
|---|---|---|
| Spray or drip where the hose threads on | Missing, flattened, or cracked hose washer | Replace the rubber washer inside the hose coupling; hand-tighten the hose |
| Brief spurt from the spout cap when you shut the water off | Normal vacuum breaker venting | No fix needed if it stops within a second or two |
| Constant leak from the vacuum breaker while water runs | Worn vacuum breaker seal or debris | Clean or replace the vacuum breaker |
| Leak around the base where the faucet meets the pipe or wall | Loose or failed threaded connection | Shut off water and reseal the joint, or replace the faucet |
| Water coming out behind the faucet only while a nozzle is closed | Pressure trapped in a frost-free stem with a cracked tube | Treat as possible freeze damage; see the cracked-pipe section above |
Hose-end and vacuum breaker fixes
The hose washer is a flat rubber ring that sits inside the female coupling. Over a season it hardens, cracks, or falls out, and water sprays from the threads. A replacement pack costs very little. Pry out the old one, press in a new one, and thread the hose on hand-tight; cranking it with pliers flattens the washer and makes the leak worse.
Many spigots, especially newer frost-free models, have a built-in or add-on vacuum breaker, the cap on the spout. It stops dirty water from being siphoned back into your plumbing, so do not remove it permanently. If it leaks steadily while the faucet is running, sediment or a worn internal seal is usually to blame. Some models can be unscrewed and cleaned or rebuilt with a small kit; others are replaced as a unit. Consult the faucet brand’s instructions, because some breakers are designed not to come off.
Before working on the faucet body or any threaded joint, close the indoor shutoff for the outdoor line and open the spigot to drain it. A leak at the wall connection that you cannot tighten easily, or any water appearing inside the house, is a good time to call a plumber.