A periscope dryer vent is the flat aluminum duct that finally lets you push your dryer back against the wall instead of leaving a foot of wasted floor for a crushed foil hose. If your laundry space is tight, or your dryer sticks out awkwardly into the room, this is the fix pros reach for.
I’ve swapped dozens of kinked foil transition hoses for these, and the improvement in airflow and floor space is immediate. Here’s everything you need to know before you buy and install one.
- What a Periscope Dryer Vent Is
- How the Offset and Telescoping Design Works
- Why It Beats Flexible Foil Hose
- Sizing and What to Buy
- Step-by-Step Installation
- Common Mistakes to Avoid
- Maintenance Once It’s In
- Aluminum Periscope vs Semi-Rigid Alternatives
- What It Won’t Fix
- Is It the Right Choice for You
What a Periscope Dryer Vent Is
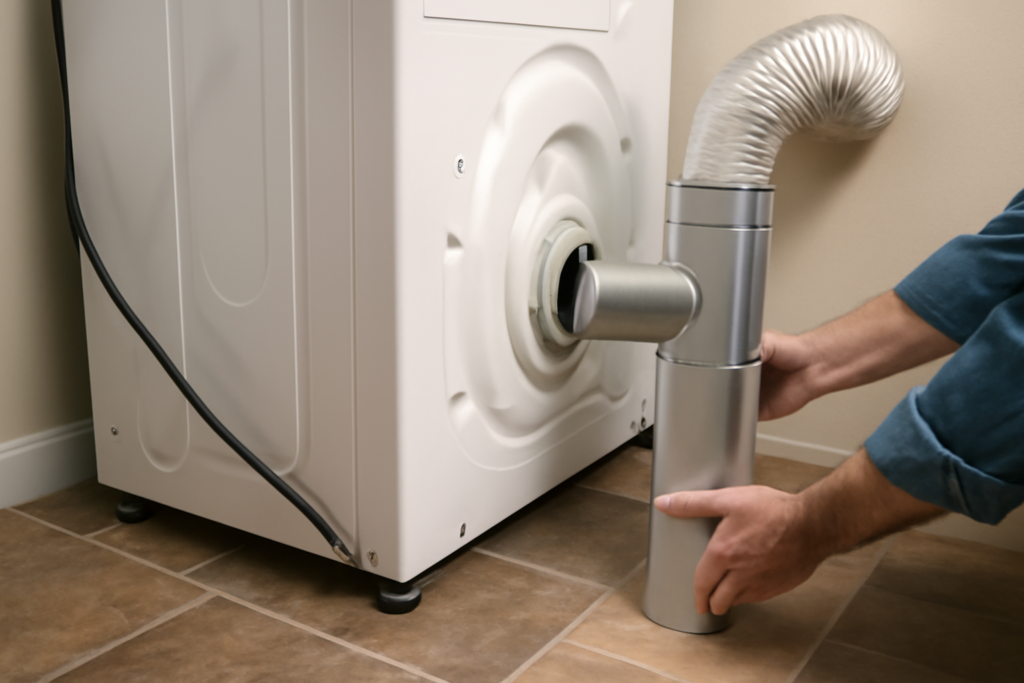
The name comes from the shape: like a submarine periscope, it offsets the airflow from one height to another. Instead of a round hose, it’s a slim rectangular aluminum channel, usually about 2.5 inches thick, that connects the round exhaust port on the back of your dryer to the round wall duct, even when those two openings don’t line up.
Because the profile is so flat, the dryer can sit just 2 to 3 inches off the wall instead of the 6 to 12 inches a bulky foil or semi-rigid hose demands. In a small laundry closet, that reclaimed depth can be the difference between a door that closes and one that doesn’t.
How the Offset and Telescoping Design Works
A quality periscope dryer vent does two jobs at once. First, it offsets: the dryer’s exhaust port is often at a different height than the hole in your wall, and the periscope bridges that vertical gap. Second, it telescopes: the two aluminum halves slide within each other so you can dial in the exact length and offset your setup needs.
Common adjustable models cover an offset range from 0 up to about 18 inches, and some slide to accommodate 27 inches or more of length. That flexibility means one part fits most installations, whether your wall duct is directly behind the dryer, higher up, or off to one side.
- 0-inch offset: ports line up, you just need the flat profile to save depth
- Up to 18-inch offset: wall duct is well above or below the dryer port
- Telescoping length: slide to fit, then lock with the friction joint or a screw
Why It Beats Flexible Foil Hose
The old white or silver accordion foil hose is the worst thing you can put behind a dryer, and most inspectors will tell you the same. Here’s why the periscope wins:
- Smooth interior: rigid aluminum walls don’t have the ridges that foil does, so lint has fewer places to snag and build up
- No crushing: when you shove the dryer back, a foil hose collapses and kinks, choking airflow to a trickle. The rigid periscope holds its shape.
- Fire safety: restricted airflow and trapped lint are the two leading causes of dryer fires. Many foil hoses aren’t even code-approved for the transition. A UL-listed rigid periscope is.
- Faster drying: better airflow means shorter cycles and less wear on the machine’s heating element
Look for a model that is UL-listed. That listing means it passed real airflow and fire-safety testing, not just a shape that looks right.
Sizing and What to Buy
Nearly all residential dryers use a 4-inch diameter exhaust, and periscope vents are built to match that 4-inch round connection on both ends. Before you buy, measure two things:
- The horizontal distance from the dryer’s exhaust port to the wall duct opening (this sets the length you need)
- The vertical difference between the center of the dryer port and the center of the wall opening (this is your required offset)
Buy an adjustable model whose offset range comfortably covers your measurement rather than one you’d have to stretch to its limit. Popular UL-listed options run about $15 to $30 at Home Depot, Lowe’s, or Amazon. Grab a couple of 4-inch worm-gear clamps and a roll of UL-approved foil tape while you’re at it. Never use drywall or sheet-metal screws that poke into the airflow path, they snag lint.
Step-by-Step Installation
- Unplug the dryer and, if it’s a gas dryer, shut off the gas supply valve. Pull the machine out far enough to work behind it comfortably.
- Remove the old hose. Loosen the clamps at both the dryer port and the wall, and take out the foil or existing duct. Vacuum out any lint you find in the wall duct opening and around the dryer port.
- Set the offset. Slide the two halves of the periscope to match your measured length and vertical offset. Get it roughly set before connecting either end.
- Connect the wall end first. Slip the periscope’s round collar over the wall duct and secure it with a worm-gear clamp.
- Connect the dryer end. Fit the other collar onto the dryer’s exhaust port and clamp it. Fine-tune the telescoping slide so there’s no strain on either joint.
- Seal the joints. Wrap each connection and the telescoping seam with UL-approved foil tape. Do not use cloth duct tape, it dries out and fails from the heat.
- Push the dryer back gently, keeping the periscope flat against the wall. Confirm it isn’t pinched.
- Restore power and gas, run a test cycle on air-only or a short timed dry, and feel for strong airflow at the exterior vent hood while checking the joints for any leaks.
Common Mistakes to Avoid
- Over-extending the telescope: stretched to its maximum, the overlap between the two halves shrinks and the joint can pull apart or leak. Keep some overlap.
- Skipping the tape: unsealed seams leak warm, moist, lint-laden air into the room, which invites mold behind the machine
- Forcing an offset it can’t reach: if your ports are 20 inches apart and the vent maxes at 18, buy the right size, don’t bend the aluminum
- Ignoring the rest of the run: the periscope is only the transition piece. If the in-wall duct beyond it is clogged or made of ribbed flex, you’ve solved half the problem.
Maintenance Once It’s In
A rigid vent doesn’t trap much lint, but it isn’t maintenance-free. Once a year, unplug the dryer, pull it out, disconnect the periscope, and vacuum both it and the wall duct. Clean the lint screen after every load and check the exterior vent flap opens fully when the dryer runs. A vent that snaps shut with a strong puff of air is doing its job.
Aluminum Periscope vs Semi-Rigid Alternatives
Not every “space saver” duct is the same, and it’s worth knowing what you’re comparing:
- Rigid aluminum periscope: the flattest option, holds its shape, offset is fixed to the model’s adjustable range, best for tight closets where depth is everything
- Semi-rigid aluminum hose: a round corrugated aluminum tube that’s far better than foil and bends around obstacles, but it’s round so it needs more depth and its ribbed interior collects a bit more lint
- Flexible foil hose: the one to avoid, crushes, kinks, and traps lint, and often isn’t code-approved for the transition run
If your setup is genuinely tight and the ports are offset, the rigid periscope wins. If you have room and just want a safer duct than foil, semi-rigid aluminum is a fine, flexible choice. Both beat the accordion foil hose that came with a lot of older installs.
What It Won’t Fix
Be clear-eyed about the periscope’s job. It’s the transition piece, the short link between the dryer and the wall. It does nothing for the ductwork buried in your wall, floor, or roof beyond that point. If your dryer takes two cycles to dry a load, the culprit is usually a clogged main duct run or a stuck exterior vent flap, not the transition. Total duct length also matters: most manufacturers cap the whole run at about 25 to 35 feet, subtracting roughly 5 feet for every 90-degree elbow. The periscope’s offset counts against that budget, so on a long run keep the offset modest.
Is It the Right Choice for You
If your dryer sits in a closet, an alcove, or any spot where every inch of depth counts, a UL-listed periscope dryer vent is a $20 upgrade that reclaims floor space, cuts drying time, and lowers your fire risk all at once. For a dryer that sits far from the wall with a straight shot to a round duct, a short length of semi-rigid aluminum may be simpler. But for tight, offset installations, nothing else does the job as cleanly.