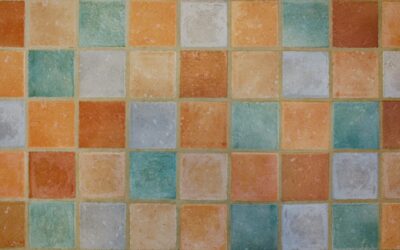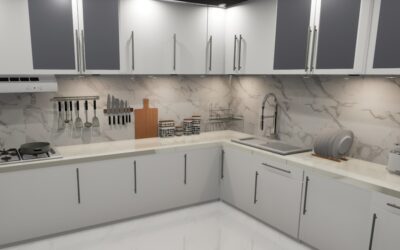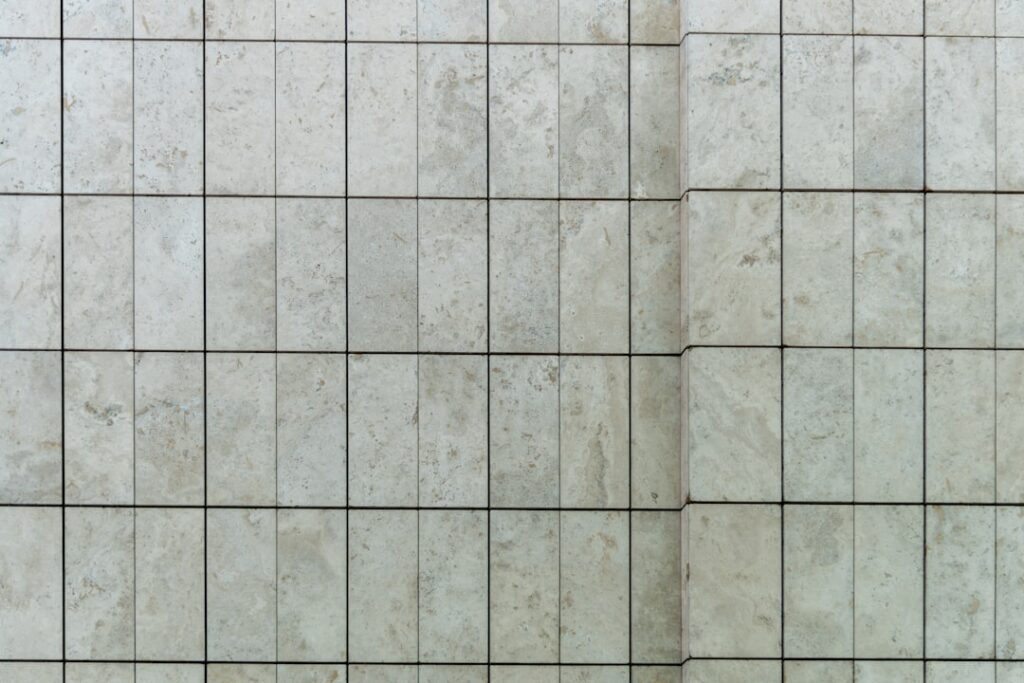
When homeowners start planning a kitchen refresh, one of the first things they search for is pictures of subway tile backsplash designs, hoping to land on a look that feels both timeless and personal. The trouble with scrolling endless photos is that it is hard to tell why one backsplash looks polished and another looks flat. This guide translates those images into the actual design decisions behind them: the layouts, grout pairings, colors, and patterns that make a subway tile backsplash work. Think of it as a visual tour in words, so you can picture and plan your own.
Part of our Kitchen Remodeling guide — explore the full guide →
Why Subway Tile Endures
Subway tile earned its name from the glossy 3-by-6-inch rectangles lining early 1900s New York subway stations, and that clean, utilitarian rectangle has never gone out of style. It suits nearly every kitchen, from farmhouse to modern to traditional, which is exactly why it dominates backsplash inspiration galleries. The classic proportion is still 3 by 6 inches, but today you will see it in 2-by-4, 4-by-8, 4-by-12, and elongated skinny formats that each change the mood of the finished wall.
Layout Patterns That Define the Look
The single biggest reason two subway backsplashes look completely different is the layout. The same white tile reads traditional or contemporary depending on how it is set.
- Classic 50 percent offset (brick bond): Each row shifts half a tile, the most recognizable and forgiving arrangement. Warm and familiar.
- Vertical stack: Tiles set straight up and down in perfect columns for a crisp, modern, architectural feel that draws the eye upward.
- Horizontal stack: Aligned in straight rows for a sleek, minimalist grid that widens the wall visually.
- Herringbone: Tiles angled at 45 degrees into a zigzag, adding movement and a designer touch. It uses more tile and labor but photographs beautifully.
- Vertical herringbone and chevron: Elongated versions that feel dramatic and current in a statement kitchen.
- One-third offset: A subtler stagger than the classic half-brick, giving a slightly more custom look.
If you love the images where the backsplash feels calm and classic, you are looking at brick offset. If it feels sharp and modern, it is almost certainly a stacked or herringbone set.
The Grout Color Decision
Grout is the detail that makes or breaks the photos people admire most. The tile may be identical, but the grout color changes everything.
- White tile, white grout: Seamless, soft, and bright. The tiles blend into one clean surface, ideal for small kitchens that want to feel larger.
- White tile, light gray grout: The most popular combination. It subtly outlines each tile so the pattern shows without harsh contrast, and it hides dirt better than white.
- White tile, black or charcoal grout: Bold, graphic, and modern. Every tile is framed in a crisp grid, a favorite for industrial and farmhouse kitchens.
- Colored tile, tonal grout: Matching grout to a green, blue, or blush tile keeps the color continuous and rich.
When a backsplash photo looks striking, look at the grout first. High contrast grout is doing the heavy lifting behind that graphic, magazine-worthy effect.
Color Palettes to Consider
White is the default for good reason, but the inspiration galleries are full of color for those who want it.
- Crisp white: Endlessly versatile, brightens the room, and pairs with any cabinet color.
- Soft cream and ivory: Warmer than pure white, flattering with wood tones and farmhouse styling.
- Sage and forest green: A trending choice that adds organic warmth and pairs with brass hardware.
- Powder and navy blue: Coastal and calming in lighter shades, dramatic in deeper ones.
- Blush and terracotta: Warm, earthy tones for a soft, personal palette.
- Matte black or deep charcoal: Sophisticated and modern, especially paired with light countertops.
Glossy finishes reflect light and keep things bright and traditional, while matte and handmade-look tiles with subtle color variation feel current and artisanal.
Finish and Edge Details
Small choices give a backsplash its finished, custom quality. Glossy tile bounces light and reads classic; matte and zellige-style handmade tiles bring texture and an organic, high-end feel. For edges, homeowners choose between a matching bullnose trim tile, a thin metal Schluter edge for a modern clean line, or simply running the tile into the cabinets. A full-height backsplash that runs all the way to the underside of the upper cabinets, or even floor to ceiling behind a range, is a growing look that feels luxurious and shows off the pattern.
Styling Ideas From the Best Photos
- Run subway tile all the way up behind the range or hood as a focal point, then keep the rest standard height.
- Pair white tile with warm wood open shelving to soften the crisp grid.
- Combine matte black grout with matte black faucet and hardware for a cohesive modern kitchen.
- Use a herringbone layout in a small section, like behind the stove, and brick offset elsewhere to save cost while adding interest.
- Let a bold tile color carry the room by keeping cabinets and counters neutral.
Cost to Plan Around
Subway tile remains one of the most budget-friendly backsplash options. Ceramic subway tile runs roughly $2 to $10 per sq ft for materials, with handmade and specialty finishes reaching $15 to $25 per sq ft. Professional installation typically adds $10 to $20 per sq ft depending on layout; herringbone and other angled patterns cost more in labor and waste than a simple brick offset. A typical kitchen backsplash of 30 sq ft therefore lands anywhere from a few hundred dollars for a simple DIY job to well over a thousand installed with a premium tile and pattern.
Matching the Backsplash to Your Kitchen Style
The photos that stop you mid-scroll usually work because the backsplash matches the rest of the kitchen. Translating an image to your own space means reading the whole room, not just the tile.
- Modern kitchen: Vertical or horizontal stacked white tile with light gray grout, or glossy tile with a thin metal edge, keeps lines clean and uncluttered.
- Farmhouse kitchen: Classic brick offset in white or cream with a handmade, slightly irregular finish, paired with warm wood shelving and brass hardware.
- Industrial kitchen: White or gray tile with bold black grout, matte black fixtures, and open metal shelving for that graphic, urban look.
- Traditional kitchen: Glossy 3-by-6 tile in a half-brick pattern with tonal grout, running to a bullnose edge for a soft, timeless finish.
- Coastal kitchen: Soft blue or seafoam subway tile with white grout for an airy, relaxed palette.
Once you identify which style your kitchen leans toward, the layout, grout, and color choices from the inspiration photos start to click into a coherent plan instead of a random collage.
Common Mistakes to Avoid
Even a foolproof tile like subway can look off if a few details go wrong. Watch for these pitfalls that separate the polished photos from the disappointing ones.
- Choosing grout that clashes with the countertop or cabinet undertones instead of complementing them.
- Ending the tile at an awkward height or mid-wall rather than a clean stopping point like the underside of the cabinets.
- Picking a busy herringbone or bold grout in an already busy kitchen, which competes rather than complements.
- Forgetting to seal cement grout, so light joints darken and stain within months.
- Buying too little tile and running short of a matching dye lot mid-project.
Order 10 to 15 percent extra tile, confirm your grout against a cured sample, and plan a clean edge, and your finished wall will look every bit as sharp as the inspiration that started the project.
Frequently Asked Questions
What is the most popular subway tile backsplash look? White 3-by-6 tile in a classic half-brick offset with light gray grout remains the top pick in inspiration photos for its balance of timeless and low maintenance.
Which grout color should I choose? Light gray is the safest crowd-pleaser. Choose white for a seamless look or black for bold, graphic contrast.
Is herringbone worth the extra cost? If you want a design that stands out in photos and in person, yes. Expect higher material waste and labor than a straight brick pattern.
Does subway tile ever go out of style? It has stayed in fashion for over a century. Layout and grout choices let you keep it either traditional or firmly modern.
The pictures of subway tile backsplash designs you save all come down to a handful of choices: the layout, the grout color, the tile shade, and the finish. Understand how those four levers work together and you can stop guessing which photo will translate to your kitchen and start designing a backsplash that looks intentional, personal, and built to last.
Prefer to explore on your own?
See how new flooring looks in your actual room in seconds — free, no signup.
Try the free Floor Studio →