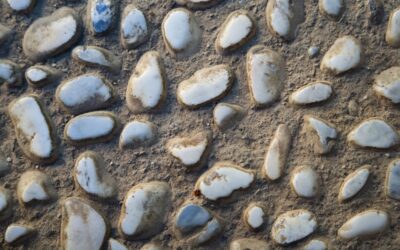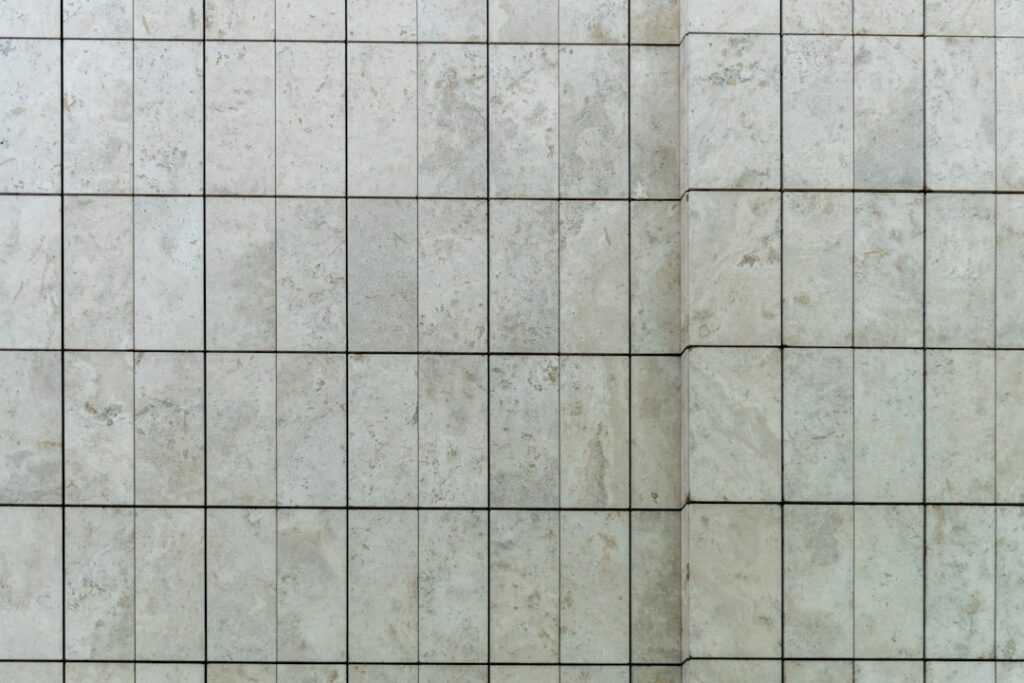
Every homeowner who calls me for a quote has already spent hours scrolling through **pictures of tile floors** online, and almost every one of them shows up with three or four screenshots on their phone that all look nothing alike. That’s fine — it’s actually how this process should start. But photos alone don’t tell you what a floor costs, how it wears, or whether it fits your house’s layout and light. After 18 years installing tile, I’ve learned to translate those saved images into the specifics that matter: material, pattern, grout width, and price per square foot. This guide walks through the styles homeowners search for most, what makes each one photograph so well, and what you’re actually signing up for once it’s on the floor.
Part of our Tile & Grout guide — explore the full guide →
- Large-Format Porcelain: The Modern Minimalist Look
- Wood-Look Plank Tile
- Classic Hexagon and Penny Round Tile
- Natural Stone: Travertine, Marble, and Slate
- Patterned Cement and Encaustic-Look Tile
- Herringbone and Chevron Layouts
- Reading Light and Room Size in a Photo
- Cost Ranges at a Glance
- How to Use Reference Photos With Your Contractor
Large-Format Porcelain: The Modern Minimalist Look
The images that dominate design feeds right now are almost always large-format porcelain — tiles 24×24 inches or bigger, sometimes up to 24×48, laid with thin 1/16 to 1/8-inch grout lines that nearly disappear. The appeal in photos is obvious: fewer grout lines read as a cleaner, more expensive-looking floor, and the scale makes small rooms photograph larger than they are. Installed cost runs $8 to $16 per square foot, with material at $3 to $8 per square foot and labor running higher than standard tile because large panels need a perfectly flat subfloor and careful handling to avoid cracking during transport.
If a picture catches your eye because the floor looks almost seamless, it’s large-format porcelain with minimal grout, laid by a crew experienced with big-tile installation — ask any contractor directly whether they’ve handled 24×48 panels before hiring them for this look.
Wood-Look Plank Tile
Wood-look porcelain plank, typically 6×36 or 8×48 inches, shows up constantly in kitchen and living room photos because it delivers the warmth of hardwood with none of the water sensitivity. Manufacturers like Marazzi and MSI have pushed the printed wood grain technology far enough that in a photo, it’s genuinely difficult to tell wood-look tile from real oak or hickory flooring. Installed cost sits at $9 to $18 per square foot, and it’s the single most requested product among clients who love a rustic or farmhouse photo but need something that survives a mudroom, kitchen, or basement.
The detail that doesn’t show up in photos: plank tile needs to be laid with a deliberate stagger, offsetting each row by at least a third of the plank length, or the repeating grain pattern becomes obvious and cheap-looking in person even though it read fine on screen.
Classic Hexagon and Penny Round Tile
Small-format hexagon tile, usually 1-2 inches per side, and penny round mosaics dominate bathroom floor photos, especially in black-and-white or vintage-inspired designs. These patterns photograph beautifully because the repeating geometric shape creates visual texture even in a small, plain bathroom. Material cost runs $5 to $15 per square foot for ceramic or porcelain versions, with unglazed porcelain hex being the most slip-resistant choice for a bathroom floor.
What photos rarely show is the grout math: small-format mosaic tile has far more grout line per square foot than large-format tile, which means more maintenance and, if you choose white grout, more staining risk over time. Ask for a darker grout if you’re chasing this look for a busy household bathroom rather than a powder room.
Natural Stone: Travertine, Marble, and Slate
Photos of travertine and marble floors consistently draw the most saves and shares because natural veining is something no printed tile fully replicates, and warm-toned travertine especially photographs beautifully in Mediterranean and Tuscan-style kitchens. Travertine runs $8 to $20 per square foot installed; polished marble runs higher, often $15 to $30 per square foot, and both require sealing at installation and roughly every 1 to 2 years afterward to resist staining and etching from acidic spills.
Slate, in gray, charcoal, and rust tones, photographs well in entryways and mudrooms and holds up to grit and moisture better than marble, at $6 to $15 per square foot. If a stone floor photo appeals to you, budget for the sealing maintenance up front — it’s the part that never shows up in the picture but shows up on your calendar every year.
Patterned Cement and Encaustic-Look Tile
Bold geometric or Moroccan-inspired patterned tile has become one of the most Pinned floor styles for entryways, kitchens, and laundry rooms, precisely because a patterned floor does the design work that plain walls and cabinetry can’t. True cement tile runs $10 to $25 per square foot and is porous, requiring sealing before grouting and periodically afterward. Glazed porcelain reproductions of the same patterns run $5 to $12 per square foot and need no sealing at all, which is why most of my clients choose the porcelain version once they understand the maintenance difference — the photo looks identical either way.
Herringbone and Chevron Layouts
The pattern, not just the material, is often what makes a photo stand out. Herringbone — rectangular tiles laid in a repeating zigzag — and chevron, where the tile ends are pre-cut at an angle to form a continuous V pattern, both add roughly 15 to 25 percent more labor cost over a standard straight or brick-lay pattern because of the additional precision cutting involved. These patterns work with wood-look plank, natural stone, or plain porcelain rectangles, and they’re a reliable way to make a photographed floor look custom rather than off-the-shelf.
Reading Light and Room Size in a Photo
One thing homeowners consistently underestimate is how much natural light in a photo affects how a tile floor appears. A gray porcelain floor photographed in a sunlit, south-facing kitchen with white cabinets will look several shades lighter and warmer than the same tile installed in a north-facing room with limited window exposure. Before committing to a color based on a saved photo, ask your supplier for a full-size sample tile, at least 12×12 inches, and view it in your own room at different times of day rather than trusting the screen image alone.
Room size matters just as much. A large-format tile photographed in an open-concept 400-square-foot great room will read differently in a 60-square-foot bathroom, where the grid of even a big tile gets interrupted constantly by the toilet, vanity, and tub surround. For small rooms, ask to see photos specifically of similarly sized spaces rather than judging scale from a great room shot.
Cost Ranges at a Glance
- Large-format porcelain: $8-$16 per square foot installed.
- Wood-look plank tile: $9-$18 per square foot installed.
- Hexagon and penny round mosaics: $5-$15 per square foot material.
- Travertine and slate: $6-$20 per square foot installed, plus sealing.
- Patterned cement or porcelain reproduction: $5-$25 per square foot depending on material.
How to Use Reference Photos With Your Contractor
- Save 3-5 photos that share a common thread — color, pattern, or grout width — rather than five unrelated styles.
- Note the room type in each photo; a wet bathroom floor and a dry living room floor have different slip-resistance requirements.
- Ask your contractor to identify the tile size and format in each photo before quoting, since size drives labor cost more than material choice.
- Bring up grout color and width specifically — it changes a photo’s entire mood more than most homeowners expect.
- Confirm maintenance requirements for any natural stone photo before committing, since sealing schedules vary widely by material.
The best use of pictures of tile floors isn’t to find one exact image to replicate — it’s to identify the pattern of things you keep saving, whether that’s warm wood tones, thin grout lines, or bold geometric patterns, and bring that pattern to a contractor who can translate it into material, size, and budget. Do that homework up front and the floor you install will actually match the photo in your head, not just the one on your phone.
Prefer to explore on your own?
See how new flooring looks in your actual room in seconds — free, no signup.
Try the free Floor Studio →