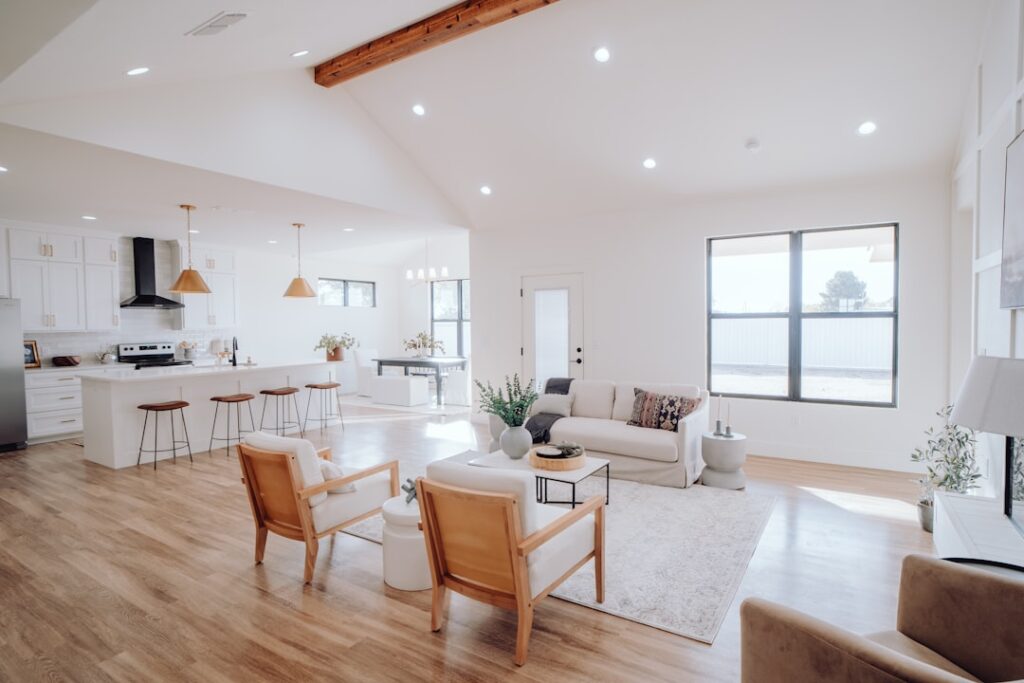
Here is something most homeowners do not realize until the crew leaves: a freshly sanded site-finished floor can keep you out of a room for three to five days while coats cure. Prefinished wood planks skip that entirely. The boards arrive at your door already sanded, stained, and sealed with a factory-applied finish, so you can move furniture back the same afternoon the last plank goes down. That convenience is the headline, but it is far from the whole story.
Whether you are weighing solid versus engineered, oil versus UV-cured urethane, or simply trying to figure out if these floors hold up, this guide walks through the real trade-offs from the perspective of someone who has installed both kinds.
What “Prefinished” Actually Means
A prefinished plank is milled, stained, and coated inside a controlled factory environment before it ever reaches a job site. The finish is typically applied in seven to ten layers and cured under ultraviolet lamps, which produces a harder, more uniform surface than anything that can be brushed on in your living room. Most premium lines bake aluminum-oxide particles into the top coats. That mineral is one of the hardest materials used in floor finishing, and it is the reason many manufacturers stamp a 25-year or even lifetime wear warranty on the finish.
By contrast, a site-finished floor is installed raw, then sanded flush and coated in place. Both approaches end in a wood floor, but the factory process gives prefinished boards a consistency that hand-application struggles to match.
Solid vs. Engineered Prefinished Planks
You will find prefinished boards in two construction types, and choosing correctly matters more than picking a color.
- Solid prefinished planks are a single piece of hardwood, usually 3/4 inch thick. They can be sanded and refinished several times over a 50-year life, but they expand and contract with humidity, so they are not recommended over concrete or in basements.
- Engineered prefinished planks use a real hardwood wear layer bonded to a plywood or HDF core. The cross-layered core resists seasonal movement, which makes them the smarter pick over radiant heat, concrete slabs, and below-grade rooms. A thick 4mm to 6mm wear layer can still be refinished once or twice.
If you live in a climate with big swings between dry winters and humid summers, engineered construction will save you headaches with gapping and cupping.
Finish Options and What They Mean for You
The factory finish defines how the floor looks and how it ages. UV-cured urethane with aluminum oxide is the most common and the most durable, offering excellent scratch and stain resistance in matte, satin, and semi-gloss sheens. Matte and low-satin sheens are wildly popular right now because they hide micro-scratches and dust far better than glossy coats.
Penetrating hardwax-oil finishes are the other camp. They soak into the wood rather than sitting on top, producing a natural, almost raw look that you can spot-repair without sanding the whole floor. The trade-off is more frequent maintenance, since oil needs re-application every one to three years in busy areas.
Cost Expectations
Pricing varies by species and wear-layer thickness, but here is a realistic 2026 range for materials alone:
- Entry-level engineered oak: $3 to $5 per square foot
- Mid-grade engineered hickory or maple: $5 to $9 per square foot
- Solid prefinished oak or walnut: $6 to $12 per square foot
- Wide-plank European white oak: $9 to $16 per square foot
Professional installation typically adds $3 to $6 per square foot. Because there is no sanding and finishing labor, prefinished installs often run cheaper overall than site-finished jobs, even though the boards cost a little more up front.
The Microbevel Question
Most prefinished planks have a slight V-groove, called a microbevel, along each edge. This is intentional. Since the boards cannot be sanded perfectly flush after installation the way a site-finished floor can, the bevel disguises tiny height differences between planks. Some homeowners love the defined plank-by-plank look it creates; others prefer the seamless sheet appearance of a sanded floor. If a flush, furniture-grade surface is your priority, that is the one genuine advantage site-finishing still holds.
Installation Basics
Prefinished planks install by nailing, stapling, gluing, or floating, depending on the product and subfloor. A few rules apply across the board:
- Acclimate the boxes in the room for at least 48 to 72 hours so the wood matches your home’s humidity, ideally between 35% and 55% relative humidity.
- Check that the subfloor is flat within 3/16 inch over a 10-foot span. High spots cause hollow-sounding boards and squeaks.
- Leave a 1/2-inch expansion gap around the perimeter, hidden later by baseboard or quarter round.
- Stagger end joints at least 6 inches and dry-lay a few rows first to balance color variation across the room.
One pro tip: open several boxes at once and pull planks at random. Wood is a natural product, and mixing boxes prevents an unwanted patch of dark or light boards clustering in one spot.
Maintenance That Keeps Them Looking New
Care is refreshingly simple. Sweep or vacuum with a hard-floor setting to lift grit, which is the number-one enemy of any wood finish. Damp-mop occasionally with a cleaner formulated for hardwood, never a wet mop or steam. Felt pads under furniture legs and walk-off mats at entries do more to protect the floor than any product you can buy. With a quality UV-cured finish, a properly maintained prefinished floor will look sharp for 15 to 20 years before it ever needs attention.
Is It the Right Choice for You?
Choose prefinished wood planks if you want minimal disruption, dust-free installation, a hard factory finish backed by a long warranty, and a predictable look straight out of the box. Lean toward site-finishing only if you need a perfectly flush surface, a fully custom stain, or are restoring a historic floor. For the vast majority of renovations, prefinished planks deliver the warmth and value of real hardwood with far less hassle, which is exactly why they have become the default choice in modern homes.
Prefer to explore on your own?
See how new flooring looks in your actual room in seconds — free, no signup.
Try the free Floor Studio →