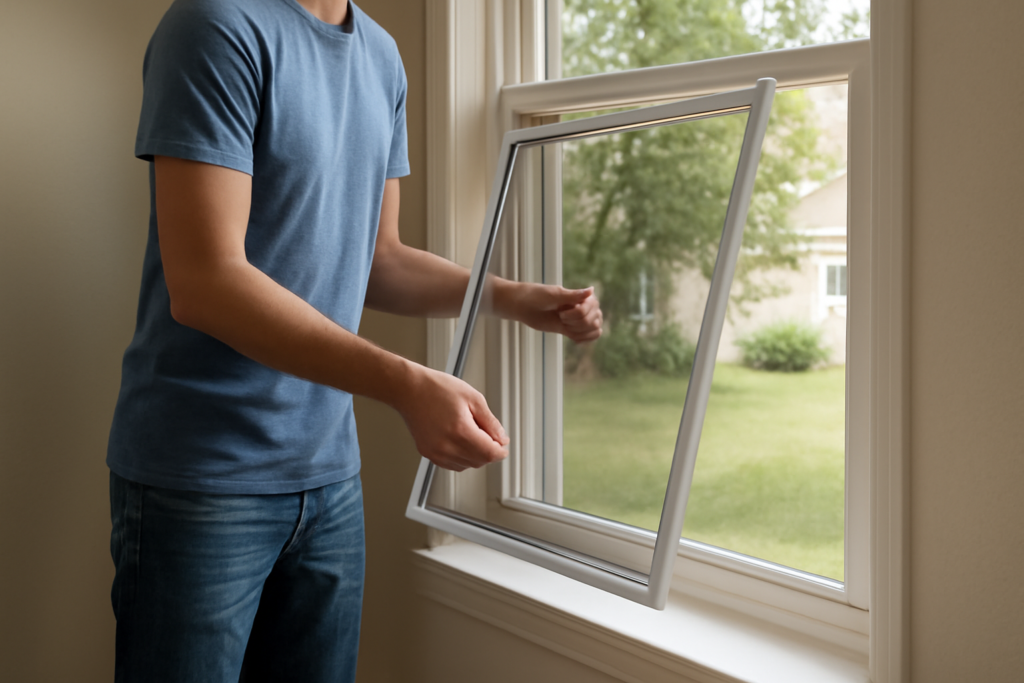
Torn, sagging, or bug-letting window screens are a small annoyance that is surprisingly easy and cheap to fix. Whether the mesh has a hole, the frame is bent, or the whole screen has gone brittle with age, replacement screens for windows restore your ability to open the windows for fresh air without inviting insects inside. You can rescreen an existing frame for just a few dollars, order custom screens for oddly sized openings, or buy pre-made units off the shelf. This guide explains the mesh options, costs, how to measure correctly, and step-by-step DIY rescreening so you can choose the right approach for your home.
Part of our Windows & Doors guide — explore the full guide →
- Why Window Screens Fail
- Types of Screen Mesh
- What Replacement Screens Cost
- How to Measure for Replacement Screens
- DIY Rescreening: Step by Step
- When to Replace the Whole Frame
- Common Mistakes to Avoid
- Choosing the Right Screen for Your Needs
- Caring for Your Screens to Make Them Last
- Specialty Screens Worth Considering
Why Window Screens Fail
Window screens take a lot of abuse over the years. Sun degrades the mesh and the rubber spline that holds it in place, making both brittle. Pets push against them, kids poke them, and storms and debris tear them. Aluminum frames bend, and fiberglass mesh stretches and sags. Once a screen has holes, gaps at the edges, or a warped frame, it stops doing its one job of keeping bugs out while letting air in. The good news is that in most cases you do not need to replace the entire window or even the frame; you can simply install fresh mesh in the existing frame, a project that costs very little and takes only minutes per screen once you get the hang of it.
Types of Screen Mesh
Choosing the right mesh matters, because different materials suit different needs:
- Fiberglass: The most common and affordable. It is flexible, easy to install, does not crease, and resists corrosion, though it is less durable against tears. Great for DIYers.
- Aluminum: More durable and rigid than fiberglass, resists sagging, and lasts longer, but it can crease permanently and may show scratches. It offers slightly better visibility.
- Pet-resistant mesh: A heavy-duty vinyl-coated polyester several times stronger than standard mesh, designed to withstand cats and dogs.
- Solar or sun-blocking screen: Denser mesh that blocks a large percentage of sunlight and heat, reducing cooling costs and glare while preserving airflow.
- No-see-um / tiny-insect mesh: Finer weave that keeps out gnats and other minuscule bugs standard screens let through.
What Replacement Screens Cost
Screens are one of the most budget-friendly home repairs:
- DIY rescreening materials: A roll of mesh runs $10 to $40, spline is a few dollars, and a spline roller tool is about $8 to $15. That is enough to rescreen many windows.
- Per-screen DIY cost: often just $3 to $10 in mesh once you own the tools.
- Pre-made replacement screens: $15 to $40 each for standard sizes.
- Custom-made screens: $25 to $75 or more each, depending on size and mesh.
- Professional rescreening service: $15 to $40 per screen plus materials.
For most homeowners, DIY rescreening is dramatically cheaper than buying new screens or hiring out the work, and the skill is easy to learn.
How to Measure for Replacement Screens
Accurate measuring prevents wasted money and ill-fitting screens. If you are rescreening an existing frame, you simply reuse the frame and only need enough mesh to cover it plus a couple of inches of overlap on each side. If you are ordering new screens, measure the frame itself, not the window opening: measure the height and width of the existing screen frame precisely, and note the frame thickness and the spline groove size. For custom orders, measure the window opening’s height and width and subtract a small amount (often about 1/8 inch) so the screen fits into the track without binding. When in doubt, remove an old screen and take it to the store to match dimensions and spline size exactly.
DIY Rescreening: Step by Step
Replacing the mesh in an existing frame is one of the most satisfying quick repairs. Here is the process:
- Remove the old screen from the window and lay the frame on a flat surface.
- Pry out the old spline, the rubber cord in the groove around the frame’s edge, and pull out the old mesh.
- Cut new mesh a couple of inches larger than the frame on all sides.
- Lay the mesh over the frame, aligning it square, and hold or clamp it in place.
- Roll the spline in. Starting at one corner, use the concave end of a spline roller to press the mesh and new spline into the groove, working around all four sides and keeping the mesh taut but not overstretched.
- Trim the excess mesh with a utility knife, cutting just above the spline for a clean edge.
- Reinstall the screen in the window.
The main skill is keeping the mesh flat and evenly tensioned so it does not sag or pull crooked. Fiberglass is the most forgiving material for beginners.
When to Replace the Whole Frame
Rescreening handles most situations, but sometimes the frame itself is the problem. If the aluminum frame is badly bent, corroded, or the corners have broken, it may be worth buying a new frame or a complete pre-made screen. Frame replacement kits let you build a new frame from cut-to-length aluminum stock and corner connectors, which is still inexpensive and DIY-friendly. For unusual or very large windows, custom-made screens ordered to your measurements ensure a proper fit. Weigh the cost: if a new spline and mesh will restore a sound frame, rescreen it; if the frame is beyond repair, replacing the whole screen is the better move.
Common Mistakes to Avoid
- Stretching the mesh too tight, which can bow the frame; keep it taut but relaxed.
- Using the wrong spline size, which either falls out or will not seat; match the old spline diameter.
- Cutting the mesh too small, leaving no overlap to grip.
- Letting the mesh shift crooked, producing a wavy, distorted screen.
- Trimming before the spline is fully seated, which can pull the mesh loose.
Choosing the Right Screen for Your Needs
Think about what you want the screen to do beyond keeping bugs out. If you have pets that lean or scratch, invest in pet-resistant mesh to avoid frequent repairs. If a window faces harsh afternoon sun, solar screen mesh can cut heat and glare and lower cooling costs. In buggy regions with tiny insects, a fine no-see-um mesh keeps out pests standard screens miss. For most windows, though, standard fiberglass mesh offers the best balance of price, ease of installation, and performance. Matching the mesh to your specific conditions gets you the most value from an already inexpensive project.
Caring for Your Screens to Make Them Last
A little maintenance keeps screens in good shape and delays the need for replacement. At least once a year, ideally in spring, remove the screens and gently wash them with mild soapy water and a soft brush, rinsing thoroughly and letting them dry flat before reinstalling. This removes the pollen, dust, and grime that clog the mesh and dull your view. Inspect the spline as you clean; if it looks cracked or brittle, replacing it is cheap insurance against the mesh popping loose. Store screens flat or upright during winter if you take them down, rather than stacking heavy objects on them that can dent the frames or stretch the mesh. Handling screens by the frame rather than pushing on the mesh also prevents accidental holes. These simple habits can double the life of a screen and keep your windows looking sharp.
Specialty Screens Worth Considering
Beyond basic replacements, several specialty options solve specific problems. Retractable screens roll into a discreet housing when not in use, ideal for doors and windows where you want an unobstructed view or a clean look part of the year. Magnetic screens and adjustable frames offer quick, tool-free solutions for renters or awkward openings. Security screens made with heavy stainless steel mesh add a layer of intrusion resistance while still letting air through, popular on ground-floor windows and doors. And for allergy sufferers, fine-weave pollen-reducing screens can noticeably cut the amount of pollen and dust entering the home. If your standard screens keep failing under specific conditions, such as a determined pet or intense sun, upgrading to the right specialty mesh often solves the problem for good rather than requiring repeated repairs. Matching the screen technology to your particular challenge is the smartest way to spend a little more for lasting satisfaction.
Replacement screens for windows are among the easiest and cheapest home repairs you can make, and learning to rescreen a frame yourself turns a $30 service call into a few dollars of mesh and spline. Measure carefully, pick the mesh that fits your climate and household, and take your time keeping the mesh square and tensioned, and you will have crisp, bug-free screens that let the fresh air in all season long.