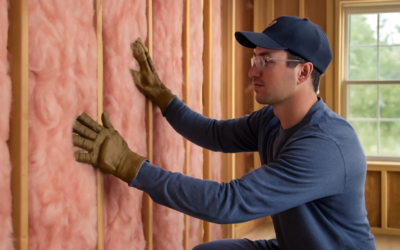
The most common insulation mistake I see isn’t the wrong product, it’s the right product installed badly, and that’s exactly where rolled insulation lives or dies. Rolled insulation is the familiar fluffy blanket of fiberglass or mineral wool that comes in long rolls or pre-cut batts, and it’s the go-to for insulating attics, walls, floors, and ceilings in most American homes. It’s cheap, DIY-friendly, and effective, but only if you match the R-value to your climate and install it without the gaps and compression that quietly gut its performance. Get both right and rolled insulation is one of the highest-return upgrades you can make; get them wrong and you’ve paid for R-19 while getting R-13.
What Rolled Insulation Is
Rolled insulation, also called blanket insulation, is made of fine fibers, most often fiberglass, sometimes mineral wool (rock wool) or natural cotton, matted into a flexible blanket. It comes two ways: long continuous rolls you cut to length, and pre-cut batts sized to standard stud and joist spacing.
Both trap air in the fiber matrix to slow heat transfer, and both are sold in widths to fit 16-inch and 24-inch on-center framing. Rolls suit long, unobstructed runs like attic floors; batts suit stud and joist cavities where pre-cut lengths save time. The material and the concept are the same, only the format differs.
Understanding R-Value
R-value measures resistance to heat flow, and higher is better. It’s the single most important spec when buying insulation, because it tells you how much the product actually slows heat loss and gain. R-value depends mainly on the material and its thickness, so thicker blankets deliver higher R-values.
- R-11 to R-15: about 3.5 inches thick, for 2×4 walls
- R-19 to R-21: about 5.5 to 6.5 inches, for 2×6 walls and floors
- R-30: about 8.25 to 10 inches, common for ceilings and attic floors
- R-38 to R-49: about 12 to 16 inches, for attics in cold climates
The right target depends on your climate zone and where you’re insulating. The Department of Energy recommends roughly R-30 to R-60 for attics and R-13 to R-21 for walls, with the higher numbers in colder northern zones. Check your zone before you buy so you don’t under- or over-insulate.
Faced vs Unfaced: Which to Buy
Rolled insulation comes faced or unfaced, and choosing wrong causes moisture problems. The facing is a paper or foil vapor retarder attached to one side that slows moisture from passing through the insulation.
- Faced insulation: use where you need a vapor retarder, typically the first layer against a heated space, like exterior walls, floors over crawl spaces, and the first attic layer; the facing always goes toward the heated living space
- Unfaced insulation: use where a vapor retarder isn’t wanted, like adding a second attic layer over existing insulation, or where another vapor barrier already exists
Never install two facings that trap moisture between them, and never leave the paper or foil facing exposed in living spaces, since it’s flammable and usually must be covered by drywall. When adding to an existing attic, lay unfaced rolls over the old insulation, running them perpendicular to the joists.
Where to Use Rolled Insulation
Rolled insulation shines in open, accessible framing. Its best uses are unfinished attic floors and rafters, walls during construction or a gut remodel, floors over unconditioned crawl spaces and garages, and ceilings between conditioned and unconditioned spaces.
It’s ideal wherever you have standard-spaced framing and clear access, which is why it dominates new construction and attic upgrades. It’s a poorer fit for irregular cavities, spaces full of wiring and pipes where it’s hard to cut around obstructions cleanly, and finished walls where you can’t open the framing; those often call for blown-in or spray foam instead.
Tools and Safety Gear
This is a manageable DIY job with simple tools, but the safety gear is not optional with fiberglass. Round up the following before you start.
- Utility knife with fresh blades and a straightedge or scrap board for cutting
- Tape measure and a staple gun for faced batts in walls
- Long-sleeve shirt, gloves, safety glasses, and an N95 or better respirator
- Work light and knee pads for attic work
Fiberglass fibers irritate skin, eyes, and lungs, so cover up completely and wear the respirator the entire time. Work in a ventilated space and wash work clothes separately afterward.
How to Install Rolled Insulation
The whole game is filling the cavity completely without compressing the insulation, because compressed insulation loses R-value. Follow these steps.
- Measure and cut. Cut each piece a touch long so it fills the full cavity height, using a straightedge and a sharp utility knife against a scrap board.
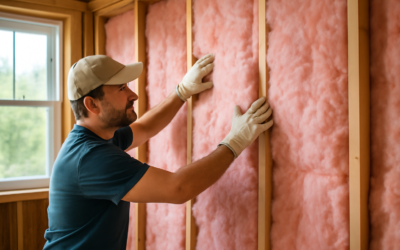
- Fit it in fully. Set the blanket into the cavity so it fills corner to corner with no gaps at the top, bottom, or sides. Gaps and voids are where heat escapes.
- Don’t compress it. Let the insulation loft to its full thickness; stuffing an R-19 batt into a shallow space crushes it down to a lower R-value.
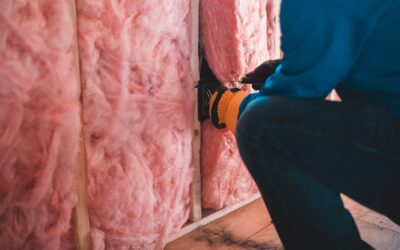
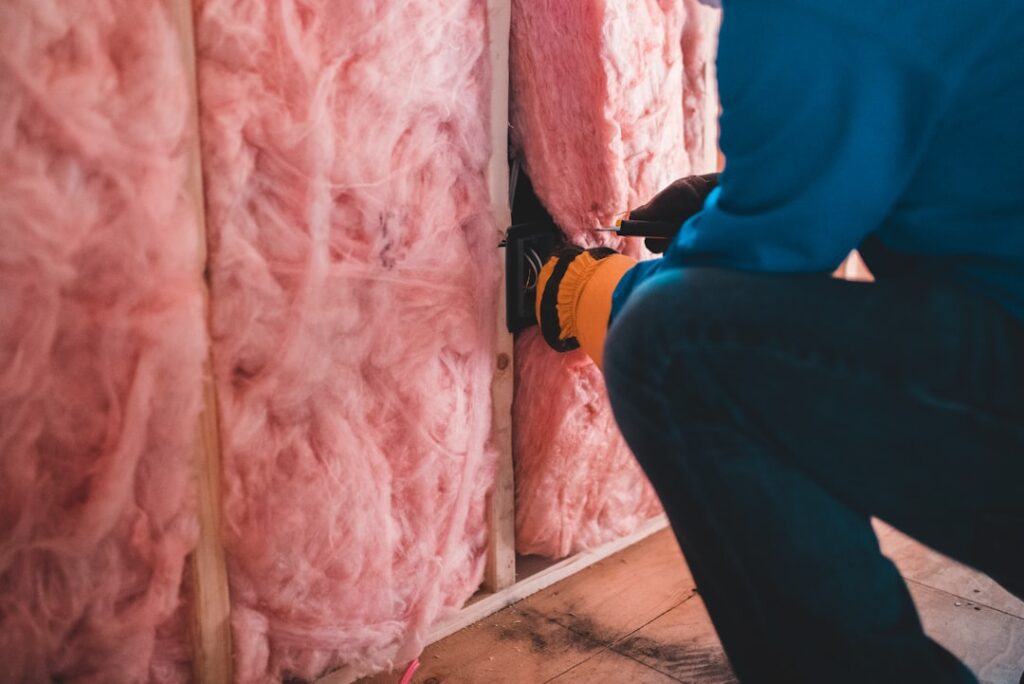
- Cut around obstructions. Split the batt around wires and boxes rather than compressing it over them, tucking one half behind the wire and one in front.
- Face it correctly. Point any facing toward the heated space and staple the flanges to the studs for wall batts, or leave friction-fit unfaced batts snug.
- Keep it clear of hot spots. Hold insulation back from recessed can lights not rated IC, and from flues and chimneys, to avoid a fire hazard.
Common Mistakes to Avoid
The big three are compression, gaps, and blocking ventilation. Compressing insulation to fit a tight space or cramming it behind pipes destroys its R-value, so cut and split instead. Leaving gaps at edges, around outlets, or between batts creates thermal bridges that leak heat. And in attics, don’t let insulation block the soffit vents; use baffles to keep an air channel open so the roof deck can breathe, or you’ll trade an energy gain for a moisture problem.
Installed thoughtfully, rolled insulation is one of the best dollar-for-dollar improvements in a home, cutting heating and cooling bills for decades on a modest upfront cost. Match the R-value to your climate zone, choose faced or unfaced correctly, and install it snug but uncompressed, and this humble fiberglass blanket will quietly pay you back every month in comfort and lower energy bills.
Rolled vs Blown-In vs Spray Foam
Rolled insulation is one of three main options, and knowing when a different type wins keeps you from forcing a blanket into the wrong job. Blown-in insulation, loose fiberglass or cellulose fibers blown in with a machine, excels in existing attics and irregular spaces because it flows around obstructions and fills gaps that batts leave. It’s the better choice for topping up an attic or insulating a space full of framing and wiring, and it usually costs a bit more once you factor in equipment or labor.
Spray foam is the premium option, expanding to fill every crack and doubling as an air barrier, with higher R-values per inch, roughly R-6 to R-7 for closed-cell, but at two to three times the cost of rolled insulation and requiring professional installation. Rolled insulation holds its own as the value leader in open, standard-spaced framing, walls under construction, accessible attic floors, and floors over crawl spaces, where its low cost and easy DIY installation are hard to beat. Match the type to the space: batts for open framing you can access, blown-in for retrofits and irregular cavities, and spray foam where you need air-sealing and maximum R-value in a tight space.
Cost, Savings, and DIY vs Hiring Out
Rolled insulation is one of the most affordable improvements per square foot, which is a big part of its appeal. Material typically runs $0.50 to $1.50 per square foot depending on the R-value, so insulating a 1,000-square-foot attic floor might cost $500 to $1,500 in materials for a DIYer. Hiring a contractor adds labor, roughly doubling the total, but a pro finishes faster and handles the itchy, awkward work.
The payback is real. Adding insulation to an under-insulated attic can cut heating and cooling bills by 10 to 20 percent, often recovering the cost within a few years and saving money every month after that. Because the job is straightforward in open, accessible framing, it’s a genuine DIY project for most homeowners willing to suit up in a respirator, gloves, and long sleeves. Hire out the work if the space is a tight crawlspace, if the attic has knob-and-tube wiring or other hazards, or if you simply don’t want to deal with fiberglass. Either way, few home upgrades return as much comfort and energy savings per dollar as properly installed rolled insulation, which is why it remains the default choice in millions of American homes.