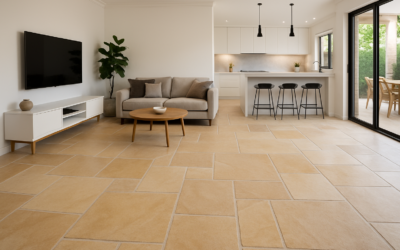
Sandstone is one of the warmest-looking stones you can put underfoot, but it is also one of the thirstiest. The best sandstone path ideas pair the right color and cut with a well-drained base and a breathable sealer, because porous stone left untreated soaks up rain, grows green algae and can flake in hard freezes. Get those basics right and a sandstone walkway looks better every year as it weathers.
In short: pick buff or rainbow sandstone for a soft, natural look, red sandstone for a bold contrast with green lawns, irregular flagged pieces for cottage and woodland gardens, and sawn rectangles for modern entries. Set the stone on a compacted gravel and sand base, keep joints sloped to drain, choose a riven or textured surface for grip, and seal with a penetrating, breathable product once the stone is fully dry.
- Sandstone Path Ideas by Color
- Flagged vs Sawn: Choosing a Pattern
- Tools and Materials
- Safety: Silica Dust When Cutting Sandstone
- Step-by-Step: Building a Sandstone Path
- Sealing Porous Sandstone and Preventing Algae
- Slip Resistance
- Troubleshooting
- General Cost Ranges
- When to Call a Pro
- Frequently Asked Questions
Sandstone Path Ideas by Color
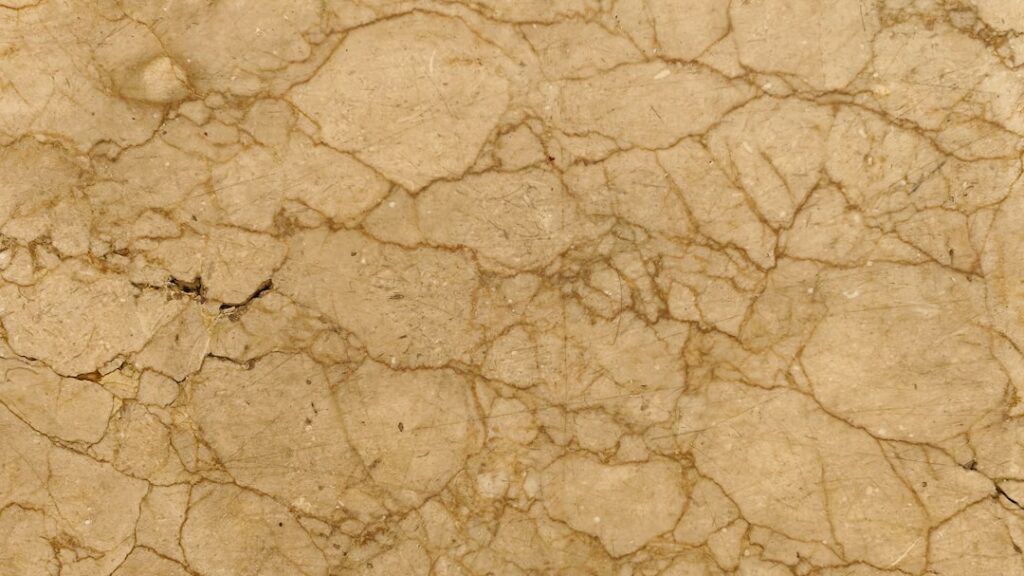
Sandstone gets its color from the minerals that cemented its grains together. Iron oxides produce reds, pinks and rusts, while lighter stones lean toward cream, tan and gray. Color varies between quarries and even between pallets, so view a full crate in daylight before ordering.
Buff and cream sandstone
Buff sandstone ranges from pale honey to warm tan. It brightens shady side yards and pairs well with brick homes, white trim and lavender or ornamental grass borders. Light stone shows dirt and algae sooner, so sealing and occasional cleaning matter more here.
Rainbow and multicolor sandstone
Rainbow sandstone shows bands and swirls of gold, brown, pink and purple in a single slab. It hides dirt well and suits informal cottage paths, patios that flow into walkways, and gardens with mixed planting. Use it in irregular shapes to let the pattern show.
Red and rust sandstone
Red sandstone makes a strong statement against green lawns and dark mulch. It suits Southwest, desert and Spanish-style landscapes and looks crisp in sawn rectangles. Deep reds can fade slightly in full sun over many years, which most owners find adds character.
Gray and blue-gray sandstone
Cooler gray sandstone fits modern and coastal homes and pairs well with concrete, black metal and gravel. It reads calmer than buff or red and works well in narrow side paths where you want the plants to stand out.
Flagged vs Sawn: Choosing a Pattern
The cut of the stone changes the whole feel of a path.
- Irregular flagstone (flagged): natural broken shapes fitted like a puzzle. Best for curving garden paths, woodland walks and stepping-stone layouts. Joints are wider and less uniform.
- Sawn or dimensional pavers: rectangles and squares in set sizes with straight edges. Best for front entries, formal gardens and modern homes. They lay faster and give a smoother, more even surface.
- Riven face vs honed face: riven (split) surfaces keep the natural texture and give better grip when wet. Honed or smooth faces look sleek but can be slippery in rain.
Most of the sandstone path ideas that age best keep the stone on a firm, drained base no matter which pattern you pick. Popular sandstone walkway ideas built from those cuts include:
- Stepping stones in gravel: large flagged pieces spaced about 24 inches center to center, set in pea gravel or decomposed granite. Low cost and good for drainage.
- Stepping stones in groundcover: stones set flush with lawn or creeping thyme for a soft cottage look.
- Random rectangular pattern: mixed sizes of sawn pavers in a repeating module for a classic, tailored walk.
- Running bond: uniform rectangles laid like brick, which visually stretches a short path.
- Border and field: a sawn sandstone edge with an irregular flagged center, which blends formal and natural styles.
- Mixed materials: sandstone slabs with bands of river rock, brick or steel edging for a contemporary feel.
Tools and Materials
- Sandstone flags or pavers, typically 1 to 2 inches thick for walkways on a compacted base
- Crushed gravel base (often called road base or crusher run) and coarse concrete sand or stone dust for bedding
- Landscape fabric, edging and polymeric or regular jointing sand
- Shovel, flat spade, rake, plate compactor or hand tamper, rubber mallet, 4 foot level and string line
- Wet-cutting saw or angle grinder with a water feed and diamond blade for trimming stone
- N95 or P100 respirator, safety glasses, hearing protection, gloves and steel-toe boots
- Penetrating, breathable stone sealer suited to porous sandstone (a stone sealer is worth buying for nearly every sandstone path)
Safety: Silica Dust When Cutting Sandstone
Sandstone is largely quartz, and cutting it dry releases fine crystalline silica dust. Breathing that dust over time can cause serious, permanent lung disease. Treat every cut seriously:
- Cut wet whenever possible, using a saw with a built-in water feed or a grinder with a water attachment.
- Wear a fitted N95 at minimum, and a half-mask with P100 filters for longer cutting sessions.
- Cut outdoors, downwind of people and pets, and away from open windows.
- Clean up with water or a vacuum fitted with a HEPA filter, never dry sweeping or a leaf blower.
- Use a GFCI-protected outlet for any plugged-in wet saw, and keep cords out of standing water.
Stone is also heavy. A single 2 by 3 foot flag can weigh well over 100 pounds, so lift with your legs, use a hand truck or stone dolly, and get help for large pieces.
Step-by-Step: Building a Sandstone Path
1. Plan the route and width
Lay out the path with a garden hose or spray paint. A width of 36 to 48 inches lets two people walk side by side; 24 to 30 inches works for a secondary garden path. Before digging more than a few inches, call 811 to have buried utilities marked.
2. Excavate
Dig out 6 to 8 inches below finished height for a foot traffic path in most soils, more in clay or freeze-thaw regions. Slope the bottom of the trench about 1/4 inch per foot away from the house or to one side so water drains off.
3. Build the base
Lay landscape fabric, then add crushed gravel in 2 inch lifts, compacting each layer with a plate compactor until you have 4 to 6 inches of firm base. Install edging along both sides to keep the base from spreading.
4. Screed the bedding layer
Spread about 1 inch of coarse sand or stone dust and screed it flat to the planned slope using pipes as rails.
5. Set the stone
Dry-lay the pattern first. For flagged stone, fit pieces with joints of roughly 1/2 to 1 inch; for sawn pavers, follow the pattern with consistent 1/4 to 3/8 inch joints. Tap each piece down with a rubber mallet and check it with a level so no edge sticks up. Uneven edges are the main trip hazard on any stone path. Wet-cut pieces as needed.
6. Fill joints
Sweep in polymeric sand for tighter joints that resist weeds and ants, or use regular sand or fine gravel for a looser, natural look. Mist polymeric sand following the product label.
7. Let it dry, then seal
Wait until the stone is fully dry, often several days of dry weather, then apply a sealer.
Sealing Porous Sandstone and Preventing Algae
Sandstone soaks up water like a sponge, which feeds algae and moss in shade and can lead to spalling in freeze-thaw climates. A penetrating (impregnating) sealer soaks into the pores and repels water while still letting vapor escape. Avoid glossy film-forming sealers on walkways: they trap moisture, can turn cloudy, and make the surface slippery.
- Clean the stone thoroughly and let it dry completely before sealing.
- Test the sealer on a spare piece first, since some products darken or enhance color.
- Apply with a low-pressure sprayer or roller, wipe off any puddles, and follow the label for second coats.
- Ventilate if you work near enclosed spaces, wear gloves and eye protection, and keep solvent-based products away from pilot lights and sparks.
- Expect to reseal every 2 to 5 years, depending on sun, traffic and product.
To keep algae down, trim back overhanging shrubs, improve drainage, and sweep leaves off before they rot on the stone. For existing green growth, use a cleaner made for natural stone and a stiff brush. Skip acidic cleaners and high-pressure washing close up, both of which can etch and erode the soft surface.
Slip Resistance
Sandstone has naturally good grip when its surface is riven or textured, which is one reason it has been used for steps and walks for centuries. Grip drops when the stone is honed smooth, coated with a glossy sealer, or covered with algae. Choose riven or flamed finishes for main walkways and steps, keep the surface clean, and avoid smooth-faced stone on slopes. In icy regions, use a de-icer labeled safe for natural stone, since some salts damage porous surfaces.
Troubleshooting
- Rocking stones: base not compacted or bedding too thin. Lift, add bedding, tamp and relevel.
- Puddling: missing slope. Rebuild the low section with proper fall.
- Flaking surface: water freezing in pores. Improve drainage and use a breathable sealer.
- White haze: efflorescence from salts in the base. Brush dry and let it weather before sealing.
- Weeds in joints: refill with polymeric sand and keep joints full.
General Cost Ranges
Sandstone material commonly ranges from a few dollars per square foot for irregular flagstone to more for sawn, calibrated pavers. A DIY path with base materials often lands in a modest range per square foot, while professionally installed sandstone walkways frequently cost several times more once labor, excavation and haul-away are added. Stepping stones in gravel are the most budget-friendly option.
When to Call a Pro
Many sandstone path ideas are friendly to a weekend DIYer, especially stepping stones in gravel. Bring in a landscape contractor or hardscaper for long or sloped paths, paths that need steps, areas with poor drainage near the foundation, or very large slabs that need machinery to move. A pro is also a smart choice if you plan to mortar the stone onto a concrete slab, which needs proper control joints and drainage to avoid cracking.
Frequently Asked Questions
Is sandstone good for a garden path?
Yes, when it is laid on a well-drained, compacted base and sealed with a breathable product. Riven sandstone gives good traction and weathers attractively.
Should I seal a sandstone walkway?
Sealing is usually recommended because sandstone is porous. A penetrating sealer reduces staining, algae and freeze damage without making the surface slick.
How do I keep algae off sandstone?
Improve sunlight and drainage, sweep regularly, and clean with a stone-safe cleaner and stiff brush. Avoid acids and close-range pressure washing.
Is sandstone slippery when wet?
Riven and textured sandstone usually grips well when wet. Smooth honed stone, glossy sealers and algae growth make it slippery.
How thick should sandstone be for a path?
For foot traffic on a compacted gravel base, 1 to 2 inch thick stone is common. Thinner stone is better suited to mortar beds on concrete.