Hang a standard fan on a vaulted ceiling and one of two things happens: the canopy won’t sit flush, or the blades swing close enough to the slope to clip it. A sloped ceiling fan adapter — also sold as an angled ceiling mount or vaulted ceiling kit — is the hardware that solves both, letting the downrod hang truly vertical from a pitched surface. Most fans handle shallow slopes out of the box; past about 15 degrees you need the adapter, and past 45 degrees you are into specialty territory. The part costs $20-$70; the thing that actually kills vaulted fan installs is downrod math done wrong. Here is the complete fitting guide.
What Your Fan Handles Without an Adapter
Nearly all modern fans ship with a ball-and-socket canopy: the downrod’s ball seats in the canopy and can tilt a limited amount before the rod contacts the canopy edge. That built-in articulation covers roughly 15 degrees of slope — about a 3:12 roof pitch — and some designs stretch to 20-30 degrees (many Hunters claim up to 5:12 with the stock canopy on the right downrod). Flush-mount and hugger fans, by contrast, handle essentially zero slope; low-profile mounting and vaults do not mix. Convert your pitch: rise:run of 4:12 ≈ 18°, 6:12 ≈ 26.6°, 9:12 ≈ 36.9°, 12:12 = 45°. Measure yours with a phone level app against the ceiling or by rise-over-run with a 12-inch level. Under 15 degrees, install normally with a longer downrod; over it, buy the adapter.
How Angled-Mount Adapters Work
The adapter is a replacement mounting bracket/canopy assembly whose ball socket is built at an angle (or swivels freely through a wider range), so the downrod hangs plumb while the canopy sits flat on the pitched ceiling. Typical products handle slopes from 15-20 degrees up to 45 degrees (12:12 pitch); a few specialty mounts and custom solutions go to ~56-70 degrees, but past 45 most manufacturers say no. Two design notes: the adapter orients with its high side up-slope (they install one way), and it still terminates in a standard downrod ball connection — you use the fan’s own downrod, usually a longer aftermarket one.
Brand-Specific Adapters: Match the System
Adapters are not universal, because canopy geometry, ball size, and wiring clearances differ by maker:
- Hunter — angled ceiling mounts (e.g., the classic 22222/new-style equivalents) rated to 5:12 native on many models and higher with the adapter; verify your fan’s series, as Hunter’s older ball sizes differ from current production. ~$25-$45.
- Minka-Aire — the A245 sloped ceiling adapter family serves most Minka fans to 45 degrees, keyed to Minka downrods (their 3/4-inch rod system). ~$30-$60.
- Kichler, Casablanca, Fanimation, Modern Forms — each sells its own sloped kit; Casablanca’s and Hunter’s differ despite shared ownership.
- Universal adapters exist for standard 1/2-inch ball systems, but confirm ball diameter and canopy screw pattern before trusting one on a 20-lb fan.
Buy the adapter from your fan’s brand whenever it exists. Mixing brands risks a ball that seats wrong — an annoying rattle at best, a fan on the floor at worst.
Downrod Math on a Slope
Slopes demand longer downrods for two separate reasons, and this is where installs fail:
- Blade-to-ceiling clearance up-slope. As blades sweep toward the rising ceiling, the gap shrinks. You need the rod long enough that the blade tip on the up-slope side keeps at least 18 inches horizontal clearance to the sloped surface (more for comfort and airflow). The required extra length grows with both pitch and blade span — the trig shortcut: extra rod length ≈ blade radius x tan(slope angle), plus your normal clearance margin. For a 52-inch fan (26-inch radius) on a 30-degree slope, that is 26 x 0.577 ≈ 15 inches of additional rod beyond a flat-ceiling install.
- Code floor clearance. Blades must stay at least 7 feet above the floor; aim for 8-9 feet in tall vaults for best air delivery, measured at the fan’s location on the slope.
Practical downrod picks by peak height at the mounting point: 10-ft ceiling → 12-18 inch rod; 12-ft → 24-36 inch; 14-ft → 48-60 inch; 16-ft+ → 72 inch. On steep pitches, round up a size, check the up-slope blade clearance number, and remember extension rods must match the brand’s thread/pin system — and wiring must be extended through the rod (most brand rods over 24 inches include longer lead requirements; splice extra fixture wire before hanging).
Box and Bracing Requirements
The electrical box carries everything, at an angle. Requirements: a fan-rated box (listed for ceiling fan support, 50-70 lbs) — never a standard fixture box — anchored to structure. On a vault, that means lagging to a rafter face, installing a fan-rated brace bar between rafters (Westinghouse/RACO retrofit braces, ~$20-$30, work on slopes but check their rated pitch), or adding 2x blocking from the attic side where accessible. Long-rod installs amplify sway loads, so this is not the place for a marginal box. If the existing box wobbles when you push it, replace it before anything else.
Vaulted Install, Step by Step
- Kill the circuit at the breaker and verify with a tester.
- Confirm or install the fan-rated box and bracing; on steep slopes, orient a retrofit brace per its slope rating.
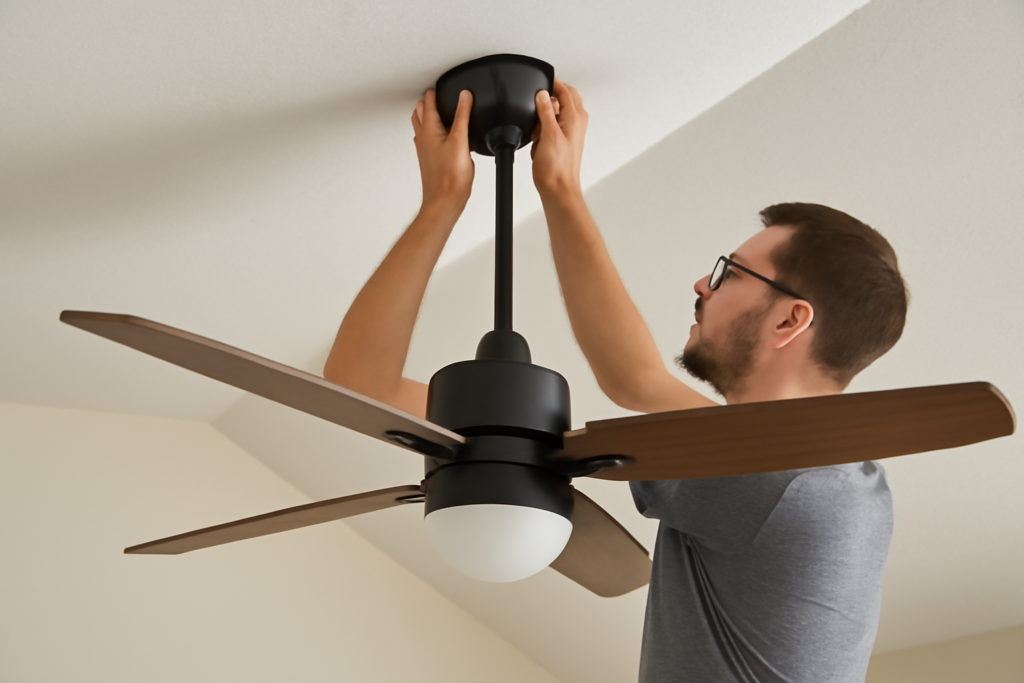
- Mount the sloped adapter bracket to the box, high side toward the peak, torqued to spec.
- Assemble downrod: feed extended lead wires through, seat the ball, install the through-pin and set screws with thread locker.
- Hang the ball in the adapter socket and confirm the rod swings fully plumb without contacting the canopy at any point — spin the motor housing gently to check.
- Wire, then fit canopy trim; slope-rated canopies close against the pitch without gaps.
- Install blades, then verify up-slope tip clearance (18-inch minimum) and 7-foot floor clearance before first run. Run on high and check for wobble; balance with the clip kit if needed — long rods exaggerate small imbalances.
Budget: adapter $20-$70, extended downrod $15-$50, brace/box $20-$40, electrician (if hired) $150-$350 on ladders, more with scaffolding above 14 feet.
Common Mistakes on Vaulted Installs
Four errors account for most callbacks. Buying the adapter after the fan: some fan lines have no slope kit, and discovering that with the old fan already down wastes a weekend — confirm the accessory exists before ordering the fan. Reusing the old downrod: the flat-ceiling rod that worked before almost never provides up-slope blade clearance once the mount angles, so run the tangent math every time. Ignoring wire length: a 48-inch rod needs roughly five feet of extra lead inside it, and stretching short leads to the canopy with wire nuts jammed in the rod is both a code problem and a rattle factory — splice proper extensions at the fan body. And trusting the old box: a 1980s nail-on fixture box that held a 6-lb light will not hold a 20-lb fan swinging on a 3-foot lever arm; the $25 fan-rated brace is the cheapest part of the whole project and the least optional.
When the Slope Kills the Fan Plan
Some geometries just lose. Slopes beyond 45 degrees exceed nearly every adapter’s rating. Peaks with no structure where you need the fan (the fan wants the room’s center, the ridge beam is elsewhere) force compromise placements. Very tall A-frames can demand 72-inch-plus rods that look like a pendulum and wobble like one. And DC-motor fans with slim integrated canopies sometimes offer no slope kit at all — check before buying the fan, not after. The alternatives that still work: mount at the ridge with a ridge-rated bracket if structure allows, use a wall-mounted oscillating fan for the sitting zone, or pick a fan family (Hunter, Minka) whose slope ecosystem is proven and design the install around the adapter from day one. On a vault, the adapter is cheap — the planning is the product.