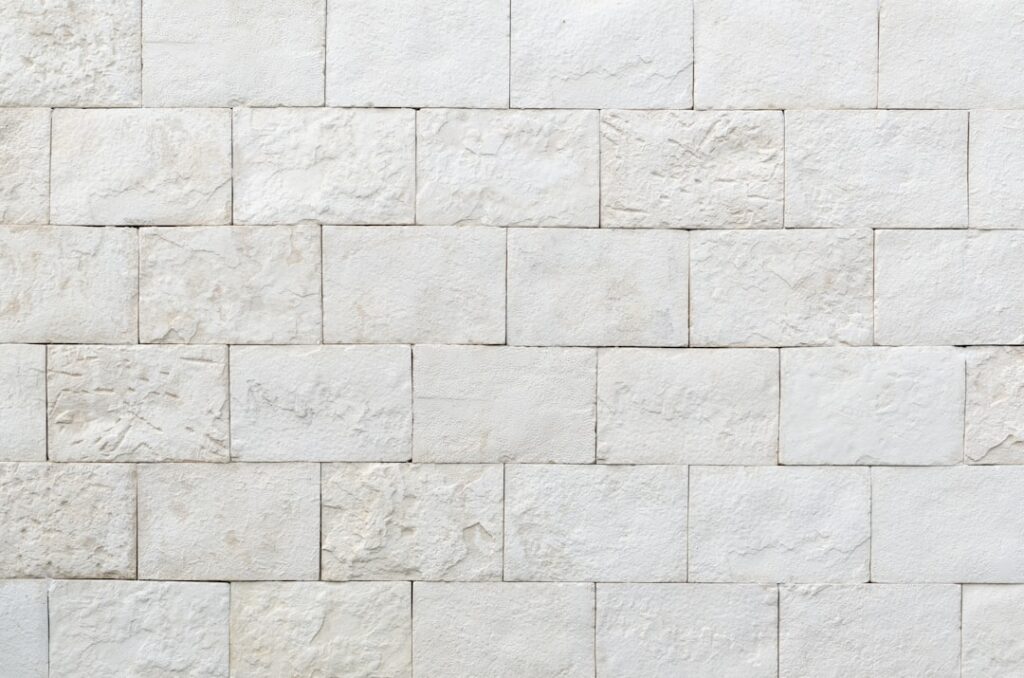
Flat white subway tile has been the safe default for a decade, and honestly it’s starting to look a little tired. Textured subway tile is how you keep that classic brick-shaped format while adding the depth and shadow that make a backsplash or shower feel custom rather than builder-grade. I’ve watched a plain kitchen come alive the moment we swapped a smooth glossy tile for a hand-molded wavy one that catches the under-cabinet lighting. The texture does the heavy lifting so you don’t need bold color to make a statement.
Part of our Tile & Grout guide — explore the full guide →
What Texture Actually Means
Texture on subway tile shows up in a few distinct ways, and they read very differently on the wall. Knowing the categories helps you shop with intent.
Common Texture Styles
- Beveled edge — angled edges around a flat face create crisp shadow lines. Traditional and tidy.
- Wavy or undulating — a gently rippled surface that catches light differently across the field. Very popular in modern kitchens.
- Handmade / crackle — irregular surfaces and slight color variation that mimic old-world zellige tile. Each piece looks a little different.
- 3D relief — sculpted geometric patterns pressed into the tile for a dramatic feature wall.
- Fluted or ribbed — vertical grooves that add a linear, architectural feel and read almost like reeded glass.
Each style throws shadows at different intensities, so always view a sample under the lighting you actually have. A texture that pops in a bright showroom can flatten out under soft, diffuse light at home.
Ceramic Is Still the Backbone
Most textured subway tile is glazed ceramic, and that’s a good thing for walls. Ceramic is lighter than porcelain, easier to cut with a basic snap cutter, and cheaper, which matters when you’re covering a large backsplash. The classic size is 3×6 inches, but the format has grown; 2×8, 4×12, and 4×16 inch “extended” subway tiles are everywhere now and read as more contemporary.
For showers, glazed ceramic works fine on the walls since the glaze is impervious. If you want texture on a shower floor, switch to a porcelain mosaic instead; the smaller pieces and grout lines add the traction a large wall tile can’t provide.
Backsplash and Shower Applications
Kitchen backsplashes are where textured subway tile shines brightest. A beveled or wavy white tile behind a range picks up warm and cool light throughout the day and never looks static. Because the texture provides the visual interest, you can keep the palette neutral and let the surface do the work.
In showers, texture adds a spa-like richness to accent walls and niches. Just be realistic about the wet environment. Deeply textured or crackle-glaze tiles have more surface area and tiny crevices where soap scum and hard-water minerals collect. On a full shower surround, I often recommend texture on one feature wall and a smoother companion tile on the rest to balance beauty and maintenance.
Grout That Works With Texture
Grout choice matters even more with textured tile than flat tile. A high-contrast grout, say a medium gray against white tile, emphasizes the brick pattern and every shadow line. A matching grout lets the texture itself be the star. For handmade and crackle tiles with irregular edges, a matching or slightly darker grout hides the natural size variation between pieces.
Use an unsanded grout for joints under 1/8 inch, which is typical for subway layouts, since sanded grout can scratch a glossy or delicate glaze. A stain-resistant product like Mapei Flexcolor CQ or an epoxy grout in a kitchen saves you from scrubbing greasy joints later. Crucially, seal any raw crackle-glaze tile before grouting; the crazing lines will suck up dark grout and stain permanently if you skip that step.
Layout Options Beyond the Standard Offset
The default 50 percent offset brick pattern is timeless, but texture opens up other layouts worth considering.
- Vertical stack — clean and modern, and it visually raises a low backsplash.
- Herringbone — dynamic and tailored; the angles multiply the shadow play of a beveled tile.
- 1/3 offset — a subtler, more current alternative to the standard half-brick.
- Vertical herringbone — dramatic on a shower feature wall or a range hood chimney.
When you run a directional layout with heavily textured tile, dry-lay a few square feet first. Handmade tiles vary enough in size that a complex pattern can drift out of alignment, and catching it before the thinset goes on saves a lot of frustration.
Cleaning and Upkeep
Texture is the trade-off you accept for beauty; it collects a bit more grime than a flat tile. In a kitchen, wipe grease off with a soft cloth and a mild degreaser like a diluted dish-soap solution rather than gritty scouring pads that can dull the glaze. A soft toothbrush handles the grout lines and any recessed grooves in fluted or 3D tile.
In the shower, a weekly wipe with a squeegee and a monthly scrub with a pH-neutral cleaner keeps soap scum from building in the low points of the texture. Avoid acidic cleaners on crackle glazes and any tile with a metallic or crackle finish, since acid can etch or discolor the surface over time.
Cost and Lighting Considerations
Budget beveled ceramic subway runs $3 to $6 per square foot at home centers. Wavy and dimensional glazed ceramic from brands like Daltile, Bedrosians, and Fireclay lands in the $8 to $18 per square foot range. True handmade zellige-style tile is the premium tier at $20 to $40 per square foot, reflecting the labor and the color variation. Installed labor typically adds $8 to $15 per square foot for a backsplash, more for herringbone or other angled patterns.
One last pro tip: lighting sells texture. Under-cabinet LED strips raking across a wavy backsplash reveal the ripples and shadows that make the tile special. In a shower, an angled sconce or a well-placed can light does the same for a feature wall. Without directional light, even the most beautiful textured subway tile can read as a plain white wall, so plan your lighting and your tile together, not as an afterthought.
Color Beyond Classic White
White will always be the safe choice, but texture gives you permission to explore color without going overboard. A soft sage green in a wavy glaze feels fresh and organic in a kitchen. Deep navy or forest green crackle tile turns a powder room into a jewel box. Warm terracotta and clay tones lean Mediterranean and pair beautifully with brass fixtures and wood shelving.
Handmade tiles carry natural color variation from piece to piece, sometimes shifting several shades within the same box. That variegation is a feature, not a flaw, and it’s exactly what separates artisan tile from mass-produced flat stock. When ordering, buy from a single production run and dry-lay tiles from multiple boxes so the color range distributes evenly across the wall rather than clustering light in one area and dark in another.
Ordering the Right Quantity
Textured and handmade tiles crack and chip more readily during cutting than flat tile, so plan your order accordingly. Measure the square footage of the wall, then add a waste factor on top: 10 percent for a simple offset layout, and 15 to 20 percent for herringbone, diagonal, or heavily textured handmade tile where breakage runs higher.
Keep a full box of leftover tile after the job. Manufacturers change and discontinue glazes constantly, and a future repair with mismatched dye lots stands out on a textured wall even more than on a flat one. A modest overage now saves you from re-tiling an entire backsplash later because you couldn’t source three matching pieces. Bought and installed with a little care, textured subway tile rewards you with a surface that feels crafted and holds up beautifully for decades.
Prefer to explore on your own?
See how new flooring looks in your actual room in seconds — free, no signup.
Try the free Floor Studio →