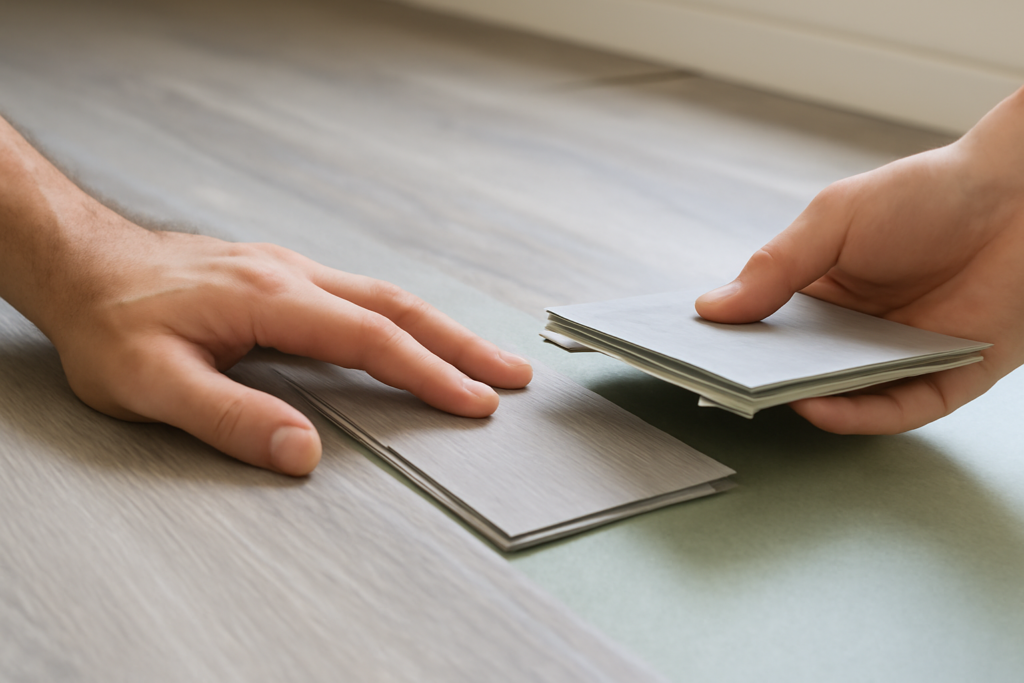
Flip a plank over and look at the four edges, and you learn almost everything you need to know about how a floor goes together. Tongue and groove vinyl flooring earns its name from that milled edge: a protruding tongue on two sides that snaps into a matching groove on the neighboring plank. There is no adhesive, no wet mess, and no waiting for glue to cure. That single design choice is what turns a stack of planks into a floating floor a homeowner can install over a weekend.
- What the Tongue-and-Groove Edge Actually Does
- Tongue and Groove Versus Traditional Glue-Down Vinyl
- Rigid Core Made the Edges Stronger
- Installing a Floating Tongue-and-Groove Floor
- Where Tongue and Groove Vinyl Shines
- Underlayment and the Subfloor Underneath
- Cost, Durability, and Everyday Wear
- Buying Tips Before You Commit
What the Tongue-and-Groove Edge Actually Does
The tongue is a thin ridge that runs along the long edge and one short end of the plank. The groove is a channel milled into the opposite edges. When you angle one plank into another, the tongue seats inside the groove and the two lock together at both the top surface and underneath. Done right, the wear layers meet flush and the seam nearly disappears.
That mechanical connection does two jobs at once. It holds planks tight so gaps do not open under foot traffic, and it keeps the surface level so no edge sits proud of its neighbor. Because the joint carries the load, the floor does not need to be fastened to the subfloor. It simply rests on top and moves as one connected sheet when temperatures shift.
Tongue and Groove Versus Traditional Glue-Down Vinyl
Older sheet vinyl and glue-down luxury vinyl tile bond directly to the subfloor with troweled adhesive or a pressure-sensitive backing. That approach is thin, stable, and forgiving of moisture, but it is unforgiving of a bad subfloor and miserable to remove years later. Tongue and groove vinyl flooring flips those tradeoffs.
- No adhesive: planks lock to each other, not the floor, so cleanup and repairs are simpler.
- Faster install: a click seam goes down in seconds compared to spreading and setting glue.
- Easier replacement: a damaged plank can often be unlocked and swapped without demolishing the room.
- Subfloor tolerance: a rigid-core floating floor bridges minor imperfections that would telegraph through glue-down.
Glue-down still wins in a few spots. Wide commercial areas, rooms with heavy rolling loads, and sun-drenched sunrooms often favor a bonded floor because it will not expand and contract as a sheet. For most residential rooms, though, the floating tongue-and-groove system is the easier and cheaper path.
Rigid Core Made the Edges Stronger
Early click vinyl used a flexible core, and the tongues could crack if you forced them. The arrival of rigid-core construction changed that. SPC (stone-plastic composite) and WPC (wood-plastic composite) cores give the plank enough backbone to hold a crisp, durable edge profile. A 5mm to 8mm rigid plank machines a cleaner tongue than a 2mm flexible one, and that precision is why modern floating vinyl feels solid underfoot instead of hollow.
Rigid core also lets manufacturers add an attached underlayment pad on the bottom, cushioning the click joint and quieting the floor. When you shop, a thicker wear layer measured in mils tells you how the surface will hold up; the core thickness in millimeters tells you how well the edge profile will resist chipping during install.
Installing a Floating Tongue-and-Groove Floor
The process rewards patience at the start and goes quickly once you find a rhythm. Here is the sequence most DIYers follow:
- Let the planks acclimate in the room for 48 hours so they reach a stable temperature.
- Check the subfloor for flatness — aim for no more than 3/16 inch of variation over 10 feet, and sand or fill high and low spots.
- Leave a 1/4-inch expansion gap around every wall and fixed object; the floor needs room to move.
- Start along the longest straight wall, angle each tongue into the groove, and tap the seam home with a pull bar or tapping block.
- Stagger end joints by at least 6 inches so seams never line up across rows.
The single most common mistake is skipping the expansion gap. Push planks tight to the drywall and a warm afternoon can buckle the seams into a ridge. Give the perimeter breathing room, hide it under baseboard or quarter round, and the floor stays flat.
Where Tongue and Groove Vinyl Shines
Kitchens, bathrooms, basements, and laundry rooms are natural fits because the vinyl is waterproof and the floating install handles the occasional spill without lifting. Rentals and flips love it too, since a competent crew can turn a bare room into finished flooring in a day. If you have pets or kids, the locked seams resist the puddles and dropped toys that would work adhesive loose over time.
Just match the product to the room. A humid three-season porch or a slab that swings 40 degrees between seasons may still be better served by glue-down. But for everyday living space, tongue and groove vinyl flooring gives you a tough, waterproof surface with an install forgiving enough for a first-timer.
Underlayment and the Subfloor Underneath
A floating tongue-and-groove floor is only as flat as what it sits on, so the layer beneath the planks deserves attention. Many rigid-core products ship with an attached foam or cork pad, and stacking a second underlayment on top of that can over-cushion the floor and strain the locks — check the manufacturer’s guidance before adding anything. Over bare concrete, a thin vapor barrier is usually wise because slabs wick moisture that can otherwise collect under a waterproof floor.
On a plywood or OSB subfloor, drive down any popped screws and sand ridges at the seams flat. The tongue-and-groove joint transfers load from plank to plank, and a hump under a seam becomes a flex point that clicks and wears over time. Fifteen minutes with a straightedge and a belt sander before install saves you a squeaky, bouncy floor later.
Cost, Durability, and Everyday Wear
Priced per square foot, tongue-and-groove vinyl typically lands between budget laminate and mid-range tile, and the DIY install removes the labor line from the bill entirely. The number that predicts real-world durability is the wear layer, measured in mils. A 12-mil layer suits a quiet household, while 20 mils or more shrugs off dog nails, dropped pans, and dragged chairs in a busy kitchen.
Day to day, the floor asks little. Sweep or vacuum grit so it does not act like sandpaper, wipe spills when they happen, and skip the steam mop, which can force moisture into the seams over years. Felt pads under furniture legs and a walk-off mat at exterior doors do more for longevity than any specialty cleaner on the shelf.
Buying Tips Before You Commit
Not every click edge is created equal. Cheaper lines use a simple straight tongue that can wiggle loose; premium lines add a slight angled lock or a drop-down tab that holds tighter. Ask about the locking system by name, and dry-fit two planks in the store if you can. A joint that snaps together with a satisfying click and sits perfectly flush is the one you want covering your floor.
Finally, buy 10 percent extra. Cuts, mistakes, and future repairs all eat into your count, and dye lots change between production runs. With a spare box in the closet, a scuffed plank is a 20-minute fix instead of a mismatched patch.
Prefer to explore on your own?
See how new flooring looks in your actual room in seconds — free, no signup.
Try the free Floor Studio →