Every year, clogged dryer vents cause thousands of house fires, and nearly all of them are preventable with an afternoon of work. Choosing the right tool to clean dryer vent ductwork is the difference between a quick, thorough job and a frustrating one that leaves lint packed in the elbows. Lint is highly flammable, and when it builds up behind your dryer it traps heat exactly where you least want it. This guide walks through the tool categories that actually clear the line and the safety signs that tell you it is time.
- Why This Matters More Than You Think
- Warning Signs of a Clogged Vent
- Dryer Vent Brush Kits
- Drill-Attachment Auger Kits
- Shop-Vac and Vacuum Attachments
- Choosing the Right Tool for Your Setup
- How to Clean the Vent Safely
- Don't Forget the Lint Trap Housing
- What About the Exterior Vent?
- When to Call a Professional
- Stay on a Schedule
Why This Matters More Than You Think
A dryer works by pushing hot, moist air out through a duct. As lint accumulates in that duct, airflow drops. The dryer runs longer, gets hotter, and works harder, which is a fire hazard and an energy drain at the same time. The Consumer Product Safety Commission and fire departments consistently list dryer lint buildup among the leading causes of appliance fires.
Cleaning the vent once a year is the baseline recommendation. Homes with long duct runs, multiple bends, or a large household doing frequent loads should clean more often.
Warning Signs of a Clogged Vent
Your dryer usually tells you when the duct needs attention. Watch for these red flags:
- Clothes take two cycles to dry. Restricted airflow is the most common symptom.
- The dryer or laundry room feels unusually hot. Trapped heat has nowhere to go.
- A burning or musty smell during a cycle.
- Visible lint around the outside vent hood or a flap that no longer opens fully.
- The dryer shuts off mid-cycle from overheating protection.
Any one of these means it is time to clean. Two or more means do it this weekend.
Dryer Vent Brush Kits
The most popular tool to clean dryer vent lines is a brush kit. These kits include a round bristle brush on the end of flexible fiberglass rods that connect together to reach the full length of your duct. You feed the brush in, twist and push it through the run, and it sweeps lint loose as it goes.
Brush kits are inexpensive, typically running from a basic short kit to a longer 20-plus-foot version for extended runs. They work by hand, no power required, which makes them the safest starting point for most homeowners. Look for a kit with a long enough total reach for your duct and sturdy rod connectors that will not pop apart mid-push.
Drill-Attachment Auger Kits
For stubborn buildup or longer ducts, a drill-powered auger kit adds serious cleaning force. These use the same flexible rods but chuck into a standard power drill, so the brush spins as it travels through the duct. The rotation scrubs the duct walls far more aggressively than pushing a brush by hand.
A few tips make these safer and more effective:
- Run the drill in forward only. Reversing can unthread the rod segments inside the duct.
- Keep steady, moderate pressure. Let the spinning brush do the work rather than forcing it.
- Match the rod length to your run so you can reach the outside hood from the dryer connection.
Drill kits are the go-to when a hand brush alone is not dislodging a packed clog.
Shop-Vac and Vacuum Attachments
Brushing loosens the lint, but you still have to remove it, and that is where vacuum attachments earn their place. A shop-vac with a long, narrow crevice tool or a dedicated dryer vent vacuum attachment pulls loosened lint out of the duct and clears the space behind the dryer. Many homeowners use a brush and a vacuum together: brush to break the lint free, then vacuum to haul it out.
There are also flexible vacuum attachment hoses designed specifically for dryer vents that extend the reach of your shop-vac deep into the duct. These are excellent for the section closest to the dryer, where the heaviest lint tends to collect.
Choosing the Right Tool for Your Setup
| Tool | Best For | Effort Level |
|---|---|---|
| Brush rod kit | Routine annual cleaning, short to medium runs | Manual |
| Drill auger kit | Heavy buildup, long or bendy ducts | Power tool |
| Vacuum attachment | Removing loosened lint, behind-dryer cleanup | Low |
Most homeowners are best served by owning a brush kit and pairing it with the shop-vac they already have. Add a drill auger only if you have a long duct run or a history of stubborn clogs.
How to Clean the Vent Safely
Start by unplugging the dryer, or turning off the gas and power for a gas model. Pull the dryer away from the wall and disconnect the duct. Clean the section behind the dryer first with the vacuum, then feed your brush through the duct from the inside toward the exterior vent hood. Go outside, remove or open the vent cover, and brush from that end too so you meet in the middle. Finish by vacuuming both openings, reconnecting the duct, and confirming the exterior flap opens freely when the dryer runs.
Don’t Forget the Lint Trap Housing
The duct gets all the attention, but lint also accumulates in the lint trap slot itself, below where the screen sits. Over time a felt-like layer builds up in that cavity, restricting airflow before the air even reaches the duct. A dedicated lint trap brush, a long narrow bristle brush made for this exact job, reaches down into the housing to pull that buildup out. Pair it with your vacuum’s crevice tool to suck out what the brush loosens.
Clean this area a couple of times a year. It takes two minutes and addresses a clog point most people never think about, which is one reason dryers underperform even when the main duct looks clear.
What About the Exterior Vent?
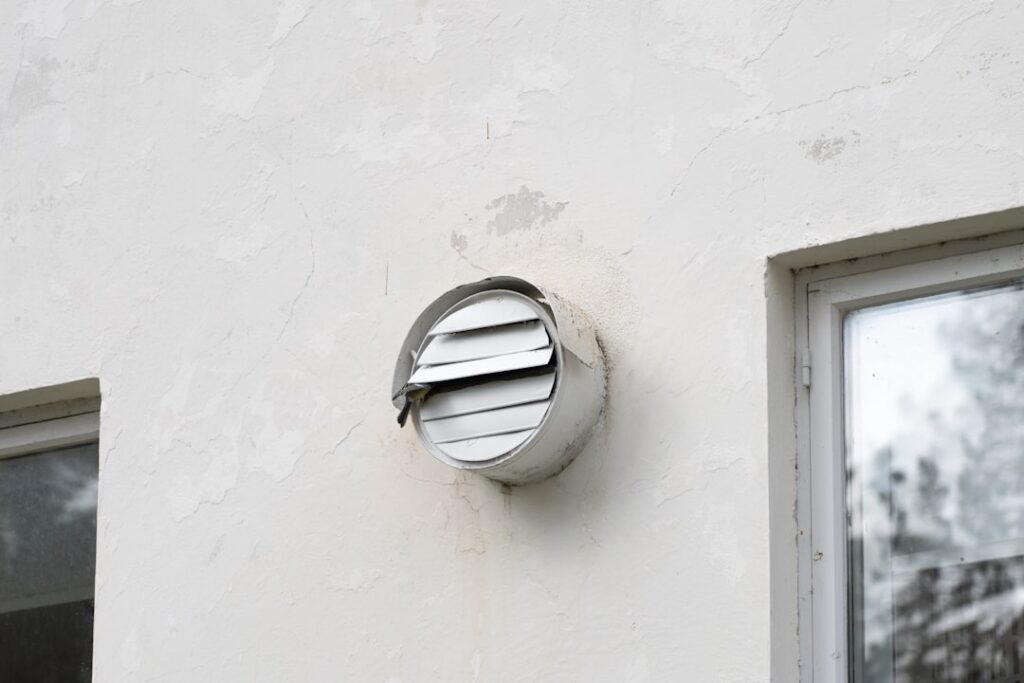
The outside termination is where problems often hide. The vent hood flap can get stuck with caked lint, and in many homes birds or rodents build nests inside the ductwork near the opening. When you clean, always go outside and inspect the vent hood. Remove the cover if possible, brush out the accumulated lint, and confirm the flap opens and closes freely. A pest guard or a vent cover with a proper damper keeps animals out while still allowing airflow, but avoid fine mesh screens that trap lint and create a new clog.
When to Call a Professional
DIY tools handle most situations, but there are cases where a pro earns their fee. If your duct run is unusually long, travels up through multiple floors, or has several tight bends, a homeowner brush kit may not reach or clear it fully. Professional duct cleaners use high-powered rotary brushes and powerful vacuums that pull lint the whole length of a complex run. Consider a professional cleaning if you cannot access both ends of the duct, if you suspect an animal nest, or if the dryer still performs poorly after you have cleaned everything you can reach yourself. Even then, having your own brush kit for annual maintenance keeps the buildup manageable between professional visits.
Stay on a Schedule
Mark your calendar to clean the vent at least once a year, and check the exterior hood every few months for lint or nesting debris. Combined with cleaning the lint screen after every load, having the right tool to clean dryer vent lines on hand turns a fire hazard into a simple, routine chore. It is one of the highest-payoff maintenance jobs in the whole house.