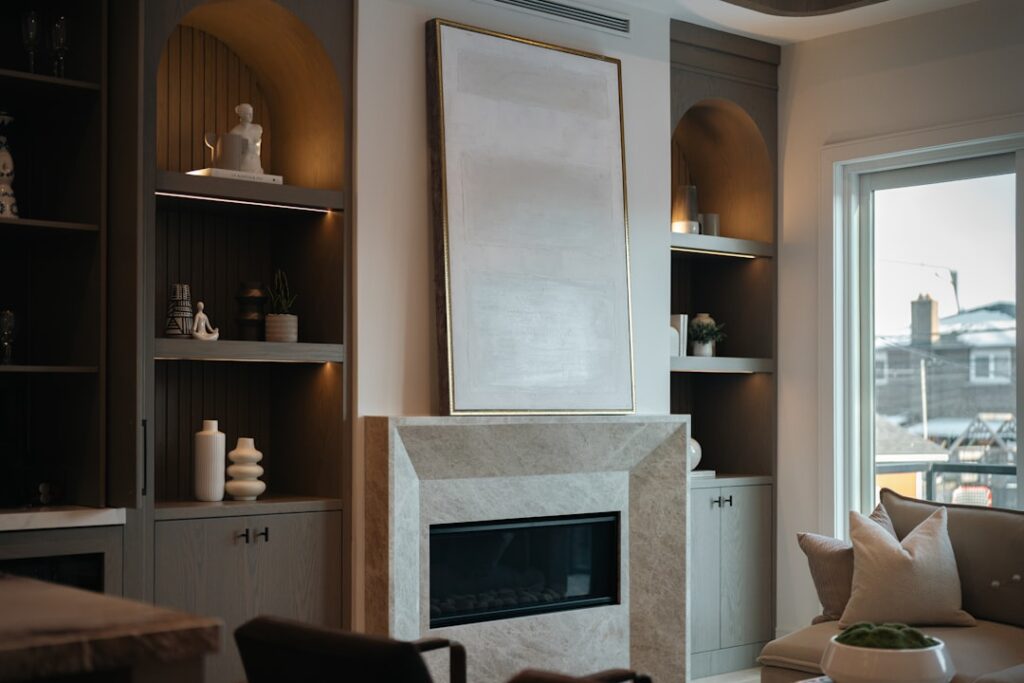
Horizontal shiplap had its moment. Now the design world has shifted, and the vertical shiplap fireplace is the surround treatment that consistently raises a room’s perceived value. Vertical boards add height, draw the eye upward, and read as more architectural than the horizontal version that was on every blog from 2016 to 2022. The build is straightforward for a weekend DIYer, but a few details separate the magazine-worthy install from the obviously homemade one. I have built this surround treatment for clients with wood-burning, gas, and electric inserts. Here is the complete approach.
Why Vertical Shiplap Works for Fireplaces
Fireplaces are vertical focal points. A horizontal pattern fights that orientation. Vertical shiplap reinforces the natural rise of the chimney and makes 8-foot ceilings feel like 9-footers. It also reads as more current – similar to vertical board-and-batten, it is a defining feature of new construction in the 2024-2026 cycle.
Beyond looks, the vertical orientation hides any minor wall imperfections better than horizontal. The shadow lines run with gravity, so dust and pet hair do not collect on the reveals.
Material Options
You have three real choices for the shiplap material, each with trade-offs.
- Real pine or cedar shiplap: Authentic, paintable, $2-$4 per square foot. Sold as 1×6 or 1×8 nickel-gap shiplap at Home Depot, Lowe’s, and specialty mills. Best for paint-grade finishes.
- Primed MDF shiplap: Pre-finished and pre-primed in 12-foot lengths. Smoother face than pine. About $1.50-$3 per sq ft. Cannot be used directly adjacent to firebox openings due to combustibility.
- PVC shiplap (AZEK Shiplap, Royal Building Products): Waterproof, dimensionally stable, $3-$6 per sq ft. The best choice for installations near gas inserts or in basement applications where humidity fluctuates.
For most living-room installs with an electric or sealed-combustion gas insert, primed MDF gives the cleanest finish at the lowest price. For wood-burning fireplaces, real wood with proper non-combustible clearances is required.
Fire Code Clearances
This is the part most DIY tutorials skip and it matters. Combustible materials (including wood and MDF shiplap) cannot touch a wood-burning fireplace opening. Standard clearance is at least 6 inches from the firebox opening on the sides and 12 inches above. Some inserts and metal fireboxes allow tighter clearances – always check the installation manual for your specific unit.
For electric fireplaces (which produce no real flame heat at the surround), there are no fire clearance requirements. For sealed gas inserts (direct-vent), clearances depend on the unit but are usually 1-4 inches.
The standard solution where clearances are required is to use a tile, stone, or metal “frame” immediately around the firebox, then transition to shiplap beyond the clearance zone. This actually creates a stronger design moment than a single material surround.
Layout Planning
Before you buy a single board, sketch the layout. Three decisions to make:
- Floor to ceiling or partial height? Floor-to-ceiling vertical shiplap looks the most architectural. Partial height (8 to 10 feet) with a wood mantel works in tall, vaulted rooms.
- Reveal width: Standard nickel-gap shiplap has a 1/8 inch reveal. For a more dramatic vertical reading, use 5 inch wide boards with 1/4 inch reveals.
- Mantel or no mantel? A floating wood mantel (rough-sawn oak, walnut, or stained pine) breaks up the vertical surface and gives a place to style. Mount with hidden steel brackets.
Tools You Will Need
- Miter saw (12-inch sliding compound is ideal)
- 18-gauge brad nailer with 2-inch nails
- Stud finder (Franklin ProSensor 710 is the most accurate)
- 4-foot level and a 6-foot level
- Pry bar for any baseboard removal
- Caulk gun, paintable caulk, wood filler
- Tape measure, square, and pencil
Step-by-Step Install
- Remove existing baseboard and any mantel. Score the caulk first with a utility knife to avoid drywall damage.
- Find and mark every stud. Vertical shiplap nails into horizontal blocking, so locating studs matters less than you would think – but it is still useful for the edge boards.
- Install horizontal blocking behind the shiplap zone. Use 2×4 cleats screwed into studs at the bottom, middle (every 24 inches), and top of the wall. The shiplap will nail into these.
- Cut the first board to the exact wall height. Plumb it with a 6-foot level and nail it in place on the side closest to the fireplace.
- Continue across the wall using a 1/8 inch nickel gap. Use scrap pieces as spacers between each board to maintain consistent reveals.
- Scribe the final board to match any irregularity in the adjacent wall. Use a compass to transfer the wall profile to the board.
- Trim out with a 1×3 frame around the firebox (using non-combustible material if required by code), and a clean baseboard return at the floor.
- Caulk and paint. Fill nail holes with paintable caulk, not wood filler (wood filler shrinks). Two coats of cabinet-grade paint give the cleanest finish.
Paint Colors That Work
The right paint color makes or breaks a vertical shiplap fireplace. The five that work consistently:
- Benjamin Moore Simply White – clean and bright
- Sherwin-Williams Alabaster – warm white, hides dust
- Benjamin Moore Hale Navy – moody, modern
- Sherwin-Williams Iron Ore – dramatic dark for a feature wall
- Behr Cracked Pepper – matte black, sophisticated
Use a satin or eggshell sheen for living rooms. Semi-gloss looks cheap on shiplap. For dark colors, prime first with a tinted gray primer to keep coat count low.
Common Mistakes
Three errors keep showing up on DIY versions:
First, no blocking behind the shiplap, so boards bow between studs. Always install horizontal cleats at 24 inches on center.
Second, ignoring the ceiling line. Walls are rarely plumb and ceilings are rarely level. Scribe the top of the boards to the ceiling rather than relying on a straight cut.
Third, using wood filler in nail holes. Wood filler shrinks and the holes telegraph through the paint. Use a paintable acrylic caulk instead.
Cost Estimate
For a 6-foot wide by 9-foot tall surround:
- Primed MDF shiplap (54 sq ft): $110-$160
- 2×4 blocking, screws, brad nails: $40
- Caulk, primer, paint (1 gallon each): $80-$120
- Floating wood mantel: $80-$220
- Total DIY: $310-$540
- Professional install: $1,200-$2,400 for the same scope
Adding a TV Above the Mantel
Many homeowners want a TV above the fireplace. With vertical shiplap behind it, plan the cable routing during the build. Run conduit (3/4 inch PVC) inside the wall from below the mantel to behind the TV mount location. Add a low-voltage box behind the TV and a recessed receptacle. This keeps cables hidden and meets code (TVs cannot have power cords running through walls except in approved in-wall rated cables).
A vertical shiplap fireplace is one of the highest-impact, lowest-cost weekend renovations available. Plan the clearances, install the blocking, scribe the boards, and paint with quality. The result reads designer for under $500 in materials.