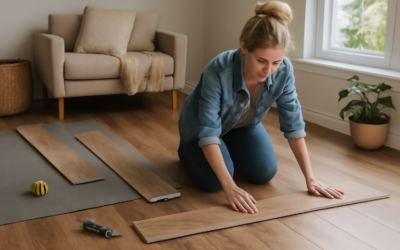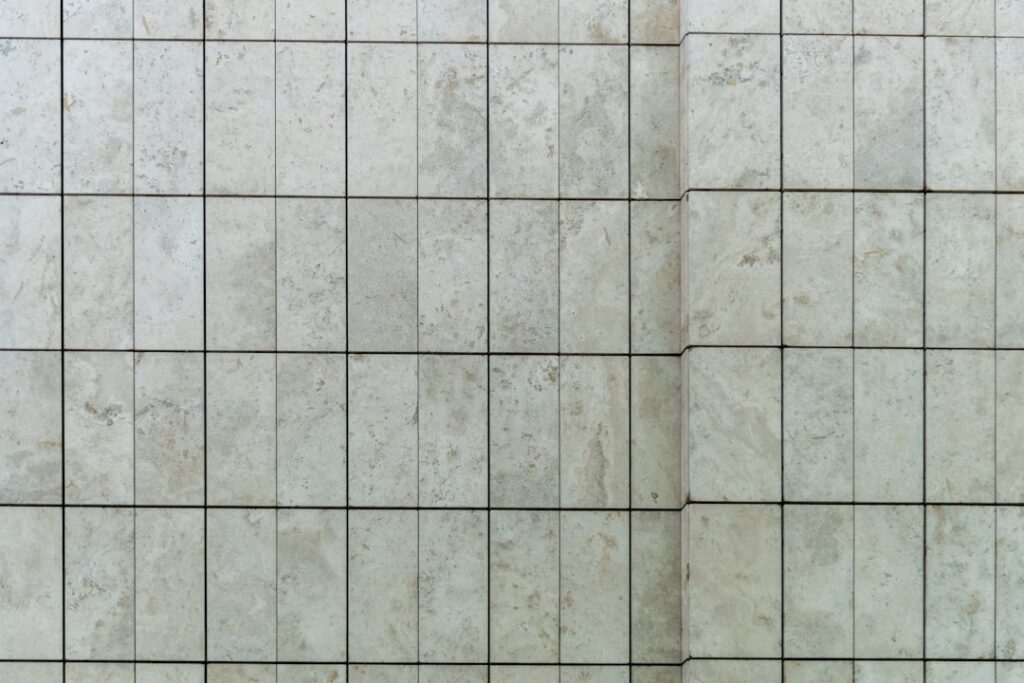
Vinil tile — a common misspelling of “vinyl tile” — is one of the most DIY-friendly flooring products on the market. If you’ve been putting off a floor update because tile installation sounds intimidating, vinil tile is your answer. Unlike ceramic, it doesn’t require a wet saw, mortar, or backer board. With proper subfloor prep and a clear layout plan, a careful homeowner can install a bathroom or kitchen floor in a single weekend. This guide walks you through every type and every step.
Part of our Tile & Grout guide — explore the full guide →
Types of Vinyl Tile: Choosing the Right Format
Before you touch a subfloor, you need to decide which type of vinyl tile you’re installing. Each format has a different installation method, and mixing up the process will cost you time and money.
Peel-and-Stick Vinyl Tile
Peel-and-stick tiles come with a factory-applied pressure-sensitive adhesive on the back. You peel the paper liner and press the tile onto a clean, smooth, flat subfloor. These tiles cost $0.50 to $1.50 per square foot — the lowest entry point in vinyl flooring. Installation is fast, requires zero tools beyond a utility knife, and is completely reversible. The downside: adhesion weakens over time in high-heat rooms (near ranges or in direct sun) and the tiles can lift at the edges if the subfloor has any contamination — oil, wax, old adhesive residue, or dust.
Glue-Down Vinyl Tile
Glue-down tiles are installed with a separate pressure-sensitive or hard-set adhesive spread with a notched trowel (typically 1/16-inch V-notch for thin vinyl tile). The adhesive is applied to the entire floor area, allowed to become tacky — usually 15 to 30 minutes — and then tiles are pressed firmly into place. Glue-down costs $1 to $3 per square foot for the tile, plus $15 to $30 for a gallon of adhesive that covers roughly 100 to 150 square feet. This method creates a permanent, rock-solid bond that won’t edge-lift or shift under heavy furniture.
Click-Lock LVT (Luxury Vinyl Tile)
Click-lock LVT is the premium tier of the vinyl tile family. Planks or tiles snap together at tongue-and-groove edges without any adhesive. The floor “floats” over the subfloor on a thin foam underlayment (often pre-attached to the back of each tile). Click-lock LVT runs $2 to $5 per square foot for material, requires a 1/4-inch expansion gap at all perimeter walls, and can be uninstalled and reinstalled in a new space — useful if you’re a renter or if you move frequently. Subfloor flatness requirements are tighter: within 3/16 inch over a 10-foot run.
Groutable Vinyl Tile
Groutable vinyl tile has beveled or cushioned edges designed to accept standard unsanded grout. After you glue down the tiles and let the adhesive cure, you press grout into the joints exactly as you would with ceramic. When dry, it looks virtually identical to grouted porcelain — but stays waterproof, warmer underfoot, and more forgiving of subfloor flex. Price: $2 to $4 per square foot. Budget about 30 extra minutes per room for grouting versus standard vinyl tile.
Tools and Materials You’ll Need
Having everything on hand before you start prevents costly mid-job delays:
- Tape measure and carpenter’s square
- Chalk line
- Utility knife with fresh blades (dull blades tear rather than cut — change blades often)
- Straightedge or metal T-square (24 inches minimum)
- Rubber mallet
- Notched trowel (for glue-down only)
- Flooring roller — 100 lb — for glue-down; rental from any home center, typically $20/day
- Knee pads
- Pencil or chalk marker
- Level or flatness gauge
- Floor-leveling compound and mixing paddle if your subfloor needs correction
Subfloor Preparation: The Most Critical Step
More vinyl tile failures trace back to inadequate subfloor prep than to any other cause. Vinyl is thin and somewhat conforming — it will mirror every imperfection in the surface below it. A lump from a staple, a ridge from an underlayment seam, or a depression where an old floor drain was patched will show through and eventually become a stress point where the tile cracks or lifts.
Start by removing all existing flooring and scraping away old adhesive residue. Sand down any high spots with a floor grinder or belt sander. Fill low spots, cracks, and old fastener holes with floor-leveling compound. Let it cure completely (typically 4 to 6 hours for standard compounds, longer in cool temperatures). The finished surface should be flat to within 3/16 inch over 10 feet — use a long straightedge to check.
For concrete slabs, test for moisture vapor emission before installing any adhesive vinyl product. A calcium chloride test or an in-situ relative humidity probe per ASTM F2170 gives you a reliable number. Most vinyl tile adhesives specify a maximum of 5 lbs per 1,000 square feet per 24 hours (calcium chloride) or 85% RH. Exceed those limits and you’ll have adhesive failure within months.
For plywood subfloors, countersink every screw and nail head until they’re flush or slightly below the surface. Any fastener that stands proud will create a visible bump in the finished tile.
Layout and Dry-Fit: Don’t Skip This
Random or careless layout is the second most common installation mistake. Starting in the wrong corner leaves you with a 2-inch sliver of tile at the opposite wall — and slivers look unprofessional and are prone to lifting.
Find the center of the room by snapping chalk lines from the midpoints of opposite walls. Where the lines cross is your starting point. Before applying any adhesive or removing any backing, dry-lay a full row of tiles from center to wall in both directions. Measure the space remaining at the wall. If that gap is less than 4 inches, shift your starting point by half a tile width so both end cuts are roughly equal and decently sized.
For rooms that aren’t square — which is most rooms in real homes — find the most prominent wall (usually the one you see first when you enter) and run your layout parallel to it. Slight irregularity at the hidden walls is far less noticeable than misaligned tiles at the focal wall.
Step-by-Step Installation
- Acclimate the tiles. Bring the boxes into the room 24 to 48 hours before installation. Vinyl tile should be installed at room temperature (65–85°F). Cold tiles are stiff and more prone to cracking at cut edges.
- Mark your layout lines. Snap chalk lines at your center point. Use a carpenter’s square to confirm the lines are exactly perpendicular to each other.
- Apply adhesive (glue-down only). Trowel adhesive over one quadrant of the room at a time. Work in manageable sections — 50 to 100 square feet — and let the adhesive become tacky before setting tiles. Wet adhesive will not hold; you’ll slide tiles instead of placing them precisely.
- Set tiles from center outward. Work from your center lines out toward the walls, pressing each tile firmly into the adhesive or snapping click-lock edges together. Butt tiles tightly edge-to-edge unless using groutable vinyl (leave the joint gap specified by the manufacturer — usually 1/16 inch).
- Cut border tiles. For the perimeter cuts, flip the border tile face-down over the last full tile. Mark the cut line with a pencil, accounting for the expansion gap (click-lock) or the tight fit (glue-down). Score firmly with a utility knife and snap over a straightedge.
- Roll the floor. For glue-down installations, rent a 100-lb flooring roller and roll the entire floor within 1 hour of setting the tiles. This presses the tile uniformly into the adhesive and eliminates air pockets that cause hollow spots.
- Install grout (groutable LVT only). After adhesive cures (typically 24 hours), pack unsanded grout into the joints with a grout float, working at a 45-degree angle. Remove excess grout from the tile surface with a damp sponge before it hardens.
- Install transitions and trim. Reinstall baseboards or add quarter-round at the perimeter to cover the expansion gap and give the installation a finished look.
Common Mistakes and How to Avoid Them
Failure to level the subfloor is the most costly mistake — you’ll feel and see every irregularity within weeks of installation. Spend the time on leveling compound before you lay a single tile.
Starting in the corner instead of the center is the second most common beginner error. Rooms that look square rarely are. Starting from a corner amplifies any out-of-square condition across the whole floor.
Rushing adhesive cure time causes tiles to slide out of position during installation and leads to adhesive oozing up through tile joints. Follow the adhesive manufacturer’s open time and cure time exactly.
Using dull utility knife blades tears vinyl rather than cutting it cleanly and can cause the tile to fracture along the cut line, especially in cold conditions. Change blades every 10 to 15 cuts.
Forgetting the expansion gap on click-lock LVT leads to buckling when the room warms up and the floor expands. A 1/4-inch gap at all walls is non-negotiable.
Finishing Touches and Maintenance
After installation, keep foot traffic off glue-down floors for at least 24 hours and avoid wet mopping for 72 hours to allow the adhesive to fully cure. Click-lock floors can be walked on immediately but should be kept dry for 24 hours at all seams.
For long-term care, sweep or vacuum regularly to remove grit — abrasive particles are the primary cause of wear layer degradation. Damp-mop with a pH-neutral cleaner. Avoid steam mops, which can work moisture into seams over time. Place felt pads under all furniture legs. Heavy items like refrigerators should sit on furniture coasters to distribute the point load and prevent indentation.
Vinyl tile is one of the most forgiving DIY flooring projects you can tackle, but the results depend entirely on the care you put into prep and layout. Get those two steps right and everything else falls into place.
Prefer to explore on your own?
See how new flooring looks in your actual room in seconds — free, no signup.
Try the free Floor Studio →