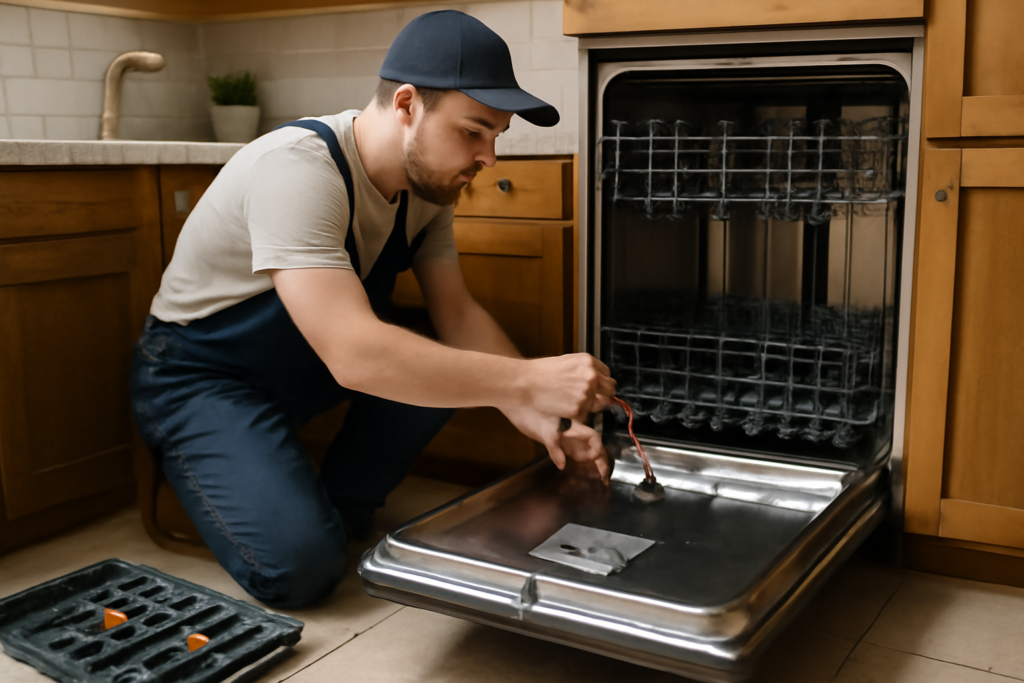
Most whirlpool dishwasher repair jobs come down to three complaints: it won’t drain, it leaks, or it won’t start. I’ve fixed a lot of these on a Saturday morning with a multimeter, a nut driver, and a shop towel, and the good news is that a solid chunk of them never needed a service call at all. A tech visit runs $150 to $350 once you add the diagnostic fee and parts markup, so learning to read the symptoms yourself pays off fast.
Before you touch anything, kill the power and shut the water. Pull the plug or flip the breaker for the dishwasher circuit, then close the hot-water supply valve under the sink. Water and 120 volts sit inches apart inside this machine, and skipping that step is how people get hurt or flood a kitchen.
Cut the Power and Water First
The dishwasher circuit is usually a dedicated 15-amp breaker. If yours is hardwired instead of plugged in, flip the breaker and confirm the panel light and touchpad are dead before you go further. The water shutoff is the small valve where the braided supply line meets the hot-water pipe under the sink; turn it clockwise until it stops. Keep a towel and a shallow pan handy because the fill hose and sump hold a cup or two of standing water that will spill when you disconnect anything.
Have these tools on the counter: a #2 Phillips, a T15 and T20 Torx bit, a 1/4-inch nut driver, needle-nose pliers, and a multimeter set to continuity. That kit covers nearly every fastener Whirlpool uses on their WDT, WDF, and WDTA series.
Whirlpool Dishwasher Won’t Drain
Standing water in the bottom after a cycle is the number-one call. Start with the cheap stuff. Pull the lower rack, lift out the filter assembly (it twists a quarter turn on most 2015-and-newer models), and clear the sump of glass chips, seeds, and grease. Then check the drain hose where it loops up under the sink and connects to the disposer or air gap.
New disposer? Look for the knockout plug. Whirlpool drain hoses tie into the disposer inlet, and if a fresh disposer’s plug was never punched out, the water has nowhere to go. Tap it out with a screwdriver and mallet.
If the sump and hose are clear, suspect the drain pump. On most current models the pump is the part number W11084656 or the older W10348269, running $35 to $70. Bail out the standing water, remove the lower spray arm and filter, unclip the pump cover, and check the impeller for a toothpick or shard jamming it. Free-spin the impeller by hand. If it’s clear but the pump never hums during the drain portion of a cycle, test the pump terminals for continuity, roughly 10 to 25 ohms on a good motor winding. Open circuit means a dead pump.
Whirlpool Dishwasher Leaking Water
Chase a leak by figuring out where the puddle starts, not where it ends up. Front-of-door leaks almost always trace to the door gasket or a warped detergent-cup seal. Run a cycle with a flashlight and watch the lower door edge; a hardened, flattened gasket (part W11175895 on many models, about $30) lets water sheet out during the wash spray.
Water pooling under the unit is a different animal. Common sources:
- Sump gasket — the large rubber ring between the tub and sump housing dries out and weeps.
- Fill hose or drain hose clamp — spring clamps loosen over years of heat cycling; a nut-driver snug or a replacement clamp fixes it.
- Water inlet valve — a cracked valve body or stuck solenoid drips at the tub floor. The valve (W10327250 family) runs $25 to $50.
- Overfilling — a failed float switch or inlet valve that won’t shut off pushes water past the door seal. You’ll see suds at the toe-kick.
Pull the lower access panel and toe-kick (two T20 screws) and run a short cycle with a flashlight aimed at the sump and valve. Dry paper towels laid under each fitting show you the exact drip point within a minute or two.
Whirlpool Dishwasher Won’t Start
A dead panel or a machine that lights up but never fills has a short list of suspects. Confirm it’s getting power first: touchpad lit but nothing happens usually points to the door latch or the control board, while a completely dark panel points to power or the thermal fuse.
Work through it in order:
- Door latch — the door must fully engage the latch switch. A misaligned strike or a broken latch (part W10739029, around $40) leaves the control thinking the door is open. Listen for the click and test the switch for continuity when latched.
- Control lock / delay — hold the appropriate button for 3 seconds to clear a child lock, and check that a delay-start timer isn’t set.
- Thermal fuse — this in-line fuse on the control board opens after an overheat and kills the panel. Test for continuity; if open, the fuse and often the board need replacing.
- Water inlet valve — if it starts but never fills, the valve solenoid may be dead or the supply is still shut off. (Don’t laugh; it happens after every repair.)
Reading Whirlpool Error Codes
Modern boards blink or display fault codes that save you an hour of guessing. Common ones you’ll meet during a repair:
- F2 E2 — user-interface communication fault, usually the ribbon cable or control board.
- F6 E1 / E2 — water not detected or slow fill, pointing at the inlet valve, supply line, or float.
- F8 E1 — no water in the tub, again inlet valve or clogged supply screen.
- F9 E1 — drain fault, which loops you right back to the drain-pump and hose checks above.
To pull a code on many models, tap a specific button sequence in the “Heated Dry, Normal, Heated Dry, Normal” pattern within a few seconds; the lights cycle through stored faults. Check your model’s tech sheet, which is usually tucked behind the toe-kick panel.
Poor Cleaning and Cloudy Dishes
Dishes coming out gritty or filmed isn’t a broken machine as often as people think. Run through the cheap fixes before you order parts. Pull both spray arms — they lift or unscrew by hand — and hold each up to a light. Hard-water scale and food paste plug the tiny jets, and a plugged arm sprays a weak, patchy pattern. Poke each nozzle clear with a toothpick and flush the arm under the faucet.
Water temperature is the other silent culprit. The final rinse needs to hit 120°F to dissolve detergent and dry properly. Run the kitchen faucet hot before you start a cycle so the dishwasher pulls hot water from the first fill, not a slug of cold sitting in the line. If dishes come out cloudy with a chalky film, that’s hard-water scale; add rinse aid and run an empty cycle with a cup of white vinegar or a citric-acid cleaner once a month. A stuck or empty rinse-aid dispenser (the cap cracks with age, part around $20) leaves everything spotty.
Testing Parts With a Multimeter
A $20 multimeter turns guesswork into a two-minute answer. With power off, disconnect the part and touch a probe to each terminal on the continuity setting:
- Drain pump: a good motor winding reads roughly 10 to 25 ohms. Infinite (OL) means an open winding and a dead pump.
- Water inlet valve solenoid: expect about 500 to 1,500 ohms across the coil. No reading means the solenoid is burned out.
- Heating element: a working element reads around 10 to 30 ohms; open circuit means no heat and poor drying.
- Thermal fuse and door switch: these should read near zero ohms (closed) when good — any OL reading on a fuse means it’s blown.
Testing before you buy saves you from throwing $60 at a pump when the real fault was an open door switch upstream.
When to Repair and When to Replace
A dishwasher lasts about 9 to 12 years. If yours is under seven and the fix is a pump, valve, or gasket under $80 in parts, repair every time. Once you’re past ten years and staring at a control board (often $120 to $220) plus your own labor, weigh it against a new WDT730 or WDT750 in the $600 to $850 range. A one-part fix on a mid-life machine is almost always the smart money.
Final Checks Before You Power Back Up
Reassemble in reverse, snug every hose clamp, and reconnect the water before the power. Open the supply valve, watch the fittings for 30 seconds, then restore power and run a rinse-only cycle. Stand there and watch it fill, wash, and drain fully. That five-minute test run is the difference between a finished whirlpool dishwasher repair and a callback flood while you’re at work.