
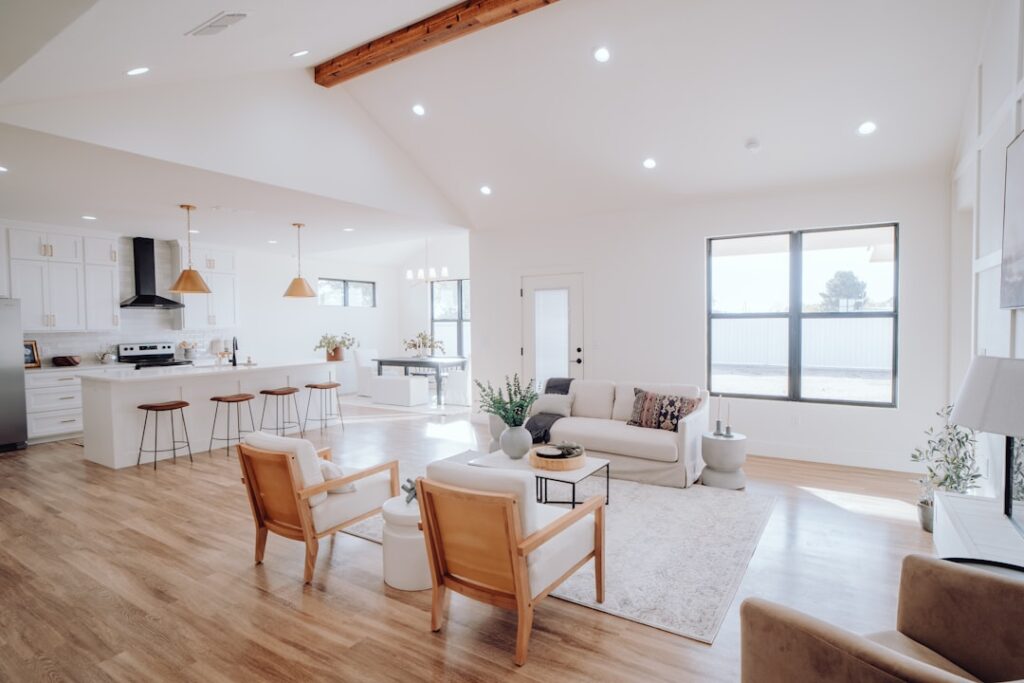
The single most common regret in flooring projects is “the floor looks different than the picture online.” Showroom samples lie because of small size. Photos online lie because of lighting, screen calibration, and post-processing. Wood flooring images are essential to the buying process, but learning how to use them honestly is the difference between loving your floor for 25 years and tearing it out in 18 months. This guide covers what to trust, what to ignore, and how to verify wood floor images against the actual product.
- Why Online Wood Floor Photos Mislead
- The Two Photo Types Worth Trusting
- How to Read Wood Floor Photos Correctly
- AR Apps and Digital Visualization Tools
- The Sample Board Method
- Photographing Your Own Wood Floors
- Common Photo-vs-Reality Mismatches
- Where to Find Honest Reference Photos
- Final Verification Before Ordering
- What to Do If the Delivered Floor Does Not Match
Why Online Wood Floor Photos Mislead
Three factors distort wood floor photography to a degree most homeowners do not realize:
- Color grading: Marketing photos are aggressively warmed up or cooled down in Photoshop
- Lighting: Showroom and studio lighting (3000-4000K) is very different from home daylight (5500K) or LED kitchen lighting (often 2700K)
- Sample size: A 4×6-inch image cannot show how a board looks repeated 200 times across a real floor
The same Bruce Bristol oak floor photographed for the Home Depot website, the Bruce manufacturer page, and a contractor’s Instagram can look like three different products. None are lying. All are showing the truth under different conditions.
The Two Photo Types Worth Trusting
Two photo categories give the most accurate representation of how a floor will look in your home:
- Customer-submitted install photos on Google reviews, Yelp, Houzz, and Reddit — typically taken in natural home lighting without color correction
- Manufacturer “room scene” photos shot in actual home interiors rather than studio sets, often labeled as “installed example” or “in-room”
Studio product shots and beauty photography on manufacturer landing pages should be treated as inspiration, not specification. Cross-reference any prefinished floor with at least three real-install photos before ordering.
How to Read Wood Floor Photos Correctly
When evaluating wood flooring images, look for these technical indicators:
- Time of day in the photo (early morning vs midday vs evening produces wildly different floor tones)
- Direction of incoming light relative to the planks (parallel hides texture, perpendicular reveals it)
- Wall color in the photo (whites with strong undertones throw color back onto the floor)
- Whether the photo is post-installation final or staged for marketing
An identical hardwood floor will look 30-50% darker in evening lamplight than in morning sun. Ask yourself when you spend the most time looking at the floor and prioritize images shot in similar lighting.
AR Apps and Digital Visualization Tools
Major manufacturers have rolled out augmented reality apps that let you preview floors in your own room through a phone camera. The leading options are:
- Shaw Floors RoomVo
- Mohawk Visualizer
- Mannington Floor Visualizer
- Lowe’s Floor Visualizer (works across multiple brands)
These tools have improved dramatically since 2023 and now produce realistic enough previews to rule out obvious bad matches. They are not perfect; they still miss subtle undertone shifts and grain patterns that emerge across large areas, but they save 80% of color-mismatch regrets.
The Sample Board Method
For floors you are seriously considering, order three to five samples and live with them on the floor for a week. Most manufacturers sell large 8×12-inch or full-plank samples for $5-$15 each. The full-plank sample is worth the upgrade because it reveals grain pattern and any color variation a small swatch hides.
Place samples in the room where they will be installed. Check them at:
- Morning natural light
- Midday natural light
- Evening with primary lighting on
- Next to existing furniture, rugs, and wall color
Take photos with your phone in each lighting condition. Compare your photos to the manufacturer’s online photos. Adjust expectations accordingly.
Photographing Your Own Wood Floors
For sellers, contractors, and DIYers documenting installations for portfolios, getting a wood floor to photograph correctly takes attention to detail:
- Shoot in late-morning or late-afternoon natural light, not midday
- Turn off all artificial lighting in the room to avoid color temperature mixing
- Use a tripod and a low ISO (100-400) for sharp grain detail
- Avoid wide-angle distortion by shooting at 35mm equivalent or longer
- Take both wide room shots and detail shots of grain and texture
For social media documentation, an iPhone or Pixel in HDR mode produces good results without expensive equipment. Avoid using flash, which kills grain detail entirely.
Common Photo-vs-Reality Mismatches
Knowing the common mismatches helps you adjust expectations:
- Online photos are warmer than reality — most marketing photos boost yellow and red saturation by 10-25%
- Knots and grain variation are usually understated in marketing shots; expect more character in real boards
- Sheen levels look more matte online than they appear in person; satin reads as semi-gloss in raking light
- White oak looks more gray online than in person, where warmer undertones often appear
- Hand-scraped texture is more pronounced in real installations than catalog photos suggest
Account for these biases when comparing online wood flooring images against samples you can hold.
Where to Find Honest Reference Photos
For each product you are considering, build a reference library of 10-20 images from these sources:
- Manufacturer “real install” or “customer photos” gallery
- Houzz design portfolios filtered by your product name
- Reddit communities (r/HomeImprovement, r/FlooringDIY)
- Instagram hashtags (#whiteoakfloor, #brucehardwood, #shawfloorte)
- Pinterest boards from interior designers
The Houzz portfolios are particularly valuable because they often include before/after sequences with multiple lighting conditions. Pinterest is best for design inspiration but worst for accurate product representation due to heavy filter use.
Final Verification Before Ordering
Before placing a final order, do these three checks:
- Hold your physical sample under the actual lighting you will live with
- Compare your sample photo (your phone, your lighting) to the AR tool’s preview
- Search the product SKU on Reddit and Google reviews for any complaints about color shift between samples and bulk delivery
Done thoroughly, this verification process catches 90% of “the floor looks different than the picture” problems. Wood flooring images are a tool, not a guarantee, and using them well requires knowing their limitations.
What to Do If the Delivered Floor Does Not Match
Even with careful research, occasional color mismatches happen between samples and bulk delivery. The first step is to take photos of the unopened cartons and the sample side by side in natural light. Document any obvious shift in tone, grain pattern, or texture.
Most manufacturers allow returns within 30 days of delivery if the product is unopened and in original packaging. Distributors are often more flexible than the manufacturer, since they value the contractor relationship. Filing a complaint with photographic evidence within the return window protects your options.
If the floor has been partially installed before you noticed the mismatch, your options narrow significantly. Stop the install immediately and contact the seller. Installing more than 25% of the material typically waives return rights.
Prefer to explore on your own?
See how new flooring looks in your actual room in seconds — free, no signup.
Try the free Floor Studio →

