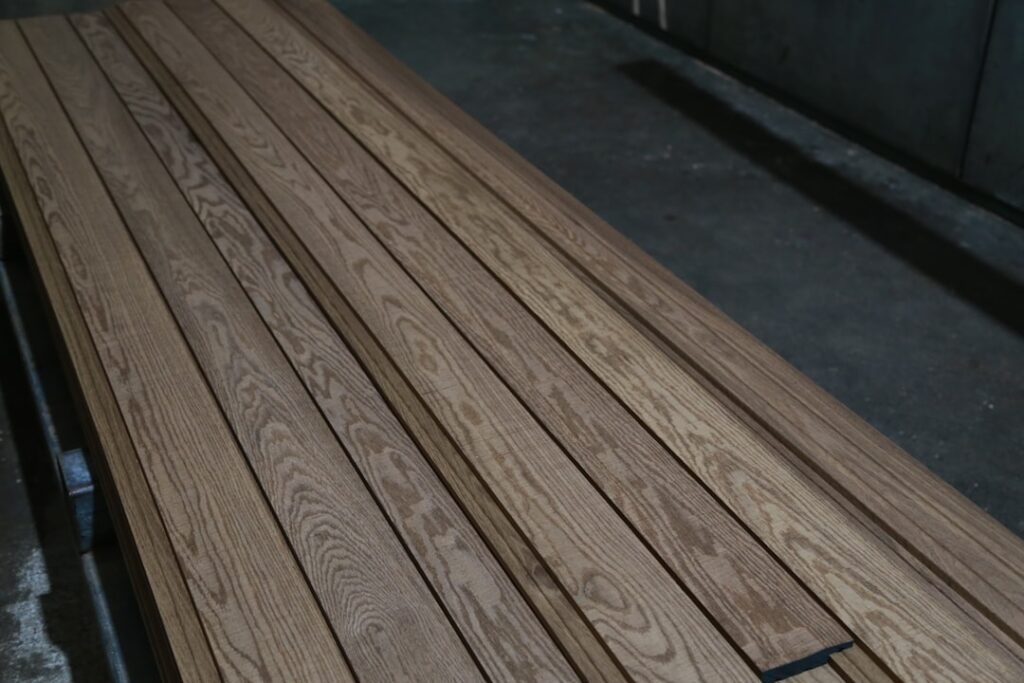
Wood flooring installation is one of the most impactful home improvement projects you can undertake. A well-installed wood floor adds warmth, character, and significant value to any home. Whether you are a confident DIYer or planning to hire a professional, understanding the installation process from start to finish ensures better results and helps you avoid costly mistakes.
- Before You Begin: Planning Your Installation
- Wood Flooring Installation Method 1: Nail-Down
- Wood Flooring Installation Method 2: Glue-Down
- Wood Flooring Installation Method 3: Floating
- Common Wood Flooring Installation Mistakes
- Cost of Wood Flooring Installation
- Wood Flooring Installation Over Radiant Heat
- Post-Installation Care
- Frequently Asked Questions
- Can I install wood flooring myself?
- Which direction should wood flooring run?
- Can I install wood flooring in a basement?
- How long does wood flooring installation take?
- Final Thoughts
This guide covers the three main wood flooring installation methods—nail-down, glue-down, and floating—along with subfloor preparation, tool requirements, and step-by-step instructions for each approach.
Before You Begin: Planning Your Installation
Choose Your Wood Flooring Type
The type of wood flooring you select determines which installation method is appropriate:
- Solid hardwood: Typically 3/4 inch thick, installed via nail-down over plywood subfloors. See our hardwood flooring guide for species and grade comparisons.
- Engineered hardwood: A real wood veneer over a plywood or HDF core. Compatible with all three installation methods (nail, glue, or float). Learn more in our engineered wood flooring guide.
Acclimate the Wood
Wood flooring must acclimate to your home’s temperature and humidity before installation. Stack the planks in the room where they will be installed for a minimum of 3 to 5 days (some manufacturers recommend up to 14 days). Maintain the room at normal living conditions—65 to 75 degrees Fahrenheit with 30 to 50 percent relative humidity. Skipping acclimation leads to gaps, buckling, or cupping after installation.
Measure and Order
Measure the room’s square footage and add 10 percent for waste from cuts and fitting. For diagonal or herringbone installations, add 15 percent. Order all material from the same lot to ensure color consistency.
Check the Subfloor
The subfloor is the foundation of your installation. It must be:
- Clean: Free of debris, old adhesive, paint, and dust.
- Dry: Moisture content should be within 2 to 4 percent of the wood flooring’s moisture content. Use a moisture meter to test both the subfloor and the wood.
- Flat: Level to within 3/16 inch over a 10-foot span. High spots can be sanded down; low spots can be filled with floor-leveling compound.
- Structurally sound: No squeaks, bouncing, or soft spots. Secure loose panels with screws before proceeding.
Wood Flooring Installation Method 1: Nail-Down
Nail-down installation is the traditional method for solid hardwood and the preferred approach for 3/4-inch-thick planks over plywood subfloors.
When to Use Nail-Down
- Solid hardwood planks 3/4 inch thick
- Plywood subfloor at least 3/4 inch thick
- Above-grade or on-grade installations (not basements)
Tools Required
- Pneumatic flooring nailer (rental available at most home centers)
- Compressor and hose
- Flooring cleats or staples (check nailer compatibility)
- Miter saw or table saw
- Tape measure and chalk line
- Rubber mallet
- Pry bar and pull bar
- 1/2-inch spacers
- Drill and finish nails (for first and last rows)
Step-by-Step Instructions
1. Establish a starting line. Measure from the longest, straightest wall and snap a chalk line parallel to it, offset by the width of one plank plus a 1/2-inch expansion gap. This line guides your first row.
2. Install the first row. Place the first plank with the tongue facing away from the wall. Face-nail through the top of the plank near the wall edge (these nails will be hidden by baseboards). Pre-drill to prevent splitting. Blind-nail through the tongue at a 45-degree angle or use the flooring nailer if there is enough clearance.
3. Continue row by row. Engage each plank’s tongue into the previous row’s groove. Use the pneumatic flooring nailer to drive cleats through the tongue at 6 to 8 inch intervals. Stagger end joints by at least 6 inches (12 inches is better) between adjacent rows to create a natural, random appearance.
4. Cut planks to fit. Use a miter saw for straight crosscuts and a jigsaw for irregular cuts around door frames, vents, and obstacles. Undercut door casings with an oscillating multi-tool so planks slide underneath for a clean finish.
5. Install the last row. Rip the final row to width, leaving a 1/2-inch expansion gap at the wall. Face-nail or use a pull bar to draw the planks tight. These nail holes will be covered by baseboards.
6. Install transitions and baseboards. Add transition strips where the wood meets other flooring types. Reinstall or install new baseboards and shoe molding to cover expansion gaps.
Wood Flooring Installation Method 2: Glue-Down
Glue-down installation bonds planks directly to the subfloor using a urethane adhesive. This method is common for engineered hardwood over concrete slabs or plywood.
When to Use Glue-Down
- Engineered hardwood of any thickness
- Concrete slab subfloors
- Plywood subfloors
- Radiant heat systems (glue ensures consistent heat transfer)
Tools Required
- Urethane flooring adhesive
- V-notch or U-notch trowel (size specified by adhesive manufacturer)
- Miter saw or table saw
- Tape measure and chalk line
- Blue painter’s tape
- Mineral spirits for adhesive cleanup
- Weighted objects or painter’s tape to hold planks in place during curing
Step-by-Step Instructions
1. Prepare the subfloor. Ensure the surface is clean, dry, and flat. On concrete, apply a moisture barrier primer if required by the adhesive manufacturer. Test concrete moisture levels—most adhesives require less than 5 pounds per 1,000 square feet per 24 hours (calcium chloride test) or less than 80 percent RH (relative humidity test).
2. Snap a guideline. Chalk a straight starting line parallel to the longest wall, offset by the plank width plus a 1/2-inch expansion gap.
3. Spread adhesive. Using the recommended trowel, spread adhesive in a 2 to 3-foot-wide section along the starting line. Do not spread more than you can cover before the adhesive skins over (check the open time on the product label—typically 30 to 60 minutes).
4. Lay the first row. Press planks firmly into the adhesive along the chalk line. Use spacers at the wall. Tape the tongue-and-groove joints with painter’s tape to keep planks from sliding before the adhesive grabs.
5. Continue row by row. Spread adhesive in sections and lay planks, staggering end joints by at least 6 inches. Press each plank down firmly and tap joints tight with a rubber mallet and tapping block. Immediately clean any adhesive that squeezes onto the plank surface with mineral spirits.
6. Allow cure time. Keep all traffic off the floor for 12 to 24 hours (check adhesive specifications). Full cure typically takes 24 to 48 hours.
Wood Flooring Installation Method 3: Floating
Floating installation does not attach the floor to the subfloor at all. Planks click together via tongue-and-groove or click-lock joints and rest on an underlayment. The entire floor assembly moves as a unit, expanding and contracting with humidity changes.
When to Use Floating Installation
- Engineered hardwood with click-lock profiles
- Over concrete, plywood, OSB, or existing hard flooring
- DIY-friendly projects
- When you want to avoid adhesive or fasteners
Tools Required
- Underlayment (foam, cork, or combination with vapor barrier)
- Miter saw or table saw
- Tapping block and rubber mallet
- Pull bar
- Tape measure and spacers
- Utility knife
Step-by-Step Instructions
1. Roll out the underlayment. Lay underlayment across the entire floor, butting seams (not overlapping) and taping them together. If the underlayment does not include a built-in vapor barrier and you are installing over concrete, lay a 6-mil polyethylene sheet first with seams overlapped 8 inches and taped.
2. Start the first row. Place planks along the starting wall with the tongue side facing out and spacers maintaining a 1/2-inch expansion gap. Click or tap the end joints together.
3. Continue row by row. Angle each plank’s long edge into the previous row’s groove and press down to lock. Use a tapping block to close end joints. Stagger end joints by at least 6 inches between rows.
4. Handle the last row. Measure and rip the final row to fit, maintaining the expansion gap. Use a pull bar to draw the last planks tight against the previous row.
5. Install trim. Add baseboards, shoe molding, and transition strips to complete the installation.
Common Wood Flooring Installation Mistakes
- Skipping acclimation: Leads to gaps in dry seasons or buckling in humid seasons.
- Ignoring moisture testing: Excess subfloor moisture causes cupping, crowning, and adhesive failure.
- Forgetting expansion gaps: Wood needs room to expand. Without gaps, it will buckle or tent at the center of the room.
- Not staggering joints: Aligned end joints create weak lines and an unnatural appearance.
- Forcing warped planks: Set aside any warped, twisted, or damaged planks. Forcing them in creates problems later.
- Using the wrong fasteners: Using nails that are too short or staples where cleats are specified compromises the hold.
Cost of Wood Flooring Installation
- DIY nail-down (materials + tool rental): $4 to $8 per square foot
- DIY floating (materials + underlayment): $3 to $7 per square foot
- Professional nail-down installation: $6 to $12 per square foot (labor + materials)
- Professional glue-down installation: $7 to $13 per square foot (labor + materials)
- Professional floating installation: $5 to $10 per square foot (labor + materials)
These costs do not include subfloor repair, furniture removal, or demolition of existing flooring, which can add $1 to $3 per square foot.
Wood Flooring Installation Over Radiant Heat
Both engineered hardwood and some solid hardwood species can be installed over radiant heating systems. Key guidelines:
- Use engineered wood (more dimensionally stable) over solid when possible.
- Glue-down installation provides the best heat transfer.
- Never exceed the maximum surface temperature specified by the flooring manufacturer (typically 80 to 85 degrees Fahrenheit).
- Turn on the heating system 1 to 2 weeks before installation so the subfloor reaches its operating temperature.
- After installation, increase the temperature gradually (no more than 2 degrees per day) to avoid shocking the wood.
Post-Installation Care
- Wait 24 hours before placing furniture (48 to 72 hours for glue-down installations).
- Use felt pads under all furniture legs.
- Place mats at exterior doors and in front of sinks.
- Maintain humidity between 30 and 50 percent year-round.
- Clean with a hardwood-specific cleaner—never use excessive water, steam mops, or vinegar.
Frequently Asked Questions
Can I install wood flooring myself?
Floating engineered hardwood is the most DIY-friendly option and requires no special tools beyond a saw and tapping block. Nail-down installation is manageable for experienced DIYers who are comfortable with pneumatic tools. Glue-down installation is moderately difficult and requires careful adhesive management.
Which direction should wood flooring run?
Run planks parallel to the longest wall or the primary light source for the most visually appealing result. In hallways, always run planks lengthwise. Perpendicular to floor joists is structurally ideal for nail-down installations.
Can I install wood flooring in a basement?
Engineered hardwood can be installed in basements using the floating or glue-down method with a proper vapor barrier. Solid hardwood is not recommended below grade due to high moisture levels.
How long does wood flooring installation take?
A professional crew can install 200 to 300 square feet per day for nail-down, 150 to 250 for glue-down, and 300 to 400 for floating. A DIYer should expect roughly half that pace. Add time for subfloor prep, transitions, and detail work around obstacles.
Final Thoughts
Wood flooring installation is a rewarding project that adds lasting beauty and value to your home. Success depends on choosing the right installation method for your wood type and subfloor, thorough preparation, and patience during the process. Whether you nail it down, glue it down, or float it, the principles of acclimation, moisture management, and proper expansion gaps remain constant.
For help choosing the right wood, visit our hardwood flooring and engineered wood flooring guides. If you decide wood is not the right fit, compare with LVP flooring, laminate flooring, or vinyl flooring for alternative options.
Prefer to explore on your own?
See how new flooring looks in your actual room in seconds — free, no signup.
Try the free Floor Studio →