A brick patio is one of the few hardscape projects a motivated homeowner can build over a long weekend and enjoy for 25 years or more. Successful brick patio installation is 80 percent base preparation and 20 percent laying brick, which is exactly backward from how most beginners spend their time. Get the gravel and sand base right, and your patio stays flat and weed-free for decades. Rush the base, and you’ll be lifting heaved, sunken bricks within a season or two. This guide walks through the whole process the way an experienced mason approaches it.
Part of our Decks & Outdoor guide — explore the full guide →
For a typical 12-by-12-foot patio, plan on $600 to $1,500 in materials and two to three full days of work. The investment in proper base depth pays you back every winter.
Tools and Materials You’ll Need
Gather everything before you dig so you’re not making hardware-store runs mid-project. The core list includes clay pavers or concrete brick, crushed gravel base (often sold as paver base or 3/4-inch minus), coarse bedding sand, and polymeric sand for the joints.
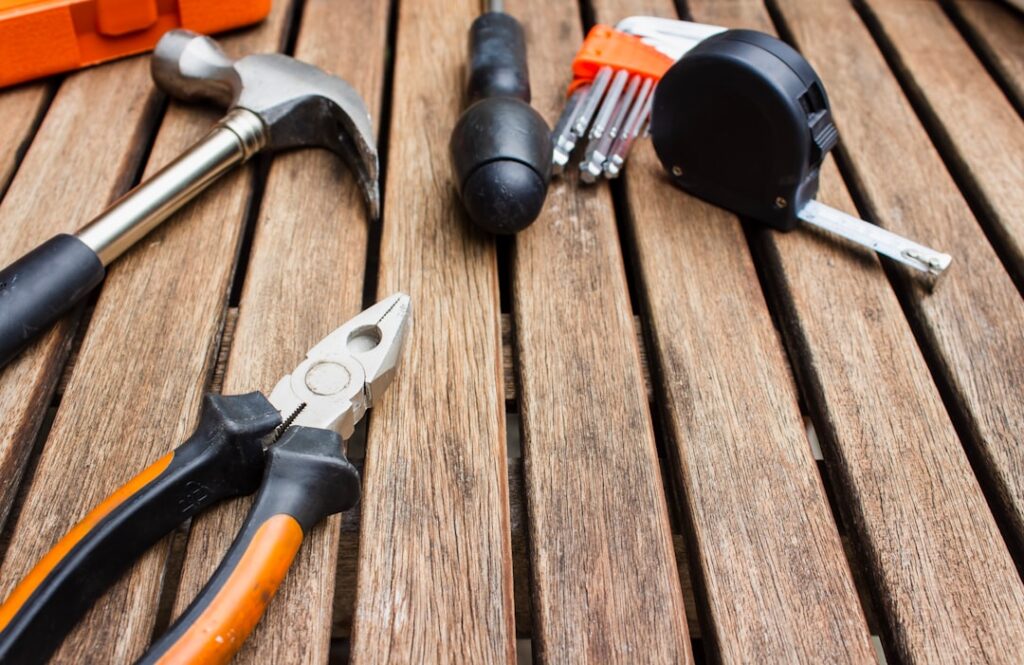
On the tool side you’ll want a plate compactor (rentable for about $75 a day), a flat shovel, a 4-foot level, a rubber mallet, a masonry saw or splitter, and plastic or steel edge restraint with spikes. A pair of pipe screed rails and a long straight 2×4 make leveling the sand bed far easier.
Excavating and Grading the Base
Lay out your patio with stakes and string, then dig down 7 to 9 inches across the entire area. You need room for 4 to 6 inches of compacted gravel, an inch of bedding sand, and the brick thickness itself, usually around 2.25 inches.
Crucially, build in a slope of about 1/4 inch per foot away from your house so rain drains off rather than pooling. Use the string lines and a line level to maintain that pitch as you dig. Skipping the slope is the single most common cause of standing water and ice on finished patios.
Building a Rock-Solid Gravel Base
Spread crushed gravel in 2-inch lifts and compact each layer with the plate compactor before adding the next. Compacting in thin layers is what makes the base truly solid; dumping 5 inches and compacting once leaves soft pockets that settle later.
Lightly mist the gravel as you go to help it lock together. After the final lift, the compacted base should be firm enough to walk on without leaving footprints. Check your slope again with a level across the whole surface before moving on.
Setting the Sand Bed and Laying Brick
Lay two lengths of 1-inch pipe across the base as screed guides, pour coarse sand between them, and drag a straight 2×4 across the pipes to create a perfectly even, 1-inch sand bed. Remove the pipes and fill the grooves with sand.
Start laying brick in a corner, working outward in your chosen pattern, herringbone, running bond, or basketweave. Set each brick straight down, never sliding it, and seat it with a few taps of the rubber mallet. Keep joints tight, around 1/8 inch, and check level frequently. Cut border bricks with the masonry saw for a clean perimeter.
Edging, Jointing, and Final Compaction
Once all bricks are down, install edge restraint around the perimeter and spike it into the base to lock the field in place. Without edging, the outer bricks creep outward and the whole patio loosens over time.
Sweep polymeric sand into the joints, then run the plate compactor over the surface with a protective mat to settle the bricks and pack the joints. Sweep in a second pass of sand, then mist lightly with water to activate the polymer binder, which hardens to resist weeds and ants.
Maintenance and Common Mistakes
A finished brick patio needs little upkeep. Re-sand the joints every few years as polymeric sand gradually wears, pull the rare weed promptly, and rinse off organic debris to prevent moss. Sealing is optional but deepens the brick color and adds stain resistance.
The mistakes that ruin patios are predictable: too little base depth, skipping compaction, forgetting the drainage slope, and omitting edge restraint. Avoid those four, and your brick patio installation will stay flat, tight, and handsome long after the weekend you built it is a distant memory.
Choosing the Right Brick and Pattern
Not all brick is suited to a patio. True clay pavers are denser and fired specifically to handle foot traffic and freeze-thaw cycles, while ordinary face brick made for walls can spall and crumble outdoors. Look for brick rated SX for severe weathering if you live where the ground freezes.
The laying pattern affects both looks and strength. A 45- or 90-degree herringbone interlocks tightly and resists shifting, making it the best choice for areas that will see a vehicle or heavy traffic. Running bond is simple and clean for walkways, while basketweave gives a classic, traditional look. Order roughly 5 to 10 percent extra brick to cover cuts, breakage, and future repairs.
Estimating Materials, Budget, and Climate Needs
A little math up front prevents shortfalls and return trips. For brick quantity, divide your patio’s square footage by the coverage of one brick; standard 4-by-8-inch pavers cover about 4.5 bricks per square foot, so a 144-square-foot patio needs roughly 650 bricks plus cuts.
For base, a 12-by-12 patio with a 5-inch gravel layer needs about 2.2 cubic yards of crushed stone, and budget another half-yard of bedding sand. Add a few bags of polymeric sand for the joints. All in, materials for a typical DIY brick patio run $8 to $15 per square foot, while hiring a pro pushes the installed cost to $18 to $30 per square foot. Doing it yourself easily saves a thousand dollars or more on an average patio.
If you live where the ground freezes, freeze-thaw cycles are the enemy of any patio, and a sand-set brick patio actually handles them better than rigid mortared concrete because the individual bricks can flex slightly without cracking. The key is drainage; water that can’t escape will freeze, expand, and heave the surface.
Go a little deeper on the gravel base in cold regions, up to 6 inches, and make sure your slope and any perimeter drainage carry water well away. Use brick rated SX for severe weather, since lower-rated brick spalls and flakes after a few winters. In wet climates, consider a permeable base of open-graded stone that lets rain drain straight through, reducing puddling and runoff while keeping the patio dry and stable.