A backsplash protects your wall from splatter and steam while doing more design work per square foot than almost any other surface in the kitchen. A ceramic tile backsplash remains the go-to choice because it is durable, water-resistant, affordable, and available in nearly endless colors and shapes. Whether you want a classic white subway look or a bold patterned statement, ceramic delivers without breaking the budget. Here is what you need to know before you tile.
Part of our Kitchen Remodeling guide — explore the full guide →
Why Choose Ceramic for a Backsplash
Ceramic tile is made from natural clay fired at high temperatures, then usually finished with a protective glaze. That glaze makes the surface resistant to moisture, grease, and stains, which is exactly what you want behind a stove or sink. A quick wipe with a damp cloth handles most kitchen messes.
Compared to natural stone, ceramic costs less and requires no sealing on the tile face. Compared to glass, it is more forgiving to cut and install. For most homeowners, it hits the sweet spot of price, performance, and style.
Ceramic vs. Porcelain
Shoppers often confuse the two. Porcelain is a denser, less porous type of ceramic fired at higher temperatures. For a backsplash, which sees splash but not foot traffic or freeze-thaw cycles, standard ceramic is more than tough enough. Porcelain costs more and is harder to cut, so save it for floors and high-moisture zones unless you specifically want its look.
Popular Styles and Patterns
The tile shape and layout shape the entire look of the kitchen.
- Subway tile: The 3×6 classic, usually in a brick offset. Timeless and budget-friendly.
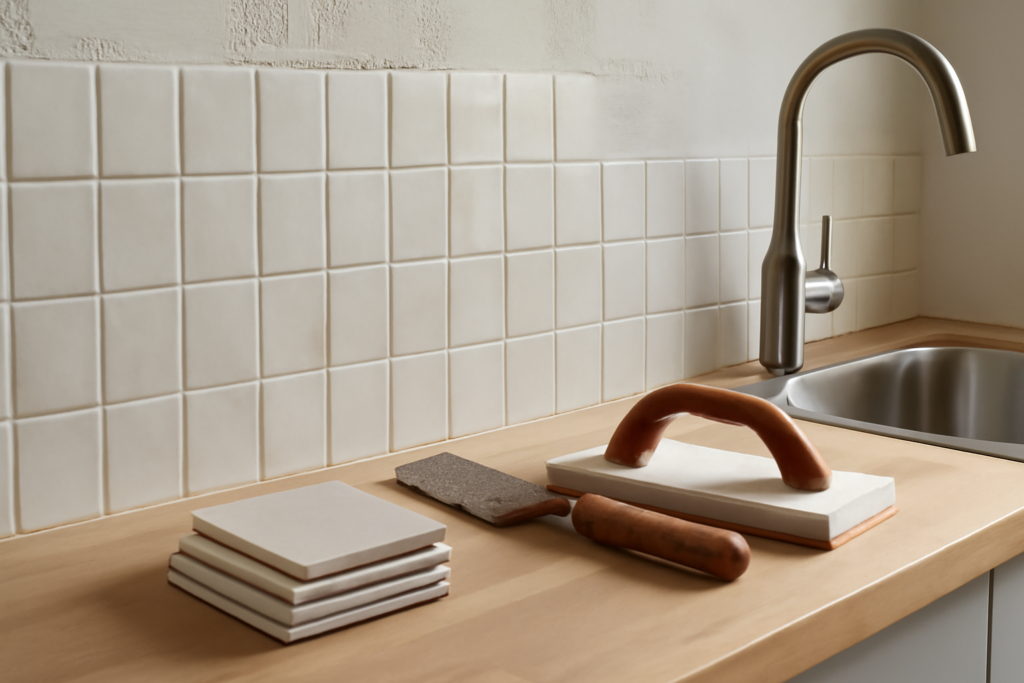
- Stacked layout: Square or rectangular tiles aligned in a grid for a clean, modern feel.
- Herringbone: Rectangles set at 45 degrees for a dynamic, upscale look.
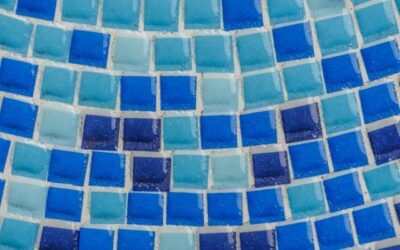
- Hexagon and mosaic: Small-format sheets that add texture and personality.
- Picket and arabesque: Shaped tiles for a custom, designer touch.
Color choice matters too. White and cream tiles brighten and enlarge a space, while deep navy, green, or charcoal add drama. A contrasting grout turns a simple subway tile into a graphic feature.
Cost Breakdown
Ceramic backsplash tile is one of the most affordable wall finishes available. Basic field tile runs roughly $1 to $5 per square foot, with decorative and handmade options reaching $10 to $25. A typical kitchen backsplash covers 25 to 35 square feet.
For a professional installation, expect to pay $10 to $20 per square foot installed, putting a standard project in the $500 to $1,500 range. A confident DIYer can cut that to material cost plus tools, often $150 to $400 for the whole job.
Installation Basics
Tiling a backsplash is one of the more approachable tile projects because the area is small and at eye level. The basic sequence is straightforward.
- Clean and lightly sand the wall, then find and mark your starting line with a level.
- Spread thin-set mortar or use a quality mastic adhesive with a notched trowel.
- Set tiles with spacers, working from your center line outward.
- Cut edge and outlet tiles with a wet saw or score-and-snap cutter.
- Let the adhesive cure, then apply grout, wipe the haze, and seal the grout lines.
Plan around outlets and switches, and remember to shut off power before loosening any cover plates. Spacer-equipped tiles keep your grout lines even, which is the detail that separates a clean job from an amateur one.
Grout Selection and Care
Grout color is a design decision, not an afterthought. Matching grout makes the tile read as one smooth surface, while contrasting grout highlights each tile’s shape. For a backsplash, choose a stain-resistant grout and seal it after curing to keep grease and water out.
Clean grout lines periodically with a soft brush and a mild cleaner. Avoid harsh acids that can etch the grout over time. Resealing every year or two keeps the lines bright and prevents staining behind the stove.
Maintenance and Longevity
A glazed ceramic backsplash needs almost no upkeep. Wipe it down with warm water and a little dish soap, and skip abrasive pads that can dull the glaze. Done right, a ceramic backsplash lasts decades and survives every cooking splatter, steam cloud, and sink splash you throw at it.
The tile itself rarely fails. When a backsplash looks tired, it is almost always the grout that has stained or the caulk line at the counter that has cracked. Refreshing grout with a deep clean or color-matched grout pen, and recaulking the seam where the tile meets the countertop every few years, keeps the whole installation looking new for a fraction of the cost of replacement.
Common Mistakes to Avoid
A few errors trip up first-time tilers and even some pros. Plan your layout before spreading any adhesive so you do not end up with a sliver-width cut tile in the most visible spot. Most experienced installers center the pattern on the cooktop or the main wall and balance the cuts toward the edges.
- Skipping the level line and trusting the countertop, which is often not perfectly level.
- Using wall mastic in a wet zone behind a sink, where thin-set is the safer choice.
- Forgetting to leave a caulk gap where tile meets the counter, leading to cracked grout.
- Grouting before the adhesive has fully cured, which can pull tiles loose.
- Not sealing the grout, leaving it open to grease and stains.
Design Tips for a Standout Backsplash
Small choices make a big visual difference. Carrying the tile all the way to the underside of the upper cabinets, or up a full wall behind an open shelf, makes a kitchen feel more finished than a short, standard run. A decorative strip or a contrasting accent tile behind the range creates a focal point without retiling the whole wall.
Texture adds depth too. Handmade-look tiles with slight surface variation catch light and feel custom, while a high-gloss tile bounces light and brightens a darker kitchen. When in doubt, order a few sample tiles and tape them to the wall to see how they read under your actual lighting before committing.
Final Thoughts
A ceramic tile backsplash delivers durability, easy cleaning, and design flexibility at a price that suits almost any renovation. Pick a tile shape and grout color that match your kitchen’s style, install with even spacing, and seal the grout. The result is a hardworking, good-looking wall that earns its keep for years.
Prefer to explore on your own?
See how new flooring looks in your actual room in seconds — free, no signup.
Try the free Floor Studio →