Trim is where a renovation either looks custom or looks builder-grade, and nothing fakes character faster than the wrong baseboard. A craftsman style baseboard rejects the curvy, ornate profiles of Victorian trim in favor of something honest and architectural: tall, flat boards with simple, clean lines that let the wood and the proportions do the talking. It is the look that defines bungalows and four-squares from the early 1900s, and it has come roaring back because it feels substantial without feeling fussy.
What Makes a Baseboard “Craftsman”
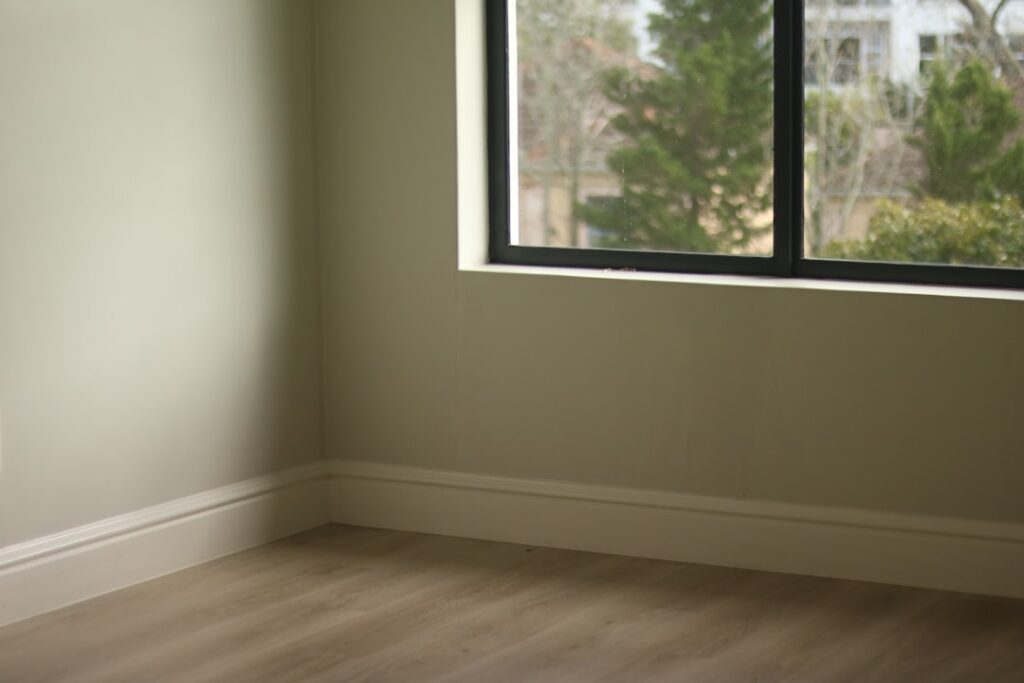
The Craftsman aesthetic grew out of the Arts and Crafts movement, which valued straightforward construction and visible material over machine-made ornament. That philosophy shows up at the floor. Instead of a single milled board with a decorative ogee, a true craftsman baseboard reads as a flat, wide plank, often capped with a simple square or beveled cap and squared off at the top rather than curved.
The hallmarks are easy to spot: generous height, flat faces, and crisp 90-degree relationships. There is little to no carved detail. The strength of the look comes from scale and simplicity, not decoration.
Typical Dimensions and Proportions
Height is the most important variable. Skimpy 3-inch base undercuts the whole style. Aim taller:
- Standard rooms: 5.25 to 7 inches tall is the sweet spot for most modern ceilings.
- Tall ceilings (9 feet or more): Go 7 to 9 inches or build up the height to keep the proportions right.
- Thickness: 5/8 to 3/4 inch reads as solid and period-appropriate.
- Cap: A simple square cap or a small beveled top edge finishes the board without adding curves.
A good rule: the baseboard should relate to the door and window casing. Craftsman casing is also flat and wide, so the base typically sits a touch taller than the casing’s width and dies cleanly into it.
Built-Up vs. Single-Board Profiles
You can achieve the look two ways. The simplest is a single wide, flat board, often a 1×6 or 1×8 of primed MDF or pine, with a thin cap added on top. This is fast, affordable, and convincing in most homes.
The more authentic approach builds the baseboard up from parts: a flat base board, a separate cap molding, and sometimes a small shoe at the floor. This layered method adds depth and shadow lines that feel genuinely period-correct, and it lets you hit those taller heights cleanly. It costs more in material and labor but pays off in rooms where the trim is on display.
Material Choices
What you build the trim from affects cost, durability, and finish:
- MDF: Smooth, stable, and cheap, with no knots. Ideal for painted trim, which most Craftsman base is. Avoid in wet areas.
- Primed finger-jointed pine: Slightly pricier than MDF, holds up better to bumps, also meant for paint.
- Solid hardwood (oak, maple): The choice for a stained, natural finish that shows the grain, true to the original Arts and Crafts spirit. Costs the most.
- Poplar: A good middle option for painted trim that needs more durability than MDF.
If you want the classic stained-wood Craftsman look rather than painted, budget for solid wood and a careful finish, since the grain is the whole point.
Installation Basics
Tall, flat boards are actually forgiving to install because there are fewer fussy profiles to match. Cut inside corners with a coping saw or by mitering and caulking, and miter outside corners at 45 degrees. Because Craftsman base is square at the top, you can also butt the cap pieces with simple miters that are easy to get tight.
Nail into studs with a finish nailer, fill the holes, caulk the top edge to the wall, and prime any raw cuts before painting. For stained wood, skip the caulk where it would show and rely on tight joinery instead. A flat board telegraphs wavy walls, so scribe or shim where the wall bows to keep the line straight.
Cost Expectations
Material for primed MDF or pine Craftsman base runs roughly $1.50 to $4 per linear foot, while solid hardwood can climb to $5 to $10 or more per foot. A built-up profile with a cap adds material and time. If you hire a finish carpenter, installed costs commonly land around $5 to $12 per linear foot depending on height, material, and how square your house is. Doing it yourself drops that to the cost of lumber, fasteners, and finish.
Coordinating With Casing and Other Trim
Baseboard rarely lives alone, and the Craftsman look depends on the whole trim package working together. Door and window casing in this style is also flat and wide, often with a simple square or beveled head casing on top rather than mitered corners. The baseboard should relate in scale to that casing, typically running a touch taller than the casing is wide, and dying cleanly into it at the floor.
If you are committing to the style, plan crown, window stools and aprons, and any wainscoting to match the same flat, square-edged language. Consistency is what sells the period look; one curvy ogee profile mixed in will read as out of place against all those clean lines.
Common Mistakes to Avoid
Two errors undo most Craftsman trim jobs. The first is going too short, a 3- or 4-inch base simply cannot carry the substantial look the style needs, so commit to height. The second is mixing decorative, curvy profiles into a scheme that should stay flat and square. Keep the lines clean and let scale do the work. Beyond that, watch your joinery: flat boards show gaps mercilessly, so cope or caulk inside corners tightly and scribe to wavy walls instead of fighting them.
Finishing for the Right Look
Most homeowners paint Craftsman trim in a crisp white or a soft off-white in a satin or semi-gloss for durability and a subtle sheen. For a more authentic bungalow feel, a stained quarter-sawn oak with a clear or amber finish nails the period look but demands clean wood and patient sanding. Either way, the magic of a well-done craftsman style baseboard is the same: tall, simple, and confident, letting clean lines carry the room.