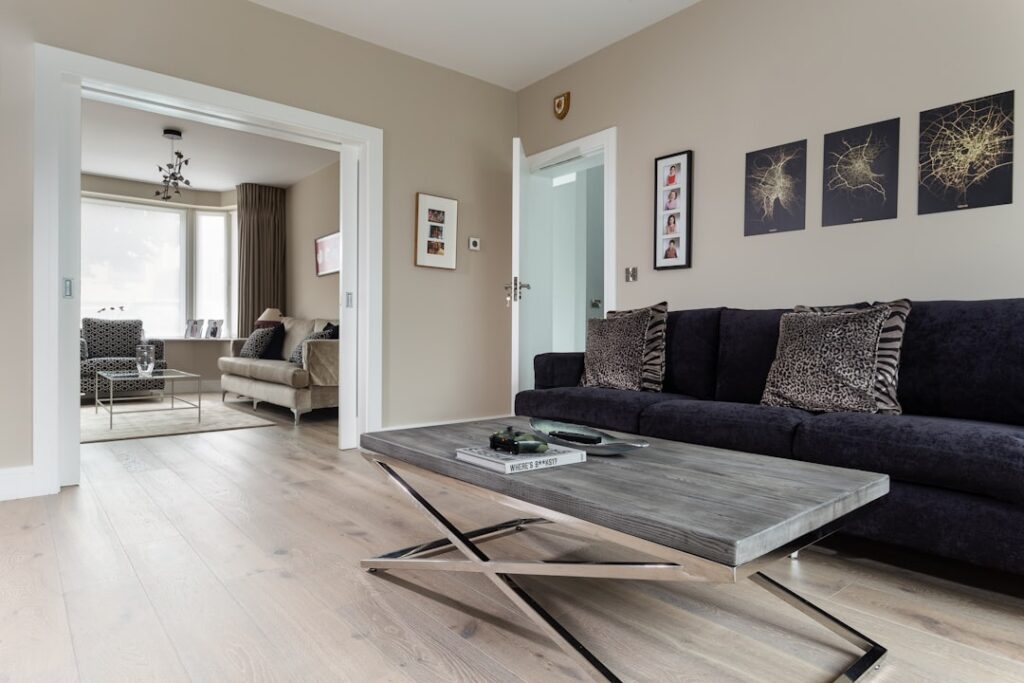
Shopping for laminate quickly reveals that “laminate” is not one product but a whole family of them, sorted by how they’re built and how much abuse they can take. Understanding the different types of laminate flooring means learning to read the specs, AC rating, thickness, water resistance, texture, and edge style, that separate a bargain floor for a guest room from a rugged plank that survives a busy entryway. Once you can decode those numbers, you’ll match the right laminate to the right room instead of guessing.
Here’s how the categories break down.
Sorting Laminate by AC Rating
The AC rating, short for Abrasion Class, is the durability scale for laminate, running from AC1 to AC5. It tells you how well the wear layer resists scratching, scuffing, and traffic. This is the most important number for matching a floor to its job:
- AC1: Light residential use, like a bedroom closet.
- AC2: Moderate residential, suitable for bedrooms and dens.
- AC3: All residential areas including busy living rooms and hallways. The most common home grade.
- AC4: Heavy residential and light commercial, good for entryways and small offices.
- AC5: Heavy commercial traffic, overbuilt for most homes.
For a typical household, AC3 is the sensible baseline, with AC4 worth the small upcharge in high-traffic zones.
Thickness and Feel
Laminate planks range from about 6mm to 12mm thick, and thickness changes how the floor feels and sounds. Thinner 6 to 8mm boards are budget-friendly but can feel hollow and less forgiving over minor subfloor imperfections. Thicker 10 to 12mm planks feel more solid and quiet underfoot and resemble real hardwood more closely.
Thickness isn’t the same as durability, that’s the AC rating’s job, but a thicker board with a deeper locking profile tends to click together more securely and mask small subfloor flaws better. For a premium feel, most people gravitate toward 10mm or 12mm.
Standard vs Water-Resistant Laminate
One of the biggest distinctions among the different types of laminate flooring is how they handle moisture. Traditional laminate has a fiberboard core that swells if water sits on it, making it a poor choice for bathrooms and risky in kitchens.
Water-resistant and waterproof laminates use a treated or altered core that resists moisture for a stated number of hours, often 24 to 72, giving you time to wipe up spills. These cost more but open up kitchens, laundry rooms, and even bathrooms to laminate. If moisture is a concern, this feature is worth the premium.
Textures and Surface Finishes
The surface texture is what sells the illusion of real wood or stone. Manufacturers offer several finishes, and they change both the look and the feel:
- Smooth: A flat, often slightly glossy surface. Clean and modern but the least realistic.
- Embossed: A textured surface with a repeating grain pattern for a more natural feel.
- Embossed in register (EIR): The texture aligns exactly with the printed grain, so the bumps match the wood image. This is the most realistic and premium texture.
- Hand-scraped: Mimics the rustic, worn look of hand-finished hardwood.
EIR is the tell of a high-quality laminate; running your hand across it, you feel wood grain exactly where you see it.
Edge Types
The edge profile shapes how individual planks read as a floor. A square edge butts planks together with no groove, so the floor looks like one continuous surface, which can make seams less obvious but also less like separate boards. Beveled edges have a small V-groove along each plank.
- Painted or micro-bevel: A subtle groove that gently defines each plank.
- Full bevel: A deeper, more pronounced V-groove for a distinct, plank-by-plank look that mimics real wood boards.
Beveled edges also help hide minor height differences between planks, a practical bonus on less-than-perfect subfloors.
Attached vs Separate Underlayment
Some laminate comes with a pre-attached foam or cork pad on the back, while other planks are bare and require a separate underlayment rolled out first. Attached-pad laminate speeds installation and reduces noise, but it usually lacks a vapor barrier, so you’ll still need one over concrete.
Bare planks let you choose your own underlayment, which is handy if you want thicker acoustic padding or an integrated moisture barrier. Neither is inherently better; it depends on your subfloor and how much control you want.
Installation and Locking Systems
Laminate is a floating floor, meaning it isn’t nailed or glued to the subfloor but clicks together and rests on top. The locking system varies by product, and it affects how easy the floor is to install and how tight the seams stay. Most modern laminate uses an angle-and-tap or a drop-lock click mechanism that snaps planks together without glue.
Higher-quality locking profiles hold tighter and resist gapping over time, which matters in rooms with temperature swings. A few older or budget products still use glue-together tongue-and-groove joints, which are messier and slower but can seal seams against moisture. For DIYers, a good click-lock system is the friendliest of the different types of laminate flooring to install over a weekend.
Matching Laminate to Décor Styles
Beyond specs, laminate spans a huge range of looks to fit any home. The print layer can convincingly imitate almost any material, so your choice is as much about style as performance:
- Wood looks: Oak, hickory, walnut, and gray-washed planks for traditional to modern spaces.
- Stone and tile looks: Slate, travertine, and marble patterns, often in a tile-format plank.
- Wide vs narrow planks: Wide boards feel contemporary, narrow strips read classic.
- Distressed and hand-scraped: Rustic textures for farmhouse and reclaimed-wood aesthetics.
Pairing the right visual style with the durability and moisture specs your room demands is how you land on a floor that looks intentional and lasts, rather than one chosen on price alone.
Choosing the Right Laminate for You
To navigate the different types of laminate flooring, start with the room. A busy entry or kitchen wants a high AC rating and water resistance; a quiet bedroom can use a thinner, standard board. Then layer in your preferences for thickness, texture, and edge style to hit the look and feel you want. Match the specs to how each room is used, and you’ll end up with a floor that looks great and lasts, rather than one that wears out or swells where you least expected.
Prefer to explore on your own?
See how new flooring looks in your actual room in seconds — free, no signup.
Try the free Floor Studio →