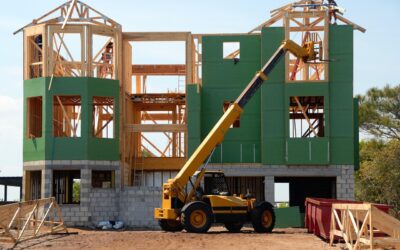
The walls of a typical 2,400 square foot American home contain roughly 14,000 board feet of lumber, 6,500 square feet of drywall, and 2,000 square feet of insulation — yet most homeowners couldn’t tell you what’s actually inside their own walls. Understanding the layers of house walls is the difference between a confident DIYer and the person who drills into a hot wire on their first picture-hanging attempt. After 18 years of remodeling, demolishing, and rebuilding walls of every era, here’s the working knowledge every homeowner should have.
The Anatomy of a Typical Wall
From outside in, a modern exterior wall stacks up like this:
- Siding (vinyl, fiber cement, brick, stone, wood)
- Weather-resistant barrier (Tyvek, ZIP sheathing)
- Sheathing (7/16 OSB or 1/2 plywood)
- Studs (2×4 or 2×6 wood, sometimes steel)
- Cavity insulation (fiberglass batt, blown cellulose, or spray foam)
- Vapor retarder (kraft facing or poly sheet, climate-dependent)
- Drywall (1/2 inch standard, 5/8 inch on garage ceilings)
- Paint or finish
Interior walls drop the siding, sheathing, weather barrier, and exterior insulation, leaving studs, optional sound batts, and drywall on both sides.
Load-Bearing vs Non-Load-Bearing
Knowing the difference is critical before any renovation. Load-bearing walls carry roof, ceiling, or upper-floor weight to the foundation. Removing one without proper beam support can collapse the structure. Generally, walls running perpendicular to the ceiling joists, walls beneath plumbing stacks, and any exterior wall are load-bearing.
Non-load-bearing walls (often called partition walls) run parallel to joists and only divide space. You can remove them with drywall demo and stud removal. When in doubt, hire a structural engineer for a $300-$500 site visit before swinging a hammer.
Common Wall Construction by Era
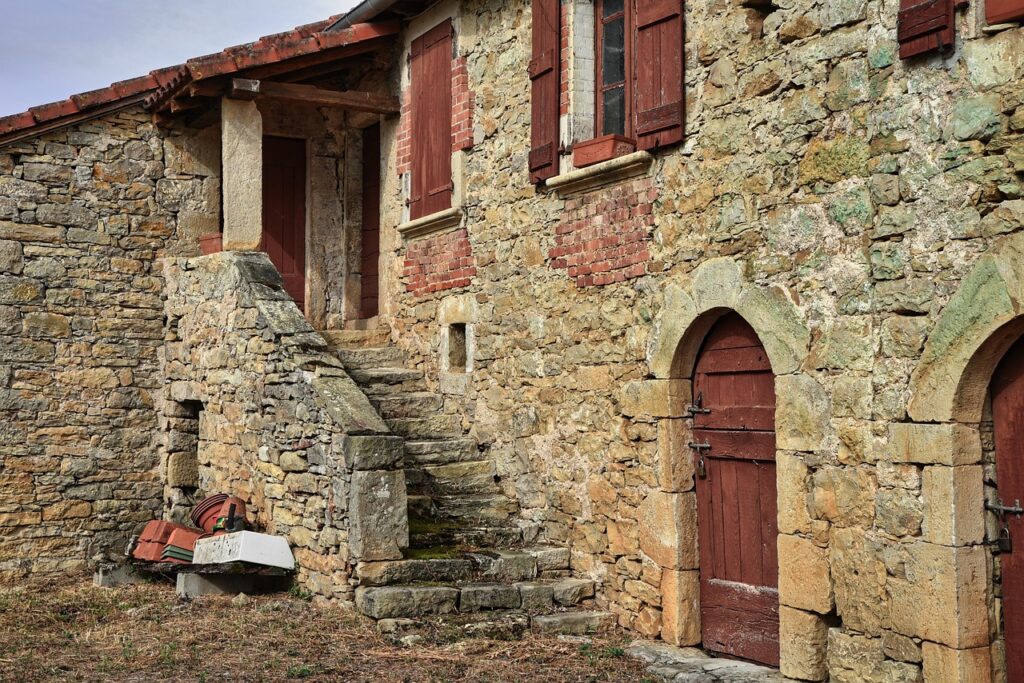
Pre-1940 homes: lath and plaster on rough-cut studs spaced inconsistently. Plaster walls are 3/4 to 1 inch thick, hard to drill, and crack easily during renovation. Many have no insulation at all.
1940-1965: lath transitioning to early drywall (rock lath or “buttonboard”). Studs spaced more regularly at 16 inches on center. Insulation appears in colder regions.
1965-2000: standard drywall, batt insulation, plywood or OSB sheathing. The era most homeowners encounter today.
Post-2000: tighter envelopes, Tyvek and ZIP wraps, advanced framing, and increasing use of spray foam in higher-end builds.
Finding Studs and Wires
Studs sit 16 inches on center in most homes. A magnetic stud finder catches drywall screws; an electronic finder reads density. Knock the wall — solid sound means stud, hollow means cavity. Plug-in outlets and switches are always mounted to a stud, so measure 16 inches in either direction to find the next.
Wiring runs horizontally between outlets, vertically up to switches, and across studs through 5/8-inch holes drilled in the framing. Never drill blindly into a wall above an outlet. Use a multi-detector like the Franklin ProSensor 710 ($60) before any deep penetration.
Drywall: What Most House Walls Are Faced With
Standard drywall is gypsum plaster sandwiched between two layers of paper. Common types:
- 1/2 inch white-board: standard residential walls
- 5/8 inch Type X: fire-rated, required on garages and shafts
- Green-board: moisture-resistant for bathrooms (no longer code in shower areas)
- Cement board (Durock, HardieBacker): required behind tile in showers
- Sound-rated (QuietRock): 1-2 hour STC improvement, $50-$80/sheet
Insulation Inside House Walls
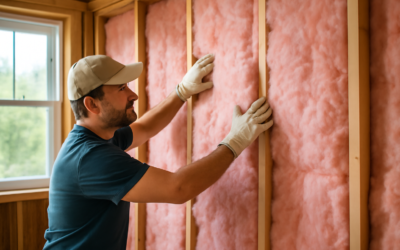
Existing fiberglass batts in 2×4 walls deliver about R-13. Upgrading to mineral wool adds R-15 in the same cavity plus better fire and sound performance. Blown cellulose retrofit (drilled small holes, dense-pack technique) brings older walls up to R-13 to R-19 without tearing them open — typically $1.50 to $3.50 per sq ft of wall.
For exterior walls in cold climates, adding 1-2 inches of continuous rigid foam outside the sheathing during a re-side adds R-5 to R-13 and breaks thermal bridging. Best window of opportunity comes when siding is being replaced anyway.
Common Wall Problems and Repairs
Drywall cracks at door corners: tape and mud, not a structural issue 95% of the time. Use mesh tape and three thin coats of joint compound.
Wet spots: trace the source first. A bathtub overflow stain dries and disappears; a roof leak comes back. Cut a 6-inch inspection hole, look for active moisture, fix the source, then patch.
Sagging plaster: indicates lath separation. Plaster washers ($0.30 each) screwed through the sagging area into studs reattach the plaster cheaply. For broken plaster, peel and replace with 1/2-inch drywall to original surface depth.
Outlets that spark or smoke: kill the breaker, then call an electrician. Don’t troubleshoot yourself — a single backstabbed wire behind a 50-year-old outlet is the #1 cause of preventable house fires.
Painting and Finishing
For new drywall: prime with PVA primer ($25/gal) before color paint or the gypsum sucks paint dry and produces flashing. For repaints over existing paint: Behr Premium Plus or Sherwin-Williams ProClassic both go on cleanly with minimal prep.
Two coats minimum. One coat shows roller marks and reads cheap. Use 3/8-inch nap roller for smooth walls, 1/2-inch for orange-peel texture, and 3/4-inch for heavy texture.
When to Call a Pro
Wall removal that involves any structural work, knob-and-tube rewiring, plumbing modifications inside walls, or large-scale insulation upgrades. Anything involving load paths, electrical service, or asbestos materials in pre-1980 plaster needs licensed help. Patching, painting, and minor outlet swaps are reasonable DIY projects.
Treat your house walls with the respect they deserve — they hold up the roof, hide the wiring, and influence every comfort metric in the building. The more you understand them, the smarter every future project will be.