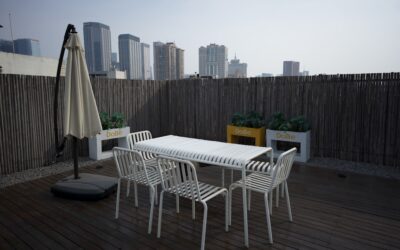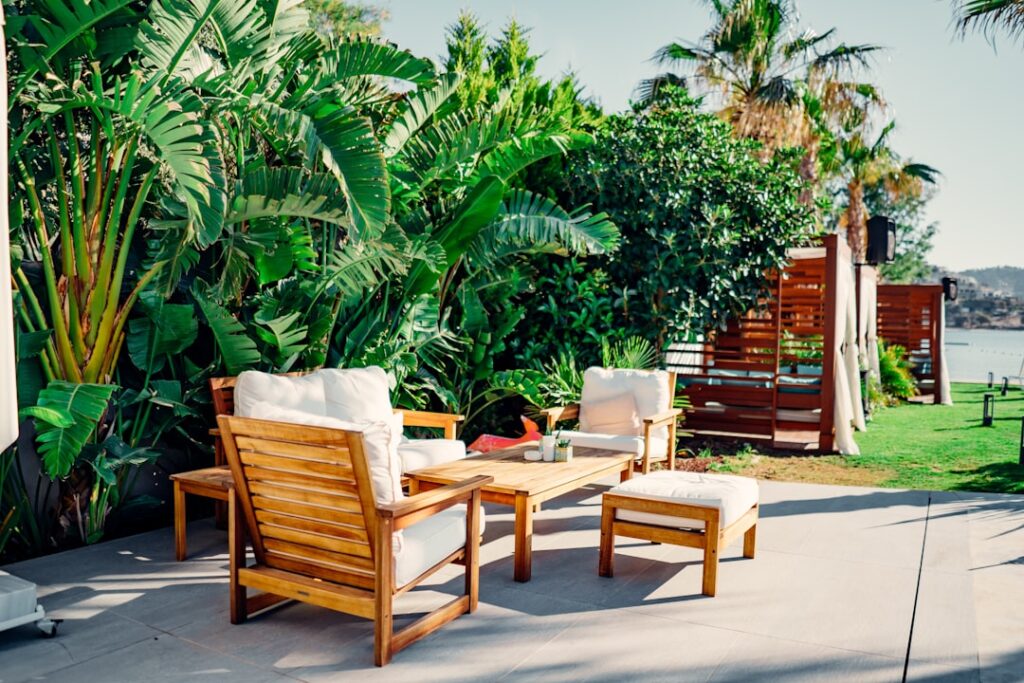
Roughly a third of patio furniture gets replaced within five years, and almost none of those failures are mysteries — they’re mismatches between the furniture and the climate, the space, or the way the household actually lives. Learning how to choose outdoor patio furniture is really a seven-step filtering exercise: each decision eliminates whole categories, and by the end only a handful of right answers remain. Work the steps in order; the sequence is the method.
Part of our Decks & Outdoor guide — explore the full guide →
- Step 1: Define the Job Before the Look
- Step 2: Let Climate Pick Your Materials
- Step 3: Measure and Map the Space
- Step 4: Get the Cushion Spec Right
- Step 5: Set the Budget Tier Honestly
- Step 6: Choose a Style You'll Still Like in Year Six
- Step 7: Pre-Purchase Inspection and the First 90 Days
- Comfort Fit: The Sit Test You Can Run Remotely
- Five Mistakes That Undo Good Choices
- A Worked Example
- The Framework in One Pass
Step 1: Define the Job Before the Look
Write down the two most frequent things the space will host — not the fantasy dinner party, the actual Tuesday. “Morning coffee and weekend lounging” points to a chat set or deep seating. “Family dinners outside all summer” demands a true dining setup. “Entertaining eight people monthly” needs modular seating plus stackable extras. Every showroom is staged to sell you the fantasy; your list is the antidote. If two jobs conflict (dining and lounging in one small space), plan on double-duty pieces rather than two half-sets crammed together.
Step 2: Let Climate Pick Your Materials
Your weather disqualifies materials before taste gets a vote. Salt air within a mile of the coast rules out steel and cheap hardware — aluminum, teak, or HDPE poly lumber only. Intense sun (Southwest, high altitude) fades piece-dyed fabric in one season and makes dark metal untouchable by 2 p.m.; specify solution-dyed acrylic and lighter frame colors. Freeze-thaw winters crack thin resin wicker and pooled-water joints. High wind punishes anything under about 15 pounds. Humid Southeast summers mildew slow-drying cushion fill. For all-weather, no-maintenance permanence, HDPE lumber is the benchmark — our Polywood patio furniture review covers the category leader. And for the aluminum-versus-steel-versus-iron decision most buyers face, see our metal patio furniture comparison.
Step 3: Measure and Map the Space
Tape your candidate footprint on the ground and enforce the clearances: 36 inches behind dining chairs, 30 inches of walkway on main paths, 16 to 18 inches between sofa and coffee table, 24 inches of table edge per diner. A 10×10 patio holds a four-person dining set or a loveseat grouping — not both. Note sun paths and the grill’s smoke line while you’re out there; furniture placed in 4 p.m. full sun or downwind of the grill goes unused no matter how good it is. Check door and gate widths against boxed dimensions too. More furniture regret starts with “it didn’t fit the way I pictured” than with any quality failure.
Step 4: Get the Cushion Spec Right
Cushions fail years before frames, so read their two-line spec like it matters — it does. Fabric: solution-dyed acrylic (Sunbrella and equivalents) keeps color 5 to 10 years in full sun; solution-dyed olefin is the value alternative; anything labeled just “polyester” is a two-summer fabric. Fill: quick-dry reticulated foam or high-density foam wrapped in poly holds shape and sheds rain; loose polyfill flattens by August. Demand zippered, removable covers. If the set you love has weak cushions, price replacement covers before buying — on discontinued collections they often don’t exist, which quietly totals the whole set.
Step 5: Set the Budget Tier Honestly
Outdoor furniture clusters into three real tiers, and each is rational for someone. Entry ($200–$800 per grouping) buys thin steel, basic wicker, and polyester cushions — a 2-to-4-year proposition, right for renters and trial patios; our cheap patio furniture guide covers how to shop it without getting burned. Mid ($800–$2,500) buys aluminum frames, solution-dyed fabric, and 5-to-10-year service — the correct tier for most homeowners. Premium ($2,500+) buys teak, poly lumber, and marine hardware measured in decades. The per-year math usually favors one tier up from your instinct, especially bought at the August–September clearance that cuts 40 percent industry-wide.
Step 6: Choose a Style You’ll Still Like in Year Six
Style is the last filter, not the first — but it still matters, because furniture you’re tired of gets replaced as surely as furniture that breaks. Match the architecture: clean-lined pieces suit contemporary homes (our modern patio furniture guide maps that look), classic wicker and iron suit traditional ones. Neutral frames with color in swappable pillows age better than statement-color furniture. If a fire feature is part of the plan, decide now rather than retrofitting — patio furniture with a fire pit changes the layout math, since chairs need 18 to 24 inches of clearance to the burner and swivel seating earns its premium around flame.
Step 7: Pre-Purchase Inspection and the First 90 Days
Before checkout, verify five things: stated frame material and tube gauge, cushion fabric and fill by name, warranty length (1 year is the mass-market floor; 3 to 5 signals real confidence; Polywood’s 20 is the outlier), replacement-parts availability, and the retailer’s return window. After delivery, assemble within a week, torque every bolt, load-test every seat, and leave everything in the rain once on purpose — drainage failures, wobbles, and instant fading are return-window discoveries or they’re permanent. Photograph the model tags and file the receipt; future-you ordering a replacement glide in year four will be grateful.
Comfort Fit: The Sit Test You Can Run Remotely
Online buying removes the showroom sit, but the numbers substitute well. Dining chairs want 18-to-20-inch seat depth and a seat height 10 to 12 inches below the tabletop; lounge seating wants 22 to 26 inches of depth, 15-to-17-inch height, and arms 7 to 9 inches above the seat. Households running tall should add 2 inches of depth and favor higher backs; anyone with knee or hip issues should avoid seats below 16 inches, which turn standing up into an event. To test a listing’s dimensions at home, stack cushions on a kitchen chair until it matches the spec and sit for ten minutes — crude, but it catches the too-deep sofa and the too-low chair that generate most comfort returns. Firmness rarely appears on spec sheets, so use fill type as the proxy: high-density foam holds posture, loose fill doesn’t.
Five Mistakes That Undo Good Choices
Even buyers who work the steps stumble on a recurring handful of errors. Buying the full matched set in one click — which yokes every piece to the collection’s weakest component and its discontinuation date — tops the list; mixing two or three sources is more durable and better looking. The others: white or pale piece-dyed cushions in full sun (gray by August), glass tabletops in hail country, skipping the cover budget as if $60 of covers weren’t protecting $1,500 of furniture, and assembling with the included stamped tool, which leaves bolts half-torqued and wobbles blamed on the furniture. None of these are quality failures — they’re process failures, and all five are free to avoid.
A Worked Example
Here’s the framework running on a typical case: family of four, Midwest suburb, 12×14 uncovered deck, $1,500 budget. Step one, the jobs: weeknight dinners outside and weekend lounging — dining leads. Step two, climate: freeze-thaw winters and humid summers rule out thin resin wicker and argue for aluminum framing with storable cushions. Step three, the tape test fits a 60-inch rectangular table with six chairs on one side of the deck and two lounge chairs with a side table on the other — barely, so the lounge pair goes armless. Step four: solution-dyed olefin cushions, zippered, stored in a $90 deck box each winter. Step five: budget says mid-tier bought at August clearance — the $1,900 aluminum dining set marked to $1,100, plus $250 for the lounge pair and box. Steps six and seven: neutral frames to outlast taste, bolts torqued on delivery day, tags photographed. Total: $1,450, and every decision traceable to a step rather than a showroom impulse.
The Framework in One Pass
Job, climate, space, cushions, budget, style, inspection — in that order. Most buyers run the sequence backwards, falling for a style and then discovering the climate and clearance problems on their own patio. Run it forward and how to choose outdoor patio furniture stops being a taste question and becomes a short checklist with only two or three sets left standing at the end. Buy one of those in late August, and the set you choose should still be the set you own in year ten.