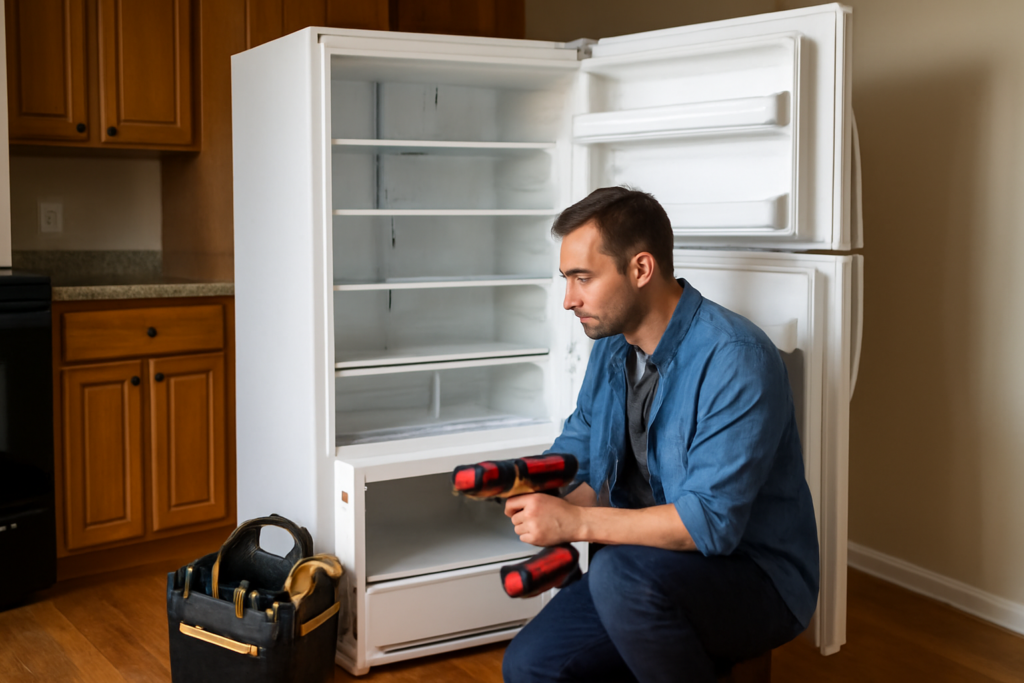
Most Kenmore refrigerator repair jobs are more approachable than the panic makes them seem — a stuck ice maker, a warm fresh-food section, or a puddle under the crisper usually traces back to one part you can test with a $20 multimeter. This guide covers the Kenmore refrigerator repair work a handy homeowner can safely do, and it draws a hard line at the sealed refrigerant system, which by law belongs to a certified tech.
One thing to know up front: Kenmore never manufactured its own fridges. Sears rebadged units built by Whirlpool, LG, Frigidaire (Electrolux), and others. Your first three digits of the model number tell you who really made it — 106 is Whirlpool, 795 is LG, 253 is Frigidaire. That prefix decides which parts you buy.
Read Your Model Number First
Find the model and serial tag inside the fresh-food compartment — on a sidewall, the ceiling, or the base near the crisper. Write down the full number. The three-digit prefix routes you to the correct manufacturer parts, and the whole number lets you order exact components instead of guessing. Never buy a part off a photo alone; a $60 valve that doesn’t fit is $60 wasted.
Refrigerator Not Cooling
The most common and most alarming complaint. Work through it in this order before spending a dime:
- Condenser coils: pull the fridge out, remove the lower back or bottom-front grille, and look at the coils. Caked in dust and pet hair, they can’t shed heat, and the compressor runs hot without cooling. Vacuum them with a coil brush. Do this every six months — it’s the single most common fix.
- Condenser fan motor: near the compressor at the bottom rear. With the door closed (press the door switch), it should spin. If it’s seized or silent, replace it — typically $30 to $70 for the part.
- Evaporator fan: inside the freeder behind the rear panel. No airflow to the fresh-food section usually means this fan or its motor. Listen for it running when the door switch is pressed.
- Condenser fan and start relay: a clicking or humming compressor that won’t start often points to a failed start relay ($15 to $40), a cheap part that’s worth ruling out before condemning the compressor.
Where DIY stops: if the coils are clean, both fans spin, and the compressor runs but nothing gets cold, you may have a sealed-system problem — a refrigerant leak or a failed compressor. Refrigerant work is federally regulated. Under EPA Section 608, only a certified technician may open the sealed system or handle refrigerant. Do not cut into any refrigerant line or attempt to recharge it. Call a licensed appliance tech or HVAC pro for anything past the fans and relay.
Ice Maker Not Working
Ice maker faults are the bread-and-butter of Kenmore refrigerator repair, and most are DIY-friendly:
- Freezer too warm: ice makers need the freezer at 0°F to 5°F. If it’s warmer, fix the cooling problem first — the ice maker won’t cycle.
- Water inlet valve: a failed valve (Whirlpool-built units often use part 4318047 or W10408179) stops filling the mold. Test for continuity with a multimeter; expect 200 to 500 ohms across the solenoid.
- Frozen fill tube: the small tube feeding the maker can freeze solid. Thaw it with a hair dryer on low, then figure out why it froze — usually a slow-leaking valve or low freezer temp.
- Ice maker assembly: if the module clicks but never harvests, the assembly itself may be shot. Replacements run $40 to $120 and swap out with a couple of screws and a wire harness plug.
Water Dispenser and Leaks
No water at the dispenser usually means a clogged filter, a frozen supply line, or a bad inlet valve. Replace the filter first — it’s the cheapest fix and a spent cartridge chokes flow. If the line inside the freezer door is frozen, the dispenser will click but nothing comes out; thaw it and check that your freezer isn’t set colder than needed.
Water pooling under the crisper drawers is almost always a clogged defrost drain. During the auto-defrost cycle, meltwater is supposed to run to the drain pan under the fridge. When the drain freezes over, water backs up and spills into the compartment. Clear it by flushing warm water down the drain hole at the back of the freezer floor, or gently work a turkey baster of hot water through it. This is one of the most satisfying five-minute fixes there is.
Strange Noises
Not every noise is a repair. A gurgle or occasional pop is refrigerant and expanding plastic — normal. But a loud buzz or grinding usually means a fan blade hitting ice buildup or a worn motor bearing. A rhythmic knocking from the bottom is often the condenser fan hitting debris. A high-pitched squeal from the freezer back panel points to a failing evaporator fan motor, a $30-to-$70 part.
Temperature Swings and the Thermostat
If your fridge freezes the lettuce one week and turns warm the next, suspect the temperature control (thermistor or cold control) or the main control board. Thermistors are cheap — $10 to $25 — and you can test resistance against a temperature chart with a multimeter. On electronic models, the control board is pricier at $80 to $200, so confirm the cheaper sensors are good before you replace it.
What You Can Safely DIY vs. Call a Pro
Green light for the confident homeowner: cleaning condenser coils, replacing fans and their motors, swapping the water inlet valve, changing the filter, clearing a defrost drain, replacing an ice maker assembly, testing and replacing thermistors, and swapping a start relay. All of these need nothing more than a screwdriver, a nut driver, a multimeter, and the fridge unplugged.
Always unplug the refrigerator before touching any electrical component — these run on 120V and the compressor circuit can bite. Red light, no exceptions: anything involving refrigerant, the compressor, or the sealed cooling loop. That work legally requires an EPA-608 certified technician, and attempting it yourself is both illegal and dangerous. If your diagnosis lands on a sealed-system leak or dead compressor, weigh the $400-to-$700 repair against the age of the unit — a fridge past 12 to 15 years is often cheaper to replace.
Door Seals and Frost Buildup
A cheap problem people overlook: worn door gaskets. If the magnetic seal is cracked, hardened, or torn, warm room air leaks in, the compressor runs nonstop, and frost builds on the freezer walls. Test it by closing the door on a dollar bill — if it slides out with almost no drag, the seal is weak. Replacement gaskets run $50 to $130 and press or screw into the door channel. Clean the existing gasket with warm soapy water first; sometimes a sticky, dirty seal just needs a wipe and a thin smear of petroleum jelly to seat properly again.
Heavy frost on the freezer back wall, on the other hand, usually means a defrost system fault — a failed defrost heater, defrost thermostat, or the timer/control board that runs the cycle. These are testable with a multimeter and replaceable for $20 to $80, but diagnose in order: heater continuity first, then the thermostat, then the control.
Tools and Parts to Keep on Hand
You don’t need a shop full of gear for basic Kenmore refrigerator repair. A nut driver set, a couple of screwdrivers, a $20 digital multimeter, and a coil brush cover most jobs. Keep a hair dryer nearby for thawing frozen lines and drains. When you order a part, buy from a supplier that matches by your full model number so you get the exact OEM component or a verified equivalent — a valve or thermistor that’s close but not identical will cause more grief than it saves.
When Repair Isn’t Worth It
A good rule: if the repair costs more than half the price of a comparable new fridge and the unit is more than eight years old, replace it. A new inlet valve or ice maker on a five-year-old fridge is a no-brainer. A sealed-system rebuild on a 14-year-old unit is throwing good money after bad. Keep your model number handy, tackle the fan-and-filter jobs yourself, and hand the refrigerant work to someone with the certification and the recovery equipment to do it right.