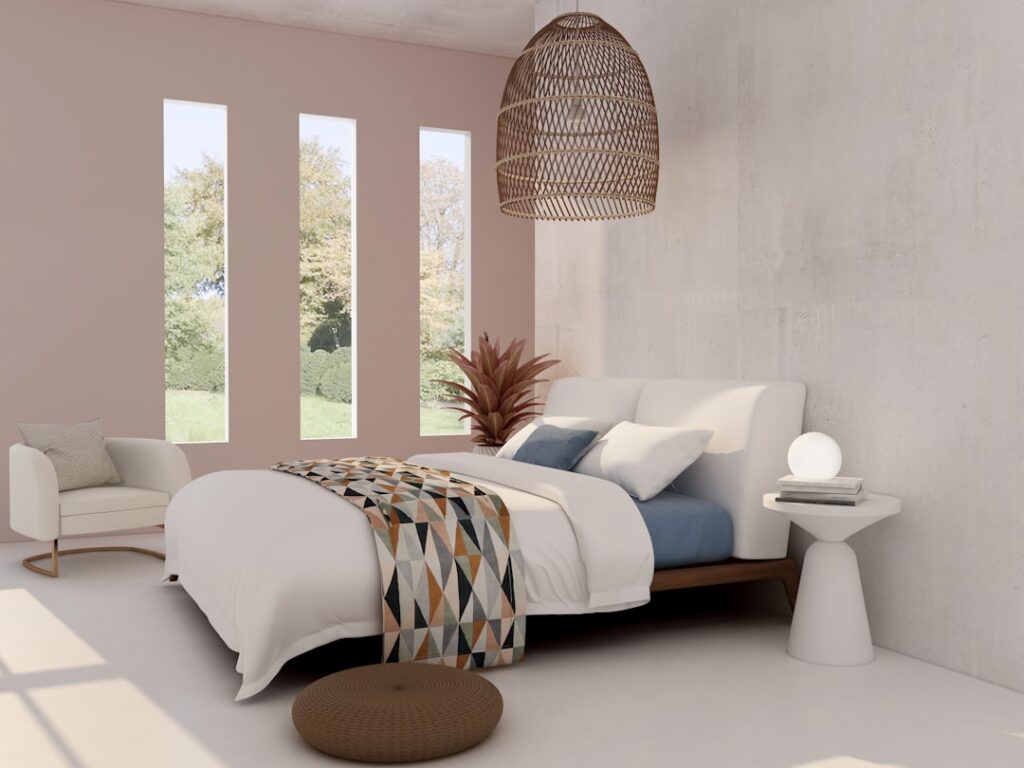
Most homeowners who regret a renovation made the same mistake: they bought finishes before they nailed down the floor plan. A successful master bedroom remodel starts with how the room functions at 6 a.m. and 11 p.m., not with the paint chip you fell in love with at the store. Get the sequence right and you end up with a quiet, well-lit retreat that adds real resale value. Get it wrong and you spend $25,000 on a room that still feels cramped.
- Phase One: Define the Goals Before You Demo Anything
- Phase Two: Lock the Layout and Traffic Flow
- Phase Three: Set a Realistic Budget With a Contingency
- Phase Four: Lighting in Three Layers
- Phase Five: Closet and Storage Build-Out
- Phase Six: The Ensuite Bathroom
- Phase Seven: Finishes, Flooring, and Sequencing
- Permits, Timelines, and Hiring Help
- Heating, Comfort, and the Little Details
- A Few Pro Tips That Save Money
This guide walks through the project the way a good general contractor would: in phases, with budget checkpoints, so nothing gets bolted on as an expensive afterthought.
Phase One: Define the Goals Before You Demo Anything
Write down the three things that bother you most about the current room. Maybe it’s a dark corner, a closet you can’t walk into, or a bathroom you share with the kids. Those frustrations drive every decision that follows. A remodel that simply repaints and re-floors costs $5,000 to $12,000. One that moves walls, adds an ensuite, or expands a closet runs $20,000 to $60,000 depending on your market and whether plumbing or framing changes are involved.
Decide early whether this is a cosmetic refresh or a structural project, because the two are budgeted, permitted, and scheduled very differently.
Phase Two: Lock the Layout and Traffic Flow
Furniture placement comes first, before you pick anything else. A king bed needs 24 to 36 inches of clearance on each side and at the foot for comfortable walking. Map the bed against the longest unbroken wall, ideally the one without a door or large window, so the headboard has a solid anchor.
Sketch the path from the door to the bed, to the closet, and to the bathroom. If those paths cross each other or force you to squeeze past furniture, rework the plan now. On paper a wall move costs nothing; after drywall it costs thousands.
- King bed footprint: roughly 76 by 80 inches, plus clearance
- Nightstand zone: 24 to 28 inches wide per side
- Walkways: minimum 30 inches, 36 inches preferred
- Seating nook or bench: budget at least 3 by 4 feet of open floor
Phase Three: Set a Realistic Budget With a Contingency
Build your budget in buckets and add a 15 to 20 percent contingency on top. Older homes hide surprises behind walls: knob-and-tube wiring, rotted subfloor, or out-of-code venting. A typical mid-range allocation looks like flooring at 15 percent, paint and trim at 10 percent, lighting and electrical at 15 percent, closet build-out at 15 percent, ensuite work at 30 percent, and furnishings at the remainder.
Spend where you touch the room daily. A quality mattress platform, smooth-operating closet drawers, and good lighting earn their keep. You can save on decorative items you swap out every few years.
Phase Four: Lighting in Three Layers
The single biggest upgrade in most bedrooms is light, and it costs less than you think. Plan three layers. Ambient light fills the room, usually recessed cans on a dimmer or a central fixture. Task light covers reading, with wall-mounted sconces or adjustable lamps flanking the bed. Accent light adds warmth, think LED strips under a floating nightstand or a lamp on a dresser.
Put nearly everything on dimmers and choose bulbs in the 2700K to 3000K range for a warm, restful tone. Add a switch at the bed so you are not crossing a dark room to kill the overhead light. If you are opening walls anyway, run the wiring now while it is cheap.
Phase Five: Closet and Storage Build-Out
A walk-in closet of 6 by 8 feet or larger transforms how the room lives, but even a reach-in can be doubled in capacity with a smart system. Mix double-hang rods for shirts, single-hang for dresses and coats, adjustable shelving, and a few drawers for folded items and accessories. Allow 24 inches of hanging depth and keep the most-used items between knee and shoulder height.
If you can borrow square footage from an adjacent room or hallway to create or expand a walk-in, it is often the highest-value move in the whole project. Buyers respond strongly to generous primary closets.
Phase Six: The Ensuite Bathroom
An ensuite is the most expensive square footage in the remodel because of plumbing, waterproofing, and ventilation. If you are adding one, locate it near existing water lines to control cost. A comfortable layout fits a 36 by 36 inch shower, a single vanity, and a toilet into about 35 to 40 square feet, though 50 to 60 square feet feels far better.
Specify a quiet exhaust fan rated for the room size to fight moisture, use a slip-resistant floor tile, and waterproof the shower correctly behind the tile. Cutting corners on waterproofing is the most common, and costly, ensuite mistake.
Phase Seven: Finishes, Flooring, and Sequencing
Now you choose the surfaces. For bedroom flooring, engineered hardwood and quality luxury vinyl plank both feel warm underfoot and handle a bedroom’s light traffic easily; wall-to-wall carpet remains popular for sound and softness. Whatever you pick, install flooring after painting the ceiling and walls but before final trim and baseboards.
The general order keeps trades from undoing each other’s work: demo, framing, rough electrical and plumbing, insulation, drywall, prime and paint, flooring, trim, fixtures, and finally furniture and styling. Follow that sequence and your master bedroom remodel stays on schedule and on budget.
Permits, Timelines, and Hiring Help
Cosmetic refreshes rarely need permits, but the moment you move walls, alter plumbing, or change electrical service, your local building department almost certainly will. Pulling permits feels like a hassle, yet unpermitted work can stall a future home sale and void insurance claims, so it is worth doing properly. A simple paint-and-floor refresh can wrap up in one to two weeks; a full remodel with an added or reworked ensuite typically runs six to twelve weeks once demolition starts, longer if custom cabinetry or stone has long lead times.
Decide early which trades you will hire. Many homeowners comfortably handle painting and even flooring, but electrical, plumbing, and structural framing are best left to licensed pros. A good general contractor coordinates the trades and inspections so the project flows in the right order, which is often worth the management fee on a larger remodel.
Heating, Comfort, and the Little Details
Comfort features separate an average bedroom from a true retreat, and they are easiest to add while the walls are open. Consider where you want outlets, USB charging at the nightstands saves a lifetime of fishing for cords, and whether you want a ceiling fan with a light kit for year-round air movement. If the room runs cold, this is the moment to improve insulation or add a supplemental heat source.
Sound matters too. Insulating interior walls, choosing a solid-core door, and adding soft surfaces like carpet, an area rug, or upholstered furniture all reduce noise and make the room feel calmer. Window treatments deserve real attention: blackout shades or lined drapery dramatically improve sleep, and they are far cheaper to plan for now than to retrofit.
A Few Pro Tips That Save Money
Order long-lead items, custom closets, special-order tile, and built-in vanities, the moment the layout is final, because delays there stall everything downstream. Keep one accent wall or feature, such as a textured headboard wall, rather than overspending on every surface. And live in the painted, empty room for a day before you buy furniture; the proportions often surprise you and save a return trip.