You can get the look of hand-painted Moroccan cement tile without the dust, the mortar, or the four-figure invoice. Moroccan peel and stick tile brings those signature geometric stars, quatrefoils, and interlocking patterns to backsplashes and floors as a self-adhesive product you install in an afternoon. It is the go-to for renters who can’t demo anything and for homeowners who want a bold accent without committing to permanent ceramic. This guide explains the formats, where they hold up, and how to install them so they actually stay put.
Part of our Tile & Grout guide — explore the full guide →
What Moroccan Peel and Stick Tile Really Is
Despite the name, most peel and stick “tiles” aren’t ceramic at all. They fall into two broad categories. Vinyl peel and stick tiles are printed sheets with an adhesive back, flexible and best suited for floors and walls. Gel or 3D peel and stick tiles use a raised epoxy-like coating to mimic the depth and grout lines of real tile, and they shine as backsplashes because they catch light the way genuine zellige does.
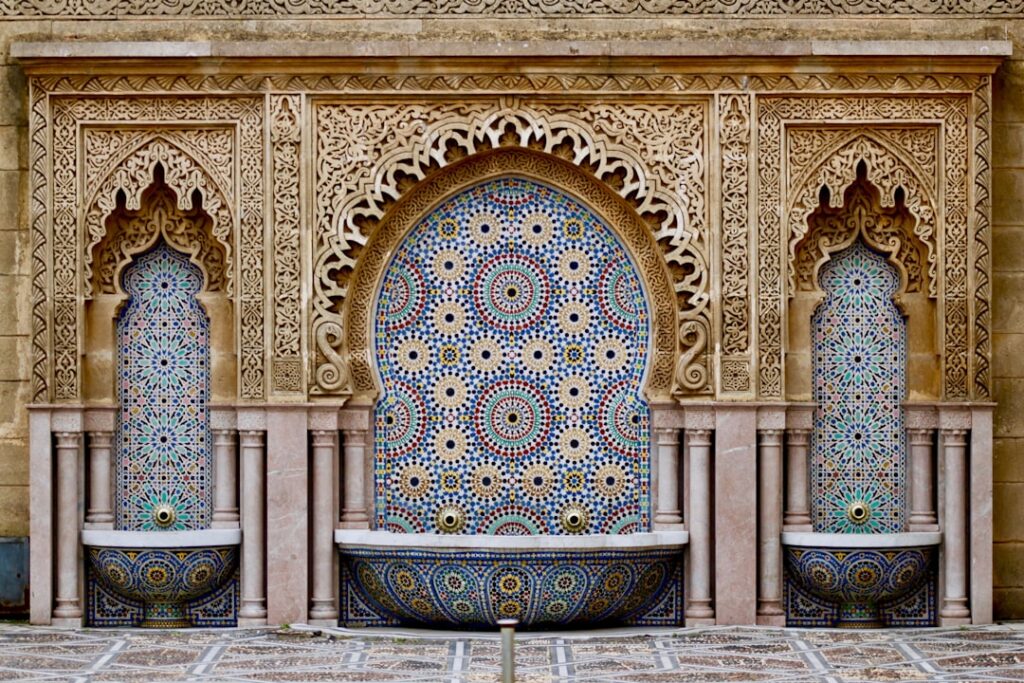
Both reproduce the classic Moroccan palette: cobalt blue, terracotta, charcoal, and creamy white arranged in the symmetrical patterns that define North African tilework. From a few feet away, a good gel tile is hard to distinguish from the real thing.
Where It Works and Where It Doesn’t
These tiles excel on kitchen backsplashes, bathroom accent walls, stair risers, and as a peel-on floor refresh in low-moisture rooms. They handle the occasional splash and wipe down easily.
They struggle in three places: inside showers and tub surrounds where standing water gets behind the adhesive, on textured or heavily uneven surfaces that the backing can’t grip, and on floors in high-traffic entryways where grit grinds the printed surface. For a shower, you want real waterproof tile. For everywhere else, peel and stick is fair game.
Surface Prep Makes or Breaks the Job
Adhesion is everything with these products, and prep is where most failures start. Clean the surface thoroughly with a degreasing cleaner to strip oils, then wipe with rubbing alcohol and let it dry completely. The wall or floor must be smooth, dry, and dust-free. Glossy paint, wallpaper, and textured drywall all reduce stick, so sand glossy surfaces lightly and prime if needed.
Temperature matters too. Adhesive bonds best between 65°F and 80°F. Installing in a cold garage or a humid bathroom right after a shower sets you up for peeling corners within weeks.
Step-by-Step Installation
A backsplash install goes quickly once prep is done:
- Find your center point and snap a level reference line. Moroccan patterns look wrong fast if they drift off-level, so don’t trust the countertop as your guide.
- Dry-lay a row first to plan how the pattern meets corners and outlets.
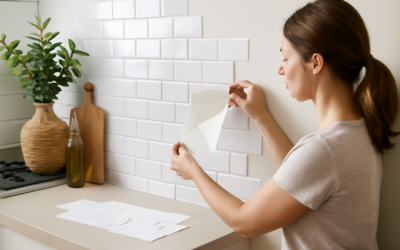
- Peel the backing halfway, align the first tile to your line, press from the center outward to push out air bubbles.
- Continue tile by tile, matching the pattern edges. Use a utility knife or sharp scissors to trim around outlets and edges.
- Roll the surface with a hand seam roller or press firmly with a clean cloth to lock the adhesive.
For outlets, always cut the cover plate clearance first and turn off power before working near electrical boxes.
Cost and Coverage
Pricing typically runs $5 to $15 per square foot installed-yourself, a fraction of the $25 to $50 per square foot you’d spend on real cement Moroccan tile plus labor. A standard kitchen backsplash of 30 square feet lands somewhere between $150 and $450 in materials. Always buy 10 percent extra for cuts, mistakes, and future repairs, since dye lots and patterns change between production runs.
Durability and Lifespan
Quality gel and vinyl Moroccan tiles last 3 to 8 years on walls with normal use. Heat near a stove can soften adhesive over time, so keep tiles a few inches from direct burner flame zones. On floors, expect a shorter life of 2 to 5 years depending on traffic. The upside of their semi-permanent nature is repairability: a damaged tile peels off and a fresh one goes down in minutes, no grout work required.
Cleaning and Care
Wipe with a damp microfiber cloth and mild dish soap. Skip abrasive scrubbers and harsh solvents, which dull the printed pattern and can lift edges. For gel tiles, avoid soaking the seams. If a corner starts to lift, a dab of clear silicone or a strip of double-sided mounting tape underneath usually re-secures it without a full replacement.
Renter-Friendly Removal
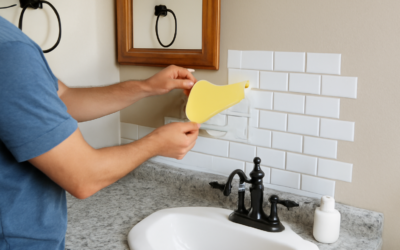
One of the biggest selling points for apartment dwellers is that these tiles come back off without damaging the wall, if you do it right. To remove them, warm each tile gently with a hair dryer for 20 to 30 seconds to soften the adhesive, then peel slowly from a corner at a low angle. Pulling straight out or yanking fast can lift paint or drywall paper. Any adhesive residue left behind usually comes off with a citrus-based adhesive remover or a little rubbing alcohol and patience.
Before you commit a whole wall in a rental, it’s smart to test a single tile in an inconspicuous spot and remove it after a week to confirm your particular paint releases cleanly. Flat and matte paints can sometimes bond more aggressively to the adhesive than satin or semi-gloss, so a quick test saves you a security-deposit headache later.
Design Tips for a Convincing Look
A few choices separate a peel-and-stick job that looks intentional from one that looks like a quick hack. Keep your rows dead level, because the eye instantly catches a sagging Moroccan pattern. Plan the layout so full, attractive sections of the pattern fall in the most visible areas, like behind the stove or above the vanity, and push the cut, partial tiles to the corners and edges. For backsplashes, run the tile up to the underside of the upper cabinets or to a clean stopping line rather than ending mid-wall. If your tiles are the gel type with a grout-line effect, choosing a design with a realistic grout color, soft gray or off-white rather than stark white, dramatically improves how genuine the finished wall looks from across the room.
Final Thoughts
Moroccan peel and stick tile is the fastest, cheapest way to bring that distinctive geometric pattern into a kitchen or bath. Treat surface prep as the most important step, keep it out of true wet zones, and buy extra for the inevitable cuts. Done right, you’ll get a bold, magazine-worthy backsplash or accent wall in a single afternoon, and when you’re ready for a change, it peels away without taking your drywall with it.
Prefer to explore on your own?
See how new flooring looks in your actual room in seconds — free, no signup.
Try the free Floor Studio →