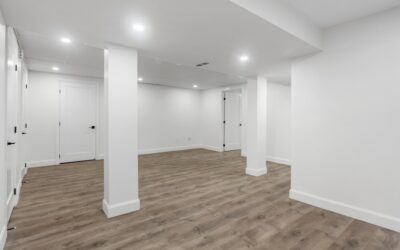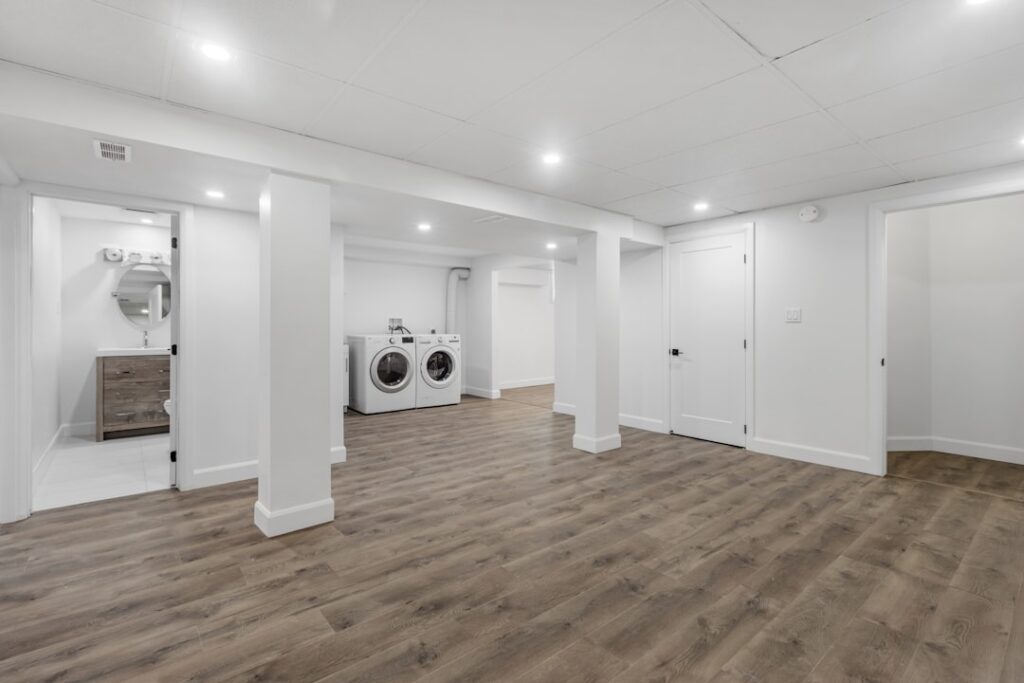
The difference between a damp storage cave and a room your family actually uses comes down to a handful of decisions made early. A nice basement is not about spending the most money; it is about controlling moisture, layering light into a space with few windows, and choosing finishes that shrug off the occasional spill or seep. Done right, a finished basement adds livable square footage at roughly half the cost of an addition and recovers a strong share of that spend at resale.
- Start With Moisture, Not Decor
- Lighting a Windowless Space
- Flooring That Handles Below-Grade Conditions
- Smart Layout Ideas
- Ceilings and That Low-Headroom Problem
- Cost Expectations
- Color and Material Tricks for a Brighter Feel
- Permits and Building Code Basics
- Comfort Details That Get Overlooked
- Bringing It Together
Start With Moisture, Not Decor
No paint color matters if the floor sweats. Before a single stud goes up, test for moisture by taping a 2-foot square of plastic to the concrete for 48 hours. Condensation underneath means you have a vapor problem to solve first.
Address grading and gutters outside so water drains away from the foundation. Seal cracks, consider a dehumidifier rated for the square footage, and in problem areas, install an interior drainage system or sump pump. Skipping this step is the single most common reason finished basements fail.
Lighting a Windowless Space
Basements get little daylight, so layered artificial lighting does the heavy lifting. Recessed LED can lights spaced 4 to 6 feet apart wash the room evenly and keep ceilings from feeling lower than they are. Add warmer accent lighting and a few table or floor lamps to soften the cave effect.
If you have egress windows or a walkout, keep treatments light and minimal to pull in every bit of natural light. Painting the ceiling and walls a light, warm white reflects what little daylight reaches the space.
Flooring That Handles Below-Grade Conditions
This is where many remodels go wrong. Solid hardwood and standard laminate can warp from below-grade humidity, so steer toward materials built for the environment:
- Luxury vinyl plank (LVP): 100 percent waterproof, warm underfoot, and around $3 to $7 per square foot installed
- Rigid core SPC flooring: dimensionally stable across temperature swings and forgiving over slightly uneven slabs
- Polished or epoxy-coated concrete: the most moisture-proof option and ideal for gyms or workshops
- Carpet tiles: cozy and easy to replace a single square if one gets wet
Whatever you choose, lay it over a moisture barrier or a dimpled subfloor membrane that lets any seepage drain rather than pool.
Smart Layout Ideas
Define zones rather than leaving one cavernous room. A common winning layout pairs a media or family lounge with a small home office nook and a wet bar or kitchenette. If ceiling height allows, a guest suite with a three-quarter bath dramatically boosts both usability and resale value.
Tuck the mechanicals, the furnace, water heater, and electrical panel, behind an access door but keep them reachable. Build in storage along one wall so the rest of the space stays open and intentional.
Ceilings and That Low-Headroom Problem
Many basements run 7 to 7.5 feet of clearance, below the 8 feet upstairs. A drop ceiling makes plumbing and wiring accessible but eats several inches you may not have. Painting the exposed joists and ductwork a flat black or white preserves every inch of height and reads as an intentional industrial look. For finished comfort, a drywall ceiling looks the most polished where headroom allows.
Cost Expectations
Finishing a basement typically runs $30 to $75 per square foot depending on finishes and whether you add a bathroom. A 1,000-square-foot finish lands somewhere between $30,000 and $75,000 fully done. Adding plumbing for a bathroom is the single biggest line item, often $8,000 to $15,000 because of the work needed to tie into existing drains below the slab.
You can stage the project to spread the cost: handle moisture and framing first, then finish rooms one at a time as the budget allows.
Color and Material Tricks for a Brighter Feel
Because basements lack daylight, your finish choices do double duty. Keep walls and ceilings in light, warm neutrals that bounce light around the room. Glossy or satin paint reflects more than flat. Large mirrors on the wall opposite any window visually double the available light.
Choose lighter flooring tones and area rugs to lift the space, and avoid the temptation to go all-dark, which can make a low-light room feel like a cave. A few rich accent colors in furniture or art add warmth without dragging the whole room down.
Permits and Building Code Basics
A finished basement almost always requires permits, and ignoring them causes problems at resale and can void insurance after a claim. Most jurisdictions have rules you must meet:
- Ceiling height: typically a 7-foot minimum to count as habitable space
- Egress: any bedroom needs a code-compliant egress window or door for escape
- Smoke and CO detectors: hardwired and interconnected in most codes
- Electrical and plumbing: must be inspected, so use licensed pros for those trades
Pulling permits also means an inspector catches problems early, which protects you down the line.
Comfort Details That Get Overlooked
Insulate the rim joists and exterior walls with rigid foam to cut the chill and stop condensation. Make sure the HVAC system can actually condition the new space, since dumping a register or two from the main trunk is often not enough. Add a few hardwired smoke and carbon monoxide detectors, and confirm any sleeping room has a code-compliant egress window for safety. A small electric baseboard heater or a ductless mini-split makes a cold basement genuinely comfortable in winter when the main system cannot keep up.
Sound also matters more than people expect. Insulating the ceiling between the basement and the floor above dampens footsteps and TV noise traveling both ways, which is worth doing before you drywall. A solid-core door at the stairs keeps the finished space feeling separate from the rest of the house.
Bringing It Together
A nice basement starts dry, gets bright through layered lighting, and wears flooring built for below-grade life. Nail those three fundamentals and the decorative choices, paint, furniture, and trim, fall into place easily. Plan the project in the right order and you turn the least-loved level of the house into some of its most-used square footage.