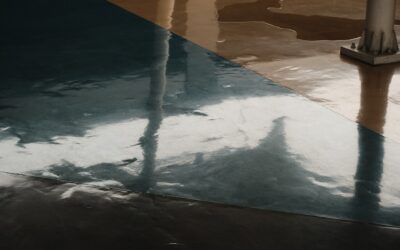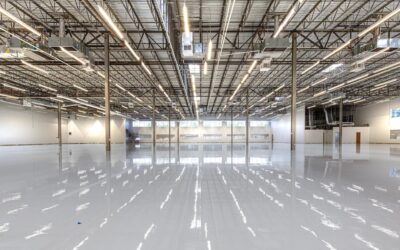
Self-leveling epoxy flooring creates a smooth, seamless, high-gloss surface by pouring a liquid epoxy resin over a prepared concrete floor and allowing it to flow and level itself under gravity. The result is a mirror-flat finish with no joints, grout lines, or seams, a surface that is chemical-resistant, easy to clean, and capable of withstanding heavy industrial and commercial use for decades.
Part of our Epoxy, Concrete & Garage Floors guide — explore the full guide →
This guide explains how self-leveling epoxy works, what thickness to choose, where it performs best, the full installation process, realistic cost expectations, and which brands deliver the best results.
What Is Self-Leveling Epoxy
Self-leveling epoxy is a two-part thermosetting resin system (Part A: epoxy resin, Part B: hardener/curing agent) that is mixed and poured onto a concrete substrate. The mixed liquid has a low enough viscosity that it flows outward from the pour point and settles into a flat, level plane under its own weight. Once cured, it forms a rigid, monolithic plastic surface that bonds permanently to the concrete.
The “self-leveling” characteristic comes from the formulation’s flow properties. Unlike epoxy coatings that are rolled on in thin layers (typically 2 to 10 mils thick), self-leveling epoxy is poured at thicknesses of 1/16 inch to 1/4 inch (approximately 60 to 250 mils), giving it enough mass and fluidity to fill minor surface imperfections and settle level without troweling.
How It Differs from Epoxy Coatings
The distinction between self-leveling epoxy and standard epoxy coatings is important. Epoxy coatings are applied with rollers at thin film thicknesses and follow the contour of the existing concrete, including any imperfections. Self-leveling epoxy is poured thick enough to bridge and fill minor divots, cracks, and unevenness, creating a noticeably smoother and flatter finished surface.
Self-leveling systems also produce a higher-gloss finish because the settled surface is smoother than a roller-applied coating. The thicker application provides superior impact resistance, abrasion resistance, and chemical resistance compared to thin coatings.
Thickness Options and When to Use Each
1/16 Inch (Approx. 60 Mils)
The minimum thickness for a true self-leveling application. This is appropriate for residential garage floors, light-duty commercial spaces, and areas where the existing concrete is already reasonably smooth and level. At this thickness, the epoxy will fill hairline cracks and minor surface imperfections but will not bridge significant divots or uneven areas.
1/8 Inch (Approx. 125 Mils)
The most common thickness for commercial and industrial self-leveling epoxy. This provides excellent chemical resistance, impact resistance, and can bridge moderate surface imperfections. It is the standard specification for warehouses, manufacturing facilities, commercial kitchens, and retail spaces.
3/16 to 1/4 Inch (Approx. 190 to 250 Mils)
Heavy-duty thickness for extreme industrial environments, chemical processing areas, pharmaceutical facilities, and anywhere maximum durability and chemical resistance are required. The thicker pour provides the longest service life and the best resistance to thermal shock, heavy impacts, and aggressive chemical exposure.
Commercial vs Residential Applications
Commercial and Industrial Uses
Self-leveling epoxy is the workhorse flooring of commercial and industrial facilities. Common applications include:
- Warehouses and distribution centers: The seamless surface allows smooth forklift and pallet jack operation. No joints means no tripping hazards and no places for dust and debris to accumulate.
- Manufacturing facilities: Chemical resistance protects against oils, solvents, and process chemicals. The smooth surface is easy to decontaminate.
- Healthcare and pharmaceutical: The monolithic, non-porous surface meets stringent hygiene requirements. It can be cleaned and sanitized without harboring bacteria in joints or grout lines.
- Retail and showrooms: The high-gloss finish creates a polished, professional appearance. It can be tinted to any color and enhanced with decorative chips or metallic pigments.
- Food and beverage processing: FDA-compliant formulations are available for direct food contact areas. The seamless surface prevents bacterial growth.
Residential Uses
Self-leveling epoxy is increasingly popular in residential settings:
- Garage floors: The most common residential application. Provides a clean, chemical-resistant surface that resists hot tire pickup, oil stains, and road salt.
- Basement floors: Creates a finished look over raw concrete. The seamless surface is easy to clean and does not harbor mold or mildew. Moisture mitigation may be required before application.
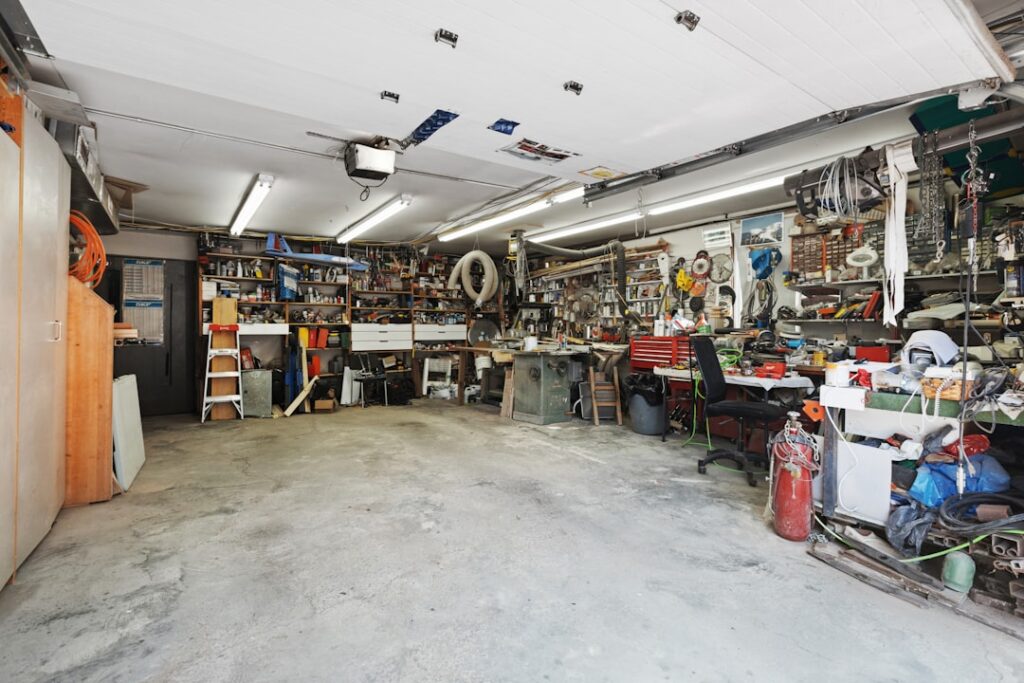
- Home workshops and studios: A smooth, durable surface that handles tool drops, chemical spills, and heavy equipment.
- Modern interior design: Decorative self-leveling epoxy with metallic pigments, multiple colors, or embedded objects creates unique, artistic floors in living spaces, lofts, and open-plan homes.
The Installation Process
Self-leveling epoxy installation requires careful surface preparation and precise execution. This is not a casual DIY project; the margin for error is narrow, and mistakes are expensive to fix.
Step 1: Concrete Assessment
The existing concrete must be structurally sound, free of major cracks, and dry. Conduct a moisture test using calcium chloride (ASTM F1869) or relative humidity probe (ASTM F2170) methods. Most epoxy systems require moisture vapor emission rates below 3 to 5 lbs per 1,000 square feet per 24 hours. If moisture exceeds this threshold, a moisture mitigation primer must be applied first.
Step 2: Surface Preparation
This is the most critical step. The concrete surface must be mechanically profiled to create a texture that the epoxy can bond to. The industry standard is a CSP (Concrete Surface Profile) of 2 to 3 for self-leveling systems. This is typically achieved through diamond grinding or shot blasting.
All contaminants, including oil, grease, paint, sealers, and curing compounds, must be completely removed. Existing coatings must be stripped. Cracks wider than 1/8 inch should be routed and filled with epoxy crack filler. The prepared surface should look and feel like medium-grit sandpaper.
Step 3: Primer Application
A thin epoxy primer coat is applied to the prepared concrete and allowed to cure. The primer seals the concrete pores, prevents air bubbles from rising into the self-leveling layer during cure, and provides a mechanical bond layer for the self-leveling epoxy to adhere to.
Step 4: Mixing
Self-leveling epoxy is mixed in precise ratios using a high-speed drill mixer or a specialized mixing machine. Improper mixing ratios or inadequate mixing causes soft spots, discoloration, and bonding failures. Mix only as much material as can be poured and spread within the product’s working time (pot life), which is typically 15 to 30 minutes.
Step 5: Pouring and Spreading
The mixed epoxy is poured onto the primed concrete in a controlled pattern and spread using a gauge rake set to the desired thickness. The gauge rake distributes the material evenly, and the epoxy’s self-leveling properties handle the final smoothing. On large areas, multiple batches are poured and spread in sequence, working from the far end of the room toward the exit.
Step 6: De-Airing
Immediately after spreading, a spiked roller is run over the entire surface. The spikes pop air bubbles trapped in the epoxy during mixing and pouring. Skipping this step results in a cured surface with visible pinholes and craters. The installer walks through the wet epoxy wearing spiked shoes (spike rollers attached to shoe soles) to reach the entire surface.
Step 7: Curing
Self-leveling epoxy requires controlled curing conditions. Ambient temperature should be between 60 and 85 degrees Fahrenheit, and humidity below 85 percent. Initial cure takes 12 to 24 hours (light foot traffic). Full chemical cure takes 5 to 7 days (heavy use and chemical exposure). Temperature and humidity outside the recommended range can cause blushing (white haze), soft curing, or adhesion failure.
Step 8: Topcoat (Optional)
A clear polyurethane or polyaspartic topcoat is often applied over the cured epoxy. The topcoat adds UV resistance (preventing yellowing), enhances gloss, improves scratch resistance, and extends the life of the floor. For exterior or UV-exposed areas, a topcoat is strongly recommended because uncoated epoxy yellows and chalks under UV light.
Cost Breakdown
Material Costs
- Primer: $0.15 to $0.30 per square foot
- Self-leveling epoxy (1/8 inch): $1.50 to $4.00 per square foot
- Topcoat: $0.50 to $1.50 per square foot
- Total materials: $2.15 to $5.80 per square foot
Professional Installation Labor
- Surface preparation (grinding/shot blasting): $1.00 to $3.00 per square foot
- Crack repair and patching: $0.50 to $2.00 per square foot (varies with condition)
- Application labor: $2.00 to $5.00 per square foot
- Total labor: $3.50 to $10.00 per square foot
Total Installed Cost
- Residential (garage, 1/16 to 1/8 inch): $5 to $12 per square foot
- Commercial (1/8 inch standard): $7 to $14 per square foot
- Industrial (3/16 to 1/4 inch heavy-duty): $10 to $18 per square foot
- Decorative (metallic or multi-color): $8 to $20 per square foot
Top Brands for Self-Leveling Epoxy
Dur-A-Flex
A Connecticut-based manufacturer specializing in high-performance resinous flooring. Their Armor-Top SL self-leveling epoxy is widely specified for commercial and industrial projects. Known for excellent technical support and consistent product quality.
Sika (Sikafloor)
A global leader in chemical building products. Sika’s Sikafloor line includes multiple self-leveling epoxy and polyurethane systems for every application from light-duty commercial to heavy industrial. Widely available and well-documented with detailed installation specifications.
Stonhard (Stonshield)
Stonhard is unique in that they manufacture and install their own products, providing single-source accountability. Their seamless floor systems are specified in hospitals, pharmaceutical plants, and food processing facilities worldwide.
Flowcrete (Tremco CPG)
Known for decorative and specialty self-leveling epoxy systems, including their popular Flowshield and Peran ranges. Flowcrete is a strong choice for retail, hospitality, and commercial spaces where aesthetics matter as much as performance.
Rust-Oleum (EpoxyShield Professional)
For residential and light commercial DIY applications, Rust-Oleum’s professional-grade self-leveling kits provide accessible entry into self-leveling epoxy. Not as robust as industrial-grade systems but adequate for garage floors and home workshops.
Maintenance and Longevity
A properly installed self-leveling epoxy floor is one of the lowest-maintenance flooring systems available.
- Daily: Sweep or dust mop to remove grit and debris.
- Weekly: Damp mop with clean water and a mild detergent. Auto-scrubbers work well on large commercial floors.
- Periodically: Inspect for scratches, chips, or chemical damage. Small areas can be spot-repaired without refinishing the entire floor.
- Every 5 to 10 years: Apply a fresh topcoat to renew gloss and extend the life of the epoxy system. This is far less expensive and disruptive than full replacement.
Expected service life is 10 to 20 years in heavy commercial and industrial use, and 20 to 30 years or more in residential and light commercial settings. The lifespan depends on traffic volume, chemical exposure, and maintenance quality.
Frequently Asked Questions
Can self-leveling epoxy fix uneven concrete?
It can smooth out minor imperfections, but it is not a structural leveling compound. Surface variations up to about 1/8 inch can be absorbed by a 1/8-inch or thicker pour. Larger dips, humps, or slope issues must be corrected with a concrete leveling compound before epoxy application.
Can I apply self-leveling epoxy myself?
It is possible for experienced DIYers on small residential projects like garage floors. However, the surface preparation, precise mixing, limited working time, and de-airing steps require knowledge and the right tools. Mistakes result in a costly redo. For any commercial project or areas larger than 500 square feet, professional installation is strongly recommended.
Does self-leveling epoxy yellow over time?
Standard epoxy resins amber and yellow when exposed to UV light. For any area with natural light or windows, a UV-stable polyurethane or polyaspartic topcoat is essential. The topcoat protects the epoxy from UV degradation and maintains the original color and clarity.
How long before the floor can be used after installation?
Light foot traffic is typically allowed after 12 to 24 hours. Full use with heavy traffic, equipment, and chemical exposure requires a full 5 to 7 day cure. Rushing the cure compromises the floor’s performance and longevity.
Is self-leveling epoxy slippery?
Yes, a smooth self-leveling epoxy floor can be slippery when wet. Anti-slip additives (aluminum oxide, quartz sand, or polymer beads) can be broadcast into the topcoat to increase traction. For commercial and industrial spaces, non-slip additives are typically specified to meet OSHA safety requirements.
Final Thoughts
Self-leveling epoxy flooring is the gold standard for creating smooth, seamless, high-performance floors over concrete. Whether you are finishing a residential garage or specifying flooring for a 50,000-square-foot warehouse, self-leveling epoxy delivers a surface that is beautiful, durable, chemical-resistant, and easy to maintain. The upfront cost is higher than basic coatings or paint, but the decades-long service life and minimal maintenance make it one of the most cost-effective flooring solutions over time.