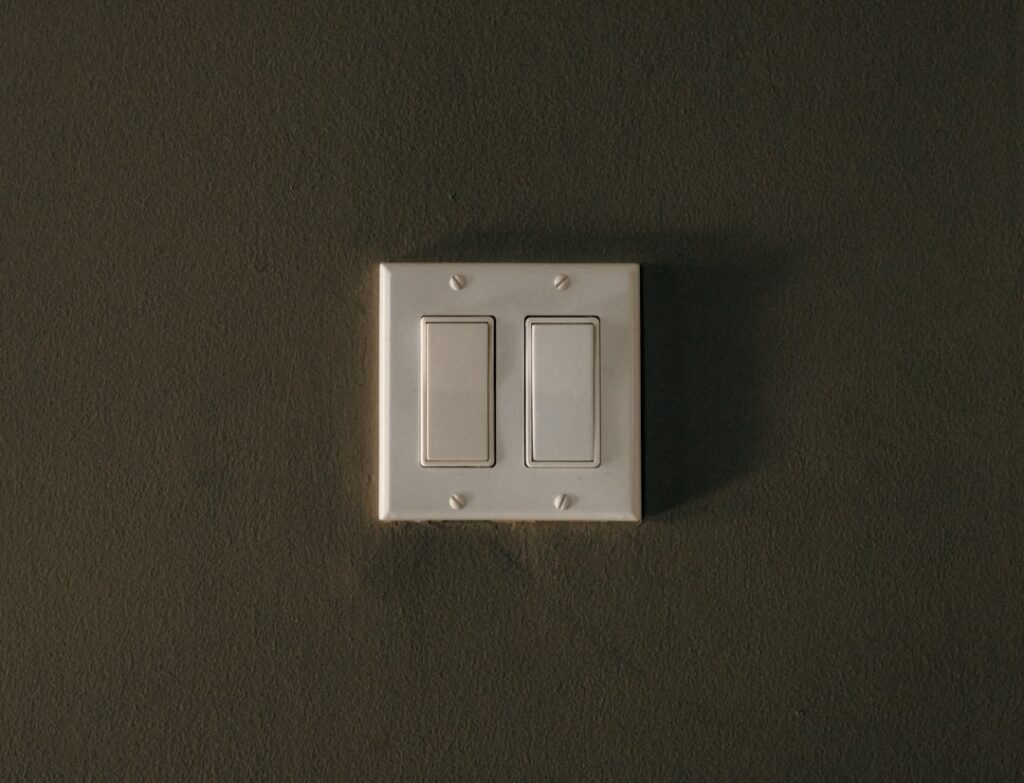
The toggle light switch is the one everybody pictures when they think “light switch” — the little lever you flip up for on and down for off. It’s been on American walls for a century, and despite rockers and touch pads crowding the shelves, it’s still the most common switch in the country.
Swapping a worn one out is among the most approachable electrical jobs a homeowner can tackle, and I’ll walk you through doing it safely. But electricity doesn’t forgive shortcuts, so before we touch a screwdriver, understand this: cutting power at the breaker and confirming it with a tester is not optional. Do those two things and this is a 15-minute fix. Skip them and you can get hurt.
What a Toggle Switch Is
A toggle switch is a mechanical device that opens or closes an electrical circuit with a snap-action lever. Flip it up and the internal contacts close, completing the circuit so current flows to the fixture; flip it down and the contacts open, cutting the flow. That satisfying “click” is a spring throwing the contacts fast enough to minimize arcing, which is what makes them last for tens of thousands of cycles.
They come in standard (the tall, thin classic) and “Decora”-compatible toggle styles, in every color from ivory to black, and in versions that pair with dimmers, timers, and pilot lights. But under the trim, the guts are the same simple make-or-break mechanism.
Single-Pole vs. 3-Way vs. 4-Way
Before you buy a replacement, identify which type you have. Using the wrong one will leave you scratching your head at a light that won’t behave.
- Single-pole — controls one light from one location. It has two brass terminals plus a ground, and the toggle is marked ON and OFF. This is the most common by far.
- 3-way — controls one light from two locations, like the top and bottom of a staircase. It has three terminals (two “travelers” and one darker “common”) plus ground, and the toggle has no ON/OFF markings because either position can be on depending on the other switch.
- 4-way — used with two 3-ways to control a light from three or more spots. Four terminals, no markings.
Count the terminals on your old switch before you shop. Two brass screws means single-pole; three screws means 3-way. Don’t guess.
15-Amp vs. 20-Amp Ratings
Switches are rated for the current they can safely handle. Most residential lighting circuits are 15-amp, so a standard 15A switch is correct for the vast majority of homes. A 20-amp switch is used on 20A circuits — often in kitchens, garages, and workshops where heavier loads live.
The rule is simple: the switch rating must meet or exceed the circuit breaker’s rating. Never put a 15A switch on a 20A circuit. Check the breaker in your panel — if it’s a 20A breaker feeding that circuit, buy a 20A switch. When in doubt, a 20A switch works on a 15A circuit but not the reverse. The rating is stamped right on the switch’s metal strap.
Safety First: Kill the Power and Prove It
This is the part you cannot rush. Every year people get shocked because they trusted the wall switch instead of the breaker. Here’s the sequence I follow every single time:
- Go to the electrical panel and switch off the breaker feeding that room. If the panel isn’t labeled, turn on the light, then flip breakers until it goes dark.
- Back at the switch, remove the cover plate.
- Verify the power is off with a non-contact voltage tester — hold it against the switch wires and confirm it stays silent and dark. Test it first on a known-live outlet so you know the tester works.
- Only after the tester confirms no voltage do you loosen the terminal screws.
A non-contact voltage tester costs about $15 and is the best money you’ll ever spend on home electrical work. Never assume the breaker you flipped is the right one — prove it dead with the tester.
Replacing a Single-Pole Switch
With power confirmed off, a like-for-like swap goes quickly:
- Unscrew the switch from the box and pull it out gently, leaving the wires attached for now.
- Note which wire lands on which screw — snap a phone photo before disconnecting anything.
- Loosen the terminals and release the two hot wires (usually black, or one black and one white marked with tape) and the bare or green ground.
- Wrap each hot wire clockwise around the corresponding brass screw on the new switch and tighten firmly — a loose connection is a fire risk. Connect the ground to the green screw.
- For a single-pole, either terminal takes either hot wire; polarity doesn’t matter. Just make sure ON points up.
- Fold the wires neatly into the box, screw the switch to the box, and reinstall the cover plate.
- Restore power at the breaker and test.
If you have a 3-way, the wiring is fussier: the “common” wire must go back on the common (darkest) screw, and the two travelers on the brass screws. Get the common wrong and the two switches won’t coordinate. This is why that phone photo matters — it’s your map back.
Tools and Materials You’ll Need
You don’t need a professional kit for a basic swap. Gather these before you start so you’re not hunting for a screwdriver with the power off:
- A non-contact voltage tester (roughly $15) — the one tool you truly cannot skip.
- A flat-head and a #2 Phillips screwdriver; many switches use combination-head terminal screws.
- Needle-nose pliers to form clean hooks in the wire ends.
- Wire strippers if you need to freshen the copper, plus a couple of wire nuts.
- Electrical tape to flag a re-purposed white wire as hot, per NEC labeling.
- The correct replacement switch — single-pole or 3-way, 15A or 20A to match the circuit.
Working on a grippable rubber-handled screwdriver and standing on a dry surface are small habits that keep a routine job routine.
Wire Colors and What They Mean
Understanding the wires prevents most mistakes. In standard US residential wiring, black is the hot conductor carrying current, white is the neutral, and bare copper or green is the ground. On a simple switch loop, though, you may see a white wire acting as a hot — it should be wrapped with black or red tape at both ends to flag it. Red usually indicates a traveler in 3-way setups or a second switched hot.
A switch interrupts only the hot conductor, never the neutral, which is why a single-pole switch has two brass terminals for the hot wires and a green screw for ground. If your box has a bundle of white neutrals capped together and not touching the switch, that’s normal — leave them alone. Never connect a hot to a neutral or a ground; that’s a dead short.
Codes, Permits, and When to Call a Pro
The National Electrical Code (NEC) governs this work, and local codes may add requirements. A simple like-for-like switch replacement is generally allowed as homeowner maintenance without a permit in most areas, but adding a new switch, running new cable, or moving a box usually requires a permit and an inspection. When you’re changing anything beyond a direct swap, check with your local building department first.
Call a licensed electrician if you find any of these: aluminum wiring (dull gray, not copper), scorched or melted insulation, a box crammed too full to work in, no ground wire present, or wiring that doesn’t match any standard configuration. Anything beyond a straightforward same-for-same replacement — new circuits, panel work, troubleshooting a switch that keeps failing — belongs with a pro. The cost of an electrician is trivial next to a house fire or a shock.
Upgrades and Troubleshooting
Since the switch is already out, it’s a natural moment to upgrade. A dimmer toggle lets you set mood lighting and extends bulb life — just confirm it’s rated for your bulb type (LED dimmers are marked for LED loads, and pairing a non-LED dimmer with LED bulbs causes flicker and buzz). Timer and motion-sensor toggles are handy for closets, garages, and porch lights.
If an existing toggle light switch buzzes, feels warm, or flips without clicking, replace it — those are signs the internal contacts are worn or arcing. A switch that works intermittently often just has a loose terminal, which a proper tightening (power off, of course) will cure. Get comfortable with the safe basics and the humble toggle light switch becomes one of the easiest repairs in the house.