The bathroom is the one room where water is not an accident, it is a daily event. That is exactly why waterproof vinyl sheet flooring for bathroom installations keeps winning against tile and plank in tight, splash-heavy spaces. A single continuous sheet means almost no seams for water to sneak through, no grout lines to scrub, and a soft, warm surface that beats stepping onto cold porcelain at 6 a.m. Here is how to choose it and install it so the floor stays dry underneath for decades.
Part of our Roofing guide — explore the full guide →
Why Sheet Vinyl Wins in Bathrooms
Plank and tile have joints. Every joint is a potential entry point for the water that pools around a tub or drips off a shower door. Sheet vinyl comes in 6-foot and 12-foot wide rolls, so a small or standard bathroom often gets covered with zero seams. Fewer seams means fewer failure points. It is also comfortable underfoot, quieter than tile, and forgiving if you drop a glass jar of cotton balls or a curling iron.
Modern felt-backed and fiberglass-backed sheet vinyl is not the flimsy stuff from decades ago. The printed and embossed wear layers convincingly mimic marble, wood, and hexagon tile, and the surfaces resist the mildew and staining that plague grout.
Fiberglass vs. Felt-Backed Sheet Vinyl
You will choose between two backings, and it matters for a wet room.
- Fiberglass-backed (loose lay): Lies flat, resists curling, and can often be installed with just perimeter adhesive or double-sided tape. More dimensionally stable in a humid bathroom, and easier for a DIYer.
- Felt-backed: Requires full-spread adhesive across the whole floor. A strong bond, but any adhesive gap can trap moisture, so prep must be perfect.
For most bathroom projects, fiberglass-backed sheet is the smarter pick. It handles the humidity swings of a room that goes from 40% to 90% relative humidity during a shower without buckling.
Thickness and Wear Layer
Overall sheet thickness usually runs from 2mm to about 5mm. What protects the print is the clear wear layer on top, and for a bathroom you want a genuine urethane-coated wear layer of at least 12 mil, ideally 20 mil, to shrug off dropped bottles and grit tracked in on bare feet. A thicker overall gauge also cushions the floor and hides minor subfloor imperfections. Look for products specifically rated 100% waterproof, not just water-resistant.
What It Costs
Sheet vinyl is one of the most budget-friendly waterproof options available.
- Basic residential sheet: $0.75 to $1.50 per sq ft.
- Mid-grade (thicker wear layer, better prints): $2.00 to $3.50 per sq ft.
- Premium designer sheet: $3.50 to $5.00 per sq ft.
For a typical 40 to 50 sq ft bathroom, material runs just $40 to $250. Professional installation adds roughly $1.50 to $3.50 per sq ft, though many bathrooms are small enough for a confident DIYer to template and cut in an afternoon. Total installed cost for a standard bath commonly lands between $200 and $600.
Installing It So Water Stays Out
The floor is only as waterproof as its perimeter and seams. Follow these steps for a dry result:
- Prep the subfloor. Fill seams and screw heads in plywood, or skim-coat any rough spots. Bumps telegraph through thin sheet and become shiny wear points.
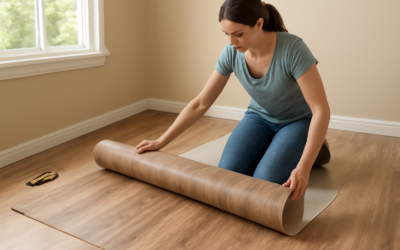
- Make a template. Use rosin paper or a purpose-made template kit to trace the room, including the toilet flange and door casing, then transfer to the sheet on a flat surface.
- Dry-fit and relax. Let the material sit flat at room temperature for 24 hours so it relaxes and cuts cleaner.
- Adhere per spec. Full-spread felt-backed with the recommended trowel notch, or perimeter/double-sided tape for fiberglass-backed goods.
- Seal the edges. Run a bead of 100% silicone caulk where the vinyl meets the tub, toilet base, and every wall. This is the step people skip, and it is what keeps water from wicking under the sheet.
Handling the Toilet
Always pull the toilet rather than cutting around its base. Cutting around it leaves a jagged seam right where the most water collects. With the toilet removed, run the sheet to the flange, set the toilet on a new wax ring, and you get a clean, sealed, professional result.
Care and Maintenance
Sheet vinyl is about as low-maintenance as flooring gets. Sweep or vacuum grit, and damp-mop with a pH-neutral cleaner. Skip abrasive pads and harsh solvents, which can dull the wear layer. Because there is no grout, you never scrub dingy joint lines, the number-one complaint homeowners have about tile bathrooms.
Design Options That Look High-End
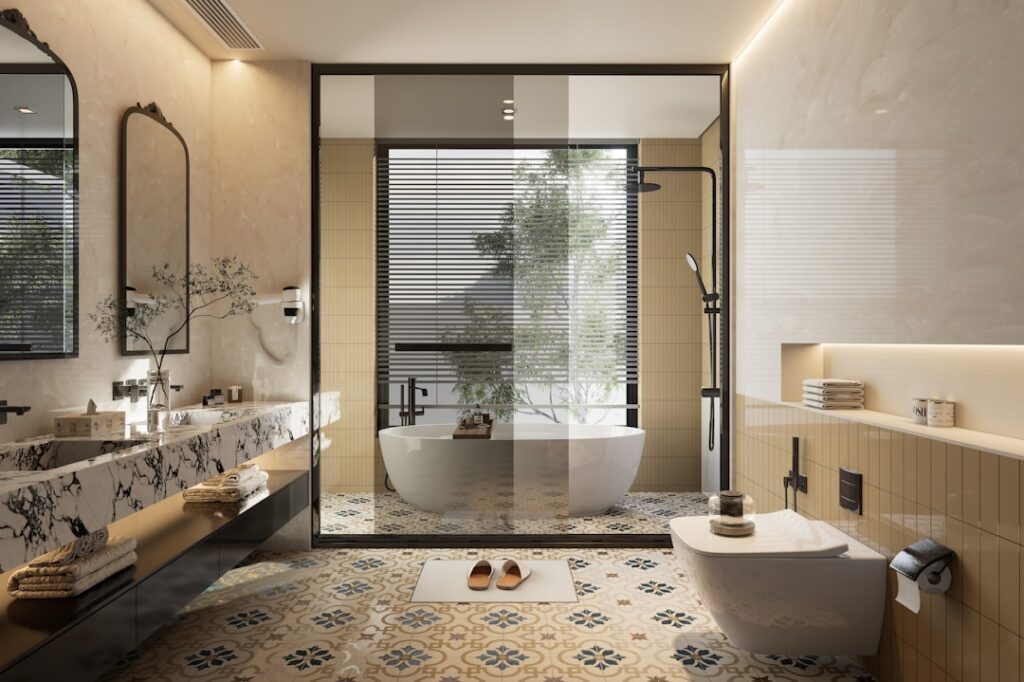
Sheet vinyl has shed its dated reputation. Today’s rolls convincingly imitate marble, honed limestone, wood plank, and patterned encaustic cement tile, and because the pattern is printed continuously, you avoid the grout lines that collect mildew. For a small bathroom, a light marble-look or a small hexagon-tile print makes the room feel larger and brighter, while a wood-plank look adds warmth. If you want the trendy patterned-cement-tile aesthetic without the cost and sealing of real cement tile, a printed sheet delivers it for under $3 per sq ft. Choose a matte or low-gloss finish; high-gloss sheet reads cheaper and shows every footprint.
Sheet Vinyl vs. LVP and Tile in a Bathroom
It helps to know why sheet still wins in tight, wet rooms. Luxury vinyl plank is excellent and waterproof at the plank level, but every click joint is a potential seam, and in a small bathroom you end up with many of them right where water pools. Ceramic and porcelain tile is the most durable and premium option, but it is cold, hard, expensive to install, and its grout lines demand ongoing sealing and scrubbing. Sheet vinyl splits the difference: it gives you a nearly seamless, warm, quiet, budget-friendly floor with essentially no maintenance. For a primary bathroom you plan to keep for decades, tile may still be worth the investment. For a guest bath, kids’ bathroom, laundry, or a rental, waterproof sheet is often the smarter, cheaper, faster choice.
Common Mistakes to Avoid
- Cutting around the toilet instead of pulling it, which leaves a leaky seam in the worst spot.
- Skipping the silicone perimeter, letting splash water wick under the edges.
- Installing over a dirty or uneven subfloor, so bumps telegraph through and grit causes wear spots.
- Choosing a thin builder-grade wear layer in a busy family bath, then wondering why it dulls in a few years.
Frequently Asked Questions
Is vinyl sheet flooring really waterproof, or just water-resistant?
The vinyl material itself is fully waterproof, so surface water will not damage it. The vulnerability is at the perimeter and any seams. Seal all edges with silicone and use proper seam sealer where two pieces meet, and the floor performs as a true waterproof surface.
Can I install sheet vinyl over existing bathroom tile?
Yes, if the tile is sound and you skim-fill the grout lines with a floor patching compound so they do not telegraph through. Deep or wide grout joints will show as shallow valleys in the thin sheet and can become wear points, so level them first.
How long does bathroom sheet vinyl last?
Expect 10 to 20 years depending on wear-layer thickness and traffic. A 20 mil wear layer in a lightly used guest bath can easily exceed 20 years, while a thin builder-grade sheet in a busy family bathroom may need replacing in about 10.
Does it work with a heated floor?
Many sheet products are compatible with electric radiant heat, but check the manufacturer’s maximum surface temperature, usually around 80°F to 85°F. Exceeding it can soften the adhesive or discolor the sheet, so use a floor sensor and thermostat limit.
For a bathroom, waterproof vinyl sheet flooring delivers the trifecta: a seamless surface that blocks water, a warm and quiet floor underfoot, and a price that leaves budget for the vanity. Choose a fiberglass-backed sheet with at least a 12 mil wear layer, pull the toilet during install, and silicone every edge. Do that, and you get a bathroom floor that stays dry and good-looking for a decade or two.
Prefer to explore on your own?
See how new flooring looks in your actual room in seconds — free, no signup.
Try the free Floor Studio →