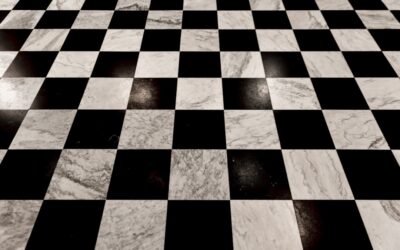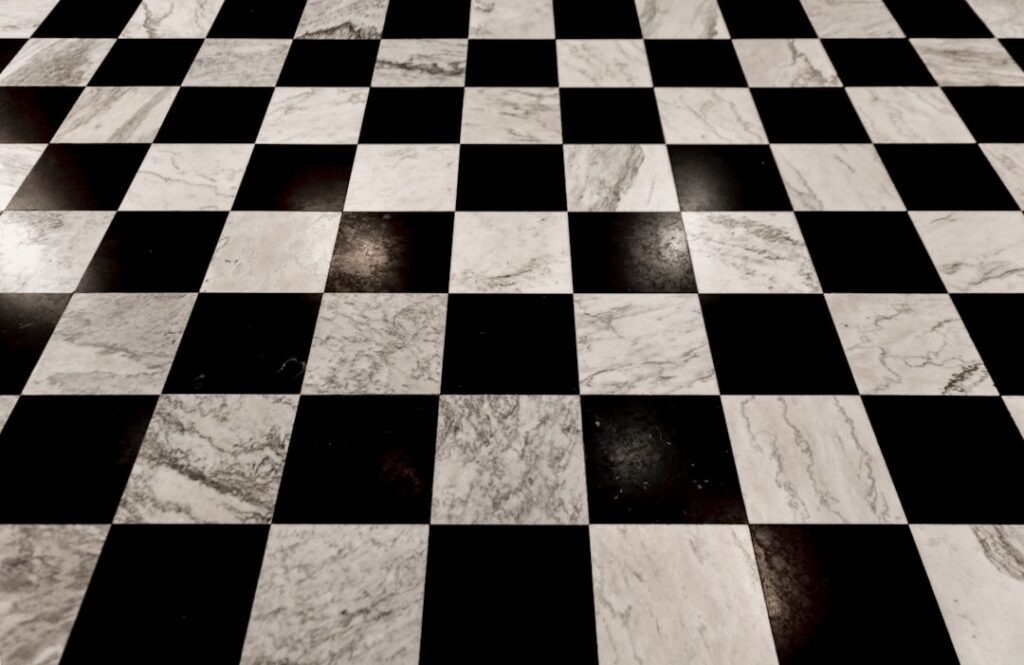
Few floor patterns carry the staying power of the classic checkerboard, and if you’ve been eyeing that crisp two-color grid for a kitchen or entry, you’re in good company. Checker tile has anchored American diners, farmhouse kitchens, and grand foyers for more than a century, and it keeps coming back precisely because it never really left. The look is bold but the rules are simple, and once you understand the materials, layouts, and costs involved, you can pull off a floor that looks custom without a designer’s budget. Here’s what I walk homeowners through before they commit.
Part of our Tile & Grout guide — explore the full guide →
Why the Checkerboard Endures
Part of the appeal is pure graphic punch. Two alternating colors set on a grid create movement and structure that a single-color floor can’t match. It reads as intentional, a little formal, and instantly recognizable. That’s why it works equally well in a vintage-leaning kitchen and a modern black-and-white bathroom.
Beyond looks, a two-tone floor is forgiving in ways solid floors aren’t. The busy pattern hides crumbs, footprints, and the everyday scuffs that show up glaringly on a plain light tile. For a high-traffic kitchen or mudroom, that practicality is a quiet bonus most people don’t realize until they’ve lived with it.
Choosing Your Material
The checkerboard is a pattern, not a product, so you get to pick the material underneath it. Each option changes the price, durability, and feel of the finished floor.
Porcelain and Ceramic
Porcelain is the most popular choice for good reason. It’s dense, water-resistant, and rated for floors, and it comes in true blacks and bright whites that hold their color. Ceramic costs a little less and works in lower-traffic rooms. Expect porcelain field tile to run roughly $3 to $8 per square foot for the tile itself, with premium looks climbing higher.
Natural Stone
Marble checkerboard, typically Carrara white paired with a black marble or slate, is the luxury version you see in upscale foyers. It’s stunning but demands sealing and gentler cleaning, and material costs commonly run $10 to $25 per square foot or more. Stone also varies naturally, so no two floors look identical.
Vinyl and LVT
For a budget-friendly, DIY-friendly path, luxury vinyl tile in a checker layout gives you the look with warmth underfoot and easy maintenance. Vinyl checker options land around $2 to $5 per square foot and forgive imperfect subfloors better than hard tile.
Picking a Tile Size
Scale changes everything with a checkerboard. Small 8-by-8 or 12-by-12 squares create a busy, traditional pattern that suits classic and vintage spaces. Larger 16-by-16 or 18-by-18 tiles read as calmer and more contemporary, and they make a small room feel bigger because there are fewer grout lines chopping up the space.
A reliable rule: in a compact powder room or bar area, go smaller for detail; in an open kitchen or entry, go larger so the pattern feels grand instead of dizzying. Order 10 to 15 percent extra tile beyond your square footage to cover cuts, breakage, and future repairs.
Layout Options: Straight vs. Diagonal
You have two main ways to set a checkerboard. A straight grid runs the squares parallel to the walls, which is clean, modern, and simple to install. A diagonal layout rotates the whole pattern 45 degrees so the squares point toward the corners of the room, creating a diamond effect that feels more dynamic and traditional.
The diagonal look is gorgeous but costs more in labor and material because it generates more cut tiles along every wall. If it’s your first tile project, a straight grid is far more forgiving. Whichever you choose, always start your layout from the center of the room and work outward so the pattern lands symmetrically and the cut tiles at the edges are balanced on opposite walls.
Color Beyond Black and White
Classic black-and-white is timeless, but the checkerboard concept works with any high-contrast pairing. Consider a few directions:
- Black and white: the diner and French-bistro standard, endlessly versatile.
- Gray and white: softer contrast for a modern, understated kitchen.
- Terracotta and cream: a warm, Mediterranean twist that feels earthy.
- Navy or forest green and white: a fresh, on-trend take for bathrooms and bars.
Lower-contrast combinations like gray and white tone down the boldness if you love the pattern but worry it’ll overwhelm a small space. The pattern still reads, just more quietly.
Installation and Grout Choices
Because alignment is everything with a checkerboard, level layout matters more here than with a random floor. Any wander in the grid is obvious to the eye. Set the tile over a flat, clean subfloor using tile spacers to keep every joint uniform, typically 1/16 to 1/8 inch depending on the tile.
Grout color is a design decision, not an afterthought. A gray grout blends and hides dirt on both colors. A stark white grout with black-and-white tile looks crisp but shows grime fast. Many pros split the difference with a mid-gray that flatters both tones. Whatever you pick, seal cement-based grout after it cures, and reseal every year or two in wet areas.
Maintenance and Longevity
One of the underrated wins of a checker tile floor is how little it asks of you once it’s down. Porcelain and ceramic need nothing more than regular sweeping and a damp mop with a neutral pH cleaner. Avoid harsh acidic products on any stone version, since they can etch marble and dull the surface over time. The grout lines are the part that shows wear first, which is exactly why sealing them and choosing a forgiving grout color pays off for years.
Durability depends on the material you picked. A well-installed porcelain floor can easily last 20 to 30 years or more, outliving several kitchen renovations around it. Vinyl checker floors have a shorter life, generally 10 to 20 years depending on wear-layer thickness, but they’re cheap enough to replace that the tradeoff makes sense for many households. Order a few extra tiles at install and store them, so a cracked tile down the road becomes a quick swap rather than a hunt for a discontinued color. Keeping a small stash of matching grout on hand makes those repairs blend in seamlessly instead of standing out as an obvious patch.
Budgeting the Whole Project
Materials are only part of the number. Professional tile installation commonly runs $8 to $15 per square foot in labor, and a diagonal layout or intricate small-format pattern pushes that higher because of the added cuts and time. Add in thinset, grout, sealer, and underlayment, and a modest 100-square-foot kitchen floor in mid-grade porcelain can land anywhere from roughly $1,500 to $3,000 installed.
Doing it yourself with vinyl checker tile can drop that dramatically, into the few-hundred-dollar range for the same room, which is why LVT has become so popular for weekend projects. Either way, a checker tile floor is one of the highest-impact upgrades you can make, delivering a look that stays in style long after trend-driven finishes have come and gone.
Prefer to explore on your own?
See how new flooring looks in your actual room in seconds — free, no signup.
Try the free Floor Studio →