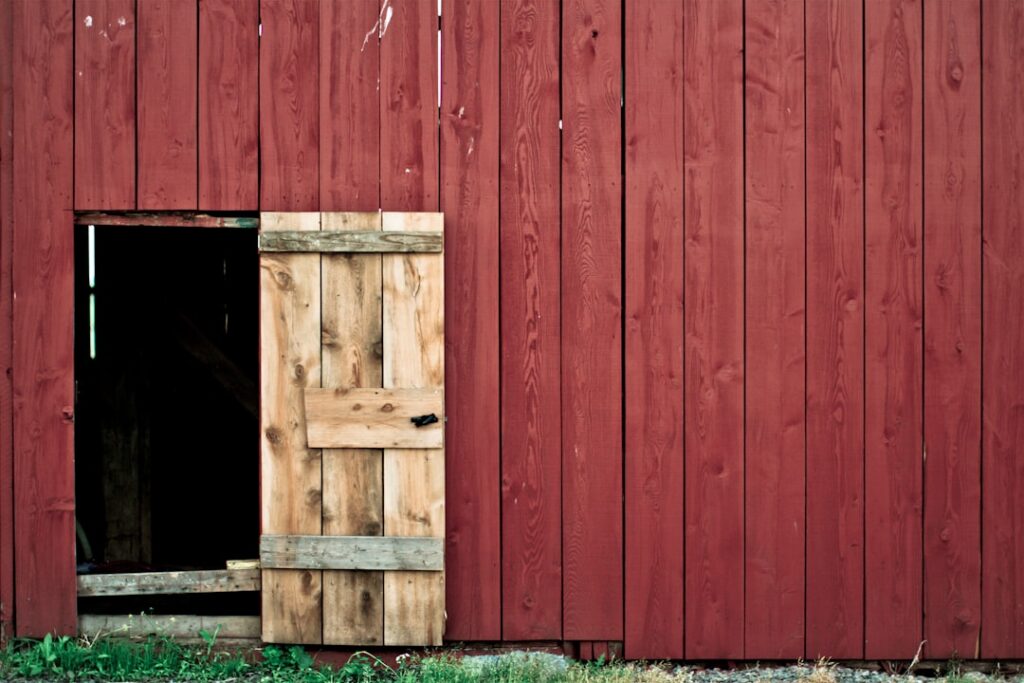
A diy barn door is one of the most satisfying weekend projects you can tackle: for $100 to $250 in lumber and hardware you build something that sells for $400 to $800 pre-made, and you get exactly the size, style, and finish you want. It’s beginner-friendly too — a barn door is essentially a flat panel of boards, and the sliding hardware forgives a lot. This guide takes you from a stack of lumber to a smooth-gliding door on the wall, with the measurements, cut list, and steps that matter.
Measure the Opening First
Everything starts with the opening. A barn door must be larger than the opening it covers so it blocks light and gives privacy. Measure the opening’s width and height, then plan the door to overlap generously:
- Width: Make the door 2 to 4 inches wider than the opening — an inch or two of overlap on each side.
- Height: Make it about 1 inch taller than the opening, and remember it hangs slightly above the floor (a 1/2- to 3/4-inch gap) with the track mounted above.
- Wall clearance: Confirm you have clear wall beside the opening at least as wide as the door, free of switches, outlets, and trim.
Standard interior openings are 30 to 36 inches wide by 80 inches tall, so a typical DIY barn door ends up around 38 inches wide by 84 inches tall.
Choosing Your Materials
You’ve got a few build approaches. The most popular and economical is a plank-style door built from dimensional lumber:
- Face boards: 1×6 tongue-and-groove pine or common boards for the door body. Tongue-and-groove locks the planks together tightly; square-edge boards are cheaper but need a backing.
- Frame/Z-brace: 1×4 or 1×6 boards for the perimeter frame and the diagonal Z-brace that gives the classic barn look and keeps the door from racking (sagging out of square).
- Alternative: A sheet of 3/4-inch plywood or an MDF panel for a smooth, modern flat door, trimmed with 1x material.
Pine keeps costs down; poplar or oak cost more but finish beautifully. Buy straight, dry boards — check each one for warp by sighting down its length at the store.
Tools and Hardware You’ll Need
Keep the tool list realistic. You’ll want a circular saw or miter saw, a drill/driver, clamps, a tape measure, a square, a sander, and wood glue and screws or pocket-hole screws (a Kreg jig makes strong, hidden joints). For hardware, buy a barn door kit rated above your door’s weight — a solid pine door runs 40 to 70 pounds. A good kit includes:
- A steel track roughly twice the opening width (so the door fully clears it).
- Two roller hangers sized to your door thickness.
- Floor guide, wall stops, anti-jump discs, and spacers.
- Lag bolts for mounting.
Kits from National Hardware, SmartStandard, and similar run $60 to $180.
Building the Door
With materials cut to your dimensions, assembly is straightforward:
- Lay out the face boards side by side on a flat surface (sawhorses with a sheet of plywood work). For tongue-and-groove, fit them together; glue the joints.
- Build the frame: Cut the top, bottom, and side rails to frame the assembled planks. Attach with wood glue and pocket screws from the back so no fasteners show on the face.
- Add the Z-brace: Measure and cut two diagonal braces to fit corner-to-corner between the horizontal rails, forming a Z or X. This is structural — it stops the door sagging over time — and it’s the signature barn look.
- Square it up: Before the glue sets, measure the diagonals corner to corner; equal diagonals mean the door is square. Clamp and let it cure.
- Sand everything smooth, easing the edges.
Finishing
Finish the door before you hang it — it’s far easier flat on sawhorses. For a rustic look, stain (a gel stain gives even color on pine) and topcoat with polyurethane. For modern, prime and paint. Distressing techniques — a wire brush, a light sand-through, or a dark glaze — add farmhouse character if that’s your aim. Two coats of protective topcoat keep the door looking good and resist handprints. Let it cure fully before mounting so you don’t mar the finish.
Mounting the Track
The track must anchor into structure, not just drywall — this is the number-one safety point. You have two options: bolt directly into studs (which rarely align with track holes), or first mount a header board (a 1×6 the length of the track) into every stud, then attach the track anywhere along it. The header board is the reliable choice.
- Find and mark the studs; snap a level line for the track at the correct height (opening height + door-to-floor gap + roller offset).
- Mount the header board into the studs with 3-inch screws.
- Attach the track to the header board, checking level carefully — a tilted track makes the door roll open or shut on its own.
Hanging and Adjusting
Bolt the roller hangers to the top of the door, then lift the door onto the track — get a helper, since the door is heavy and awkward. Install the anti-jump discs so the rollers can’t hop off, add the wall-mounted end stops so the door can’t slide past its limits, and screw the floor guide to the floor (or bottom of the jamb) so the door’s bottom edge can’t swing out and bang the wall. Roll the door back and forth and adjust the hanger height if it isn’t level or drags.
Cost, Time, and the Payoff
Expect to spend $100 to $250 total and a weekend of work — a few hours to build, overnight for finish to cure, an hour or two to hang. Compared to $400 to $800 for a comparable pre-made door and hardware, the savings are real, and you get a custom size and finish no store offers. A diy barn door is forgiving of small imperfections, teaches transferable woodworking skills, and leaves you with a genuine statement piece you built yourself. Measure twice, keep the door square with that Z-brace, and anchor the track into solid framing — nail those three things and the rest comes together smoothly.
Beginner Mistakes to Avoid
A few errors trip up first-time barn-door builders, and all are easy to sidestep:
- Racking (out-of-square door): Skipping or under-building the Z-brace lets the door sag into a parallelogram over time. Check your diagonals during assembly and never omit the brace.
- Warped lumber: Building with bowed boards makes a door that won’t sit flat against the wall. Hand-pick straight, dry stock.
- Mounting the track to drywall alone: The single most dangerous mistake. The track must hit studs or a header board, or the whole door can pull off the wall.
- Wrong track length: A track that’s too short won’t let the door fully clear the opening. Make it about twice the opening width.
- Forgetting the floor guide: Without it, the door swings out and bangs the wall. Install one at the bottom.
Adding Privacy and Function
A basic barn door slides over the wall and doesn’t seal, but you can make it far more livable. A jamb kit or L-shaped trim around the opening gives the door something to close against, cutting light and sound leaks. For a bedroom or bathroom, add a barn-door privacy latch — a teardrop lock or a hook that catches the wall or jamb. Soft-close dampers on the track keep the door from slamming into the end stop, a worthwhile $30 upgrade that also protects the wall. If you want the door to double as a design feature, consider chalkboard paint on one face, a mirror panel, or glass inserts — since you’re building from scratch, these upgrades are easy to work in.
Frequently Asked Questions
How wide should a DIY barn door be?
Make it 2 to 4 inches wider than the opening so it overlaps the frame and blocks light, and about 1 inch taller. Confirm you have clear wall beside the opening at least as wide as the door.
Do I need special tools?
A circular or miter saw, drill/driver, square, clamps, and a sander cover it. A pocket-hole jig makes strong hidden joints but isn’t strictly required.
Can the track really hold a heavy wood door?
Yes, if it’s anchored into structure. Mount a header board into every stud, then attach the track to that — it distributes the 40-to-70-pound load safely and lets you place the door anywhere.