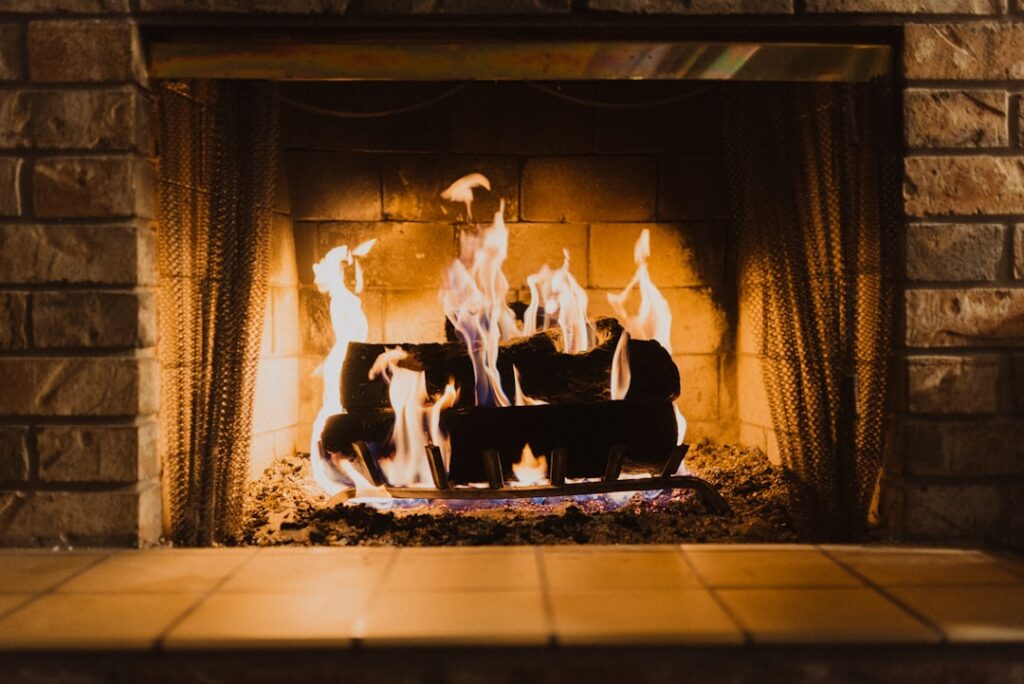
Gas fireplace installation is one of those projects where the sticker price of the unit is only half the story. The venting, the gas line, the permit, and the finish work often cost as much as the fireplace itself. Understanding the full gas fireplace installation process up front is how you avoid a bid that doubles once the crew opens the wall.
I have quoted and completed these jobs for years. Below is exactly what happens, what it costs, and where the surprises hide, so you can hire smart and budget honestly.
- The Three Types You Might Install
- Venting Determines Difficulty and Cost
- The Step-by-Step Installation Process
- How Long It Takes
- Real Costs, Line by Line
- Permits, Code, and Why DIY Is a No
- Clearances and Safety Built Into the Job
- Where the Budget Surprises Hide
- Should You Replace or Convert an Existing Fireplace?
- How to Hire the Right Installer
The Three Types You Might Install
Your installation path depends entirely on which unit you choose:
- Insert: Slides into an existing masonry or factory-built wood fireplace to convert it to gas. The chimney becomes the vent chase, so this is often the cheapest install if you already have a firebox.
- Built-in (zero-clearance): A new firebox framed into a wall where none existed. More labor, new venting, but the widest design freedom.
- Free-standing stove: Sits on the floor and vents out a wall or roof. No framing needed, but it needs floor protection and clearances.
Tell your installer which type before the site visit; it changes the quote dramatically.
Venting Determines Difficulty and Cost
Venting is the single biggest variable in any gas fireplace installation. Your options:
- Direct-vent: The modern standard. A sealed concentric pipe pulls outside air in and pushes exhaust out through a wall or roof. Safe, efficient (70 to 80 percent), and code-friendly almost everywhere.
- B-vent: Vents vertically through the roof and draws combustion air from the room. Cheaper parts but lower efficiency and a required straight vertical run.
- Vent-free: No pipe, exhausts into the room. Highly efficient but restricted or banned in many states and prohibited in bedrooms and baths in most codes. Confirm local rules first.
A short direct-vent run straight out the wall behind the unit is the cheapest and cleanest. A long run with multiple elbows up through a finished second story and out the roof is where labor hours pile up.
The Step-by-Step Installation Process
Here is how a typical direct-vent job unfolds on site:
- Site survey and permit: The pro measures the space, plans the vent route, confirms clearances, and pulls a permit with your municipality.
- Framing and prep: For a built-in, the crew frames the enclosure and cuts the wall or roof penetration for the vent.
- Setting the unit: The firebox or stove is positioned, leveled, and secured to its nailing flanges or hearth pad.
- Venting: Vent pipe is assembled, run to the exterior, sealed, and flashed at the termination.
- Gas line: A licensed gas fitter runs new pipe or taps the existing line, then pressure-tests it with a manometer to confirm no leaks.
- Hookup and firing: The appliance is connected, the burner and igniter are tested, and combustion is checked.
- Finish and inspection: Surround, mantel, or tile is installed, and the local inspector signs off before regular use.
How Long It Takes
A straightforward free-standing or insert install with a nearby gas line often wraps in a single 4-to-8-hour day. A new built-in with fresh framing, a long vent run, and a new gas line trenched or fished across the house runs 2 to 4 days, plus a separate day or two for tile and finish work. Inspection scheduling can add a few days on the calendar even when the labor is quick.
Real Costs, Line by Line
Here is where the money actually goes in a typical US market:
- The unit: $1,500 to $6,000, depending on style and size. Basic inserts start low; wide linear and premium models run high.
- Venting materials: $300 to $1,200 based on run length and roof vs. wall termination.
- Gas line work: $500 to $2,500. A tap a few feet away is cheap; a long new run is not.
- Labor: $700 to $3,000 for framing, setting, venting, and connection.
- Permit and inspection: $100 to $400.
- Finish work: $500 to $3,000 for tile, stone, mantel, or a steel surround.
All in, most homeowners spend $3,500 to $10,000, with simple insert conversions at the low end and framed-in linear units with fancy finishes at the top.
Permits, Code, and Why DIY Is a No
Gas fireplace installation is not a weekend DIY project, and it is not a place to cut corners. Nearly every jurisdiction requires a permit and a final inspection, and the gas connection must be made by a licensed gas fitter or qualified HVAC pro. Do not run, tap, or modify the gas line yourself.
The reasons are practical, not bureaucratic. A gas leak, an undersized line, an improper vent termination, or a clearance violation can cause carbon monoxide poisoning or a fire. The inspection exists to catch exactly those errors. An unpermitted install can also void your homeowner’s insurance and stall a future home sale.
Clearances and Safety Built Into the Job
A good installer treats the manufacturer’s clearance table as law. Every unit lists minimum distances to side walls, back walls, mantels, and any TV mounted above. Combustible finishes have to stay outside the hot zone, and floor protection is specified where required. If your installer is not referencing that table, that is a red flag.
The install should also set you up to operate safely from day one:
- Insist on a working carbon monoxide detector in the room; test it monthly.
- Book annual professional service to keep the burner, venting, and safety controls in spec.
- Learn your ignition type, whether wall switch, remote, electronic igniter, or standing pilot, before the crew leaves.
- If you ever smell gas, that rotten-egg odor, do not touch any switch or igniter. Stop, ventilate, get everyone out, and call your gas company or 911 from outside.
Where the Budget Surprises Hide
The bids that blow up are almost always the ones that skipped a site survey. Watch for these cost drivers before you sign:
- Gas line distance: A tap a few feet from the meter is cheap. Running new pipe from the opposite end of the house, especially through finished walls or a slab, can add $1,000 or more.
- Meter capacity: If your existing gas meter and regulator cannot handle the added load, the utility may need to upsize it, a separate cost and wait.
- Long or complex venting: Every elbow and every foot of vertical run adds parts and hours, and roof terminations need flashing and sometimes a roofer.
- Electrical: Many units need a nearby outlet for the blower or electronic ignition, which can mean pulling a new circuit.
- Finish materials: Tile, stone, and steel surrounds are usually a separate trade and quote entirely on their own.
Ask for an itemized bid so you can see each of these lines rather than a single lump sum that hides them.
Should You Replace or Convert an Existing Fireplace?
If you already have a wood-burning masonry fireplace, converting it with a gas insert is often the fastest, cheapest path to gas heat. The existing chimney becomes the vent chase, the firebox holds the insert, and you skip most of the framing. A basic insert conversion can land near $3,500 to $5,500 all in, well below a framed-in new build.
Converting an old, drafty wood fireplace also plugs a major heat leak. A masonry fireplace loses far more warm household air up the flue than it ever returns; a sealed direct-vent insert reverses that math and actually heats the room. If you have the firebox already, this is usually the smartest money in the whole category.
How to Hire the Right Installer
Protect yourself with a few questions before you sign:
- Are you licensed for gas work in this state, and will you pull the permit?
- Is the gas connection made by a licensed fitter, and is the line pressure-tested?
- Does the quote include venting, gas line, permit, and finish, or are those extra?
- Will you follow the manufacturer’s clearance and vent-length tables exactly?
Get it in writing. A proper gas fireplace installation, permitted, inspected, and done by a licensed pro, is what turns a fire hazard into a warm, reliable centerpiece that adds real value to your home for decades.