A half wall tile bathroom gives you the polished, spa-like look of tiled walls without the cost and heaviness of tiling floor to ceiling, and that balance is exactly why it’s become one of the most popular bathroom design moves. Tiling the lower portion of the walls protects the areas most exposed to water and wear while leaving the upper half open for paint, wallpaper, or a splash of color. Done right, it looks intentional and high-end; done without a plan, the transition line can look awkward, so a few key decisions matter.
Part of our Bathroom Remodeling & Flooring guide — explore the full guide →
This guide walks through the ideal tile height, popular design approaches, how a half wall saves money, the waterproofing rules you can’t skip, and how to finish that all-important top edge cleanly. Whether you’re planning a full remodel or a weekend refresh, these are the details that separate a designer-looking result from a DIY-looking one.
The Right Height for Half Wall Tile
Height is the first and most important decision, and there are a few standard reference points that reliably look good. The classic wainscot height is 32 to 36 inches, roughly chair-rail level, which gives a traditional, balanced look and pairs beautifully with a decorative cap. A taller treatment around 48 inches, or four feet, reads more substantial and modern, and it does a better job protecting the wall behind a vanity or toilet.
For wet zones the rules change. Behind a tub or in a shower, tile needs to run much higher, typically to at least 6 feet or all the way to the ceiling, to properly handle the water. So a common and attractive approach is to tile the shower or tub surround tall while running a lower half wall of the same or coordinating tile around the rest of the room. Whatever height you choose, align it thoughtfully with elements like the vanity, window sills, and mirror so the line relates to the room rather than cutting across fixtures awkwardly.
Design Ideas That Work
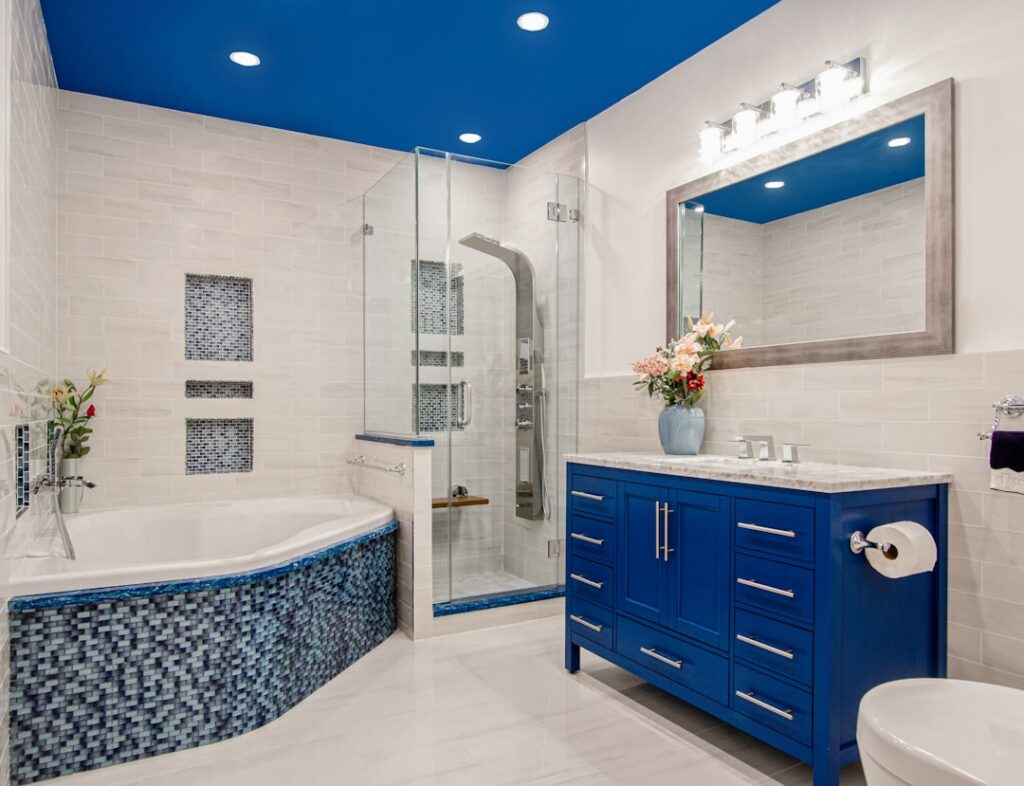
The beauty of a half wall is the freedom it gives the upper portion. A popular formula pairs a clean, timeless tile below, like white subway tile or a soft marble-look, with a bold paint color or patterned wallpaper above, letting you introduce personality without committing the whole room to a trend. Because only the top half is painted or papered, refreshing the look later is cheap and easy.
Consider these approaches when planning the two zones:
- Subway tile below with a moody paint color above for a classic-meets-modern contrast
- Vertical tile orientation to draw the eye up and make a small bathroom feel taller
- A patterned or picture-frame wallpaper above a neutral tile for a boutique-hotel feel
- Matching the half wall tile to the shower tile so the room reads as one cohesive design
- A contrasting decorative border or pencil trim at the top to define the transition
The key is treating the tile and the wall above as a coordinated pair rather than two unrelated finishes that happen to meet.
How a Half Wall Saves Money
Cost is a major reason half walls are so popular. Tile and tile installation are among the more expensive parts of a bathroom, so tiling only the lower half can cut your tile material and labor roughly in half compared to a full floor-to-ceiling treatment. That savings can be redirected toward nicer tile, better fixtures, or other parts of the remodel.
You still get the practical benefits where they matter most, since the lower wall is exactly where splashes, mop water, and everyday wear occur. Paint or wallpaper on the upper half is far cheaper than tile and easy to change down the road, giving you flexibility that a fully tiled wall never offers. For homeowners balancing a budget, a half wall tile bathroom is one of the smartest ways to get a high-end look for less.
Waterproofing Where It Counts
Not all bathroom walls are wet walls, and understanding the difference keeps you out of trouble. In a shower or directly around a tub, proper waterproofing behind the tile is essential, meaning a cement backer board or a waterproof membrane system rather than ordinary drywall. Skipping this in a wet zone leads to hidden mold and rot no matter how nice the tile looks.
For a decorative half wall in the dry areas of the bathroom, such as behind the vanity or along a non-shower wall, tiling over properly prepared, moisture-resistant drywall is generally acceptable, though the surface should still be sound and primed. Use the right thinset and a quality grout, and seal the grout if it’s cement-based. Getting the waterproofing right in the wet zones and using appropriate substrates everywhere is the invisible work that determines whether your beautiful tile lasts.
Finishing the Top Edge
The top edge is where half wall tile projects succeed or look unfinished, because you’re leaving an exposed row of tile edges that need a clean termination. The traditional solution is a bullnose tile with a rounded, finished edge, or a decorative cap or pencil trim that creates a tidy, intentional border. These pieces hide the raw tile edge and give the transition a crafted look.
Modern installations often use a metal or PVC edge trim, like a Schluter profile, tucked under the top row for a crisp, contemporary line. Whichever you choose, plan the top edge before you start setting tile, because retrofitting a clean edge afterward is difficult. A caulked, well-finished top edge is the detail that makes people assume a professional did the work. Nail down the height, coordinate the two zones, waterproof the wet areas, and finish that edge cleanly, and your half wall tile bathroom will look like it came straight out of a design magazine.
Cost and DIY Considerations
A half wall is one of the more budget-friendly bathroom upgrades precisely because it uses less of the most expensive material. For an average bathroom, tiling a half wall might use 40 to 80 square feet of tile depending on the room and height, and at typical tile prices of $3 to $15 per square foot plus adhesive and grout, the material cost is modest. If you hire out the labor, tile installation commonly runs $7 to $15 per square foot, so cutting the tiled area in half meaningfully reduces the biggest line item on the invoice.
This is also a realistic DIY project for a patient homeowner, especially in the dry zones where you’re tiling over prepared drywall rather than building a waterproof shower. The keys are a level starting line, careful layout so cuts fall evenly, and a clean, finished top edge planned before you begin. If your project includes the shower or tub surround, that wet-zone waterproofing is more demanding and less forgiving, so many people tile the decorative half walls themselves and bring in a pro for the shower. Either way, the half-wall approach lets you spend a little more on nicer tile or better fixtures while keeping the overall bathroom budget in check, which is a big part of why the look has stayed so popular.
Prefer to explore on your own?
See how new flooring looks in your actual room in seconds — free, no signup.
Try the free Floor Studio →