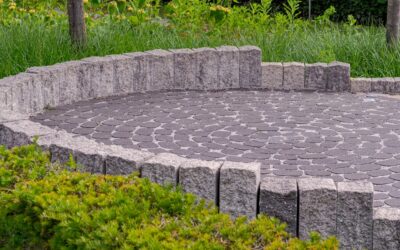
A weekend patio that still looks crisp ten years later comes down to one thing: the base. Most DIY patios fail because homeowners pour a thin layer of sand over dirt, drop the stones, and call it done. Learning how to install patio stones the right way takes a little more effort upfront but doubles or triples the lifespan. I’ve laid roughly 12,000 square feet of paver patios across the Midwest, and the process below is the exact sequence I follow on every job.
Part of our Decks & Outdoor guide — explore the full guide →
Plan the Size, Shape, and Drainage
Start by sketching the patio on graph paper at 1/4 inch per foot. A useful entertaining size is 12×16 feet, which fits a six-person table plus a grill zone. Mark the slope direction next — you want a fall of 1/8 inch per foot away from the house, which translates to a 2-inch drop across a 16-foot patio.
Call 811 to mark underground utilities at least three business days before digging. This service is free and prevents you from slicing into a gas line or fiber cable buried only 6 inches deep.
Tools and Materials Worth Buying
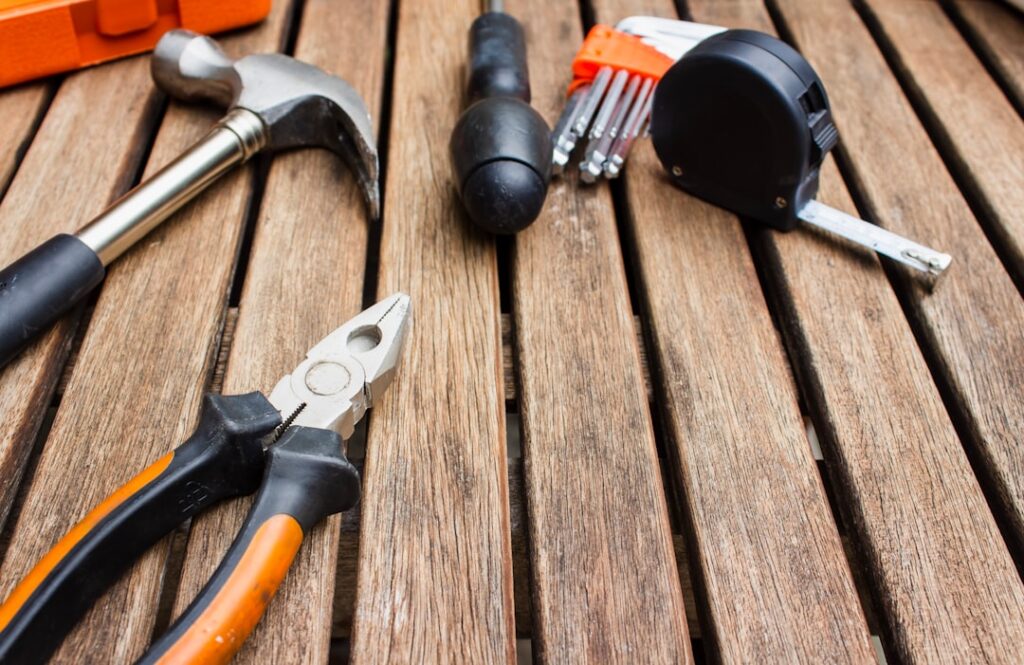
You don’t need to buy everything new. Rent the plate compactor, which costs about $75 per day at Home Depot or Sunbelt, and skip cheap versions on Amazon that don’t deliver enough force. Here’s the working list:
- DeWalt cordless circular saw with a diamond blade for cutting pavers
- Husky 6-foot pry bar and rubber mallet
- Stanley 4-foot level and a 25-foot tape measure
- Marshalltown screed bar (a 10-foot length of 1-inch galvanized pipe works)
- Wheelbarrow, square-point shovel, and a steel rake
- 3/4-inch crushed limestone for base, polymeric joint sand, masonry sand
- Geotextile fabric like Mirafi 140N
- Concrete edge restraint or aluminum edging from Pave Tech
For the stones themselves, Belgard, Techo-Bloc, and Unilock pavers run $4 to $8 per square foot. Big-box options from Pavestone or Anchor Block sit closer to $2 to $4 per square foot and still hold up if installed correctly.
Excavate the Patio Footprint
Mark the perimeter with marking paint or mason’s string pulled tight between wooden stakes. Dig 9 to 11 inches below your finished surface height to allow for 6 inches of base, 1 inch of bedding sand, and the paver thickness (typically 2 3/8 inches).
Slope the bottom of the excavation in the same direction as your finished surface — this keeps water from pooling against the house. Use a long 2×4 with a level taped to it to check pitch as you dig. Compact the native soil with the plate compactor in two passes before adding any material.
Build the Base Layer
Roll out geotextile fabric across the entire excavation. The fabric stops the base aggregate from mixing into the native soil over time, which is the slow-motion failure that causes settled corners on five-year-old patios.
Spread crushed limestone in 2-inch lifts. After each lift, run the plate compactor across the surface in two perpendicular directions. Total base depth ends at 6 inches for pedestrian patios and 8 to 10 inches if you’ll drive on it. Skipping the lift-by-lift compaction is the single biggest mistake I see — dump-and-compact creates voids that settle within a year.
Screed the Bedding Sand
Lay two screed pipes parallel to each other across the compacted base, spaced about 6 to 8 feet apart, set to your final paver-bedding height. Shovel coarse masonry sand between them. Pull a straight 2×4 across the pipes to create a perfectly flat 1-inch layer.
Carefully lift the pipes and fill the channels with sand using a margin trowel. Don’t walk on the screeded sand or you’ll create divots that telegraph through the finished surface.
Lay the Stones in Pattern
Start in one corner against a fixed edge, usually the house. Set each stone gently with a 1/8-inch joint, working outward in a pyramid pattern so you’re always placing pavers on screeded sand, not stepping onto previously set pieces. Common patterns include running bond, herringbone at 45 or 90 degrees, and basketweave. Herringbone at 45 degrees is the strongest interlock and best for high-traffic patios.
Cut edge pieces last using the diamond blade. Score each paver 1/8 inch deep on all four sides before cutting through to prevent chipping. Wear a respirator — paver dust contains crystalline silica.
Set Edge Restraints and Compact
Install the aluminum or plastic edge restraint flush against the outermost row of pavers and anchor it with 10-inch landscape spikes every 12 inches. Without edges, the perimeter pavers walk outward an inch or two per year.
Spread fine polymeric sand (Techniseal HP NextGel or Alliance Gator Maxx) across the surface and sweep it into the joints with a stiff push broom. Run the plate compactor over the entire patio with a rubber pad attached to seat the pavers and vibrate sand deeper into the joints. Sweep more sand in, compact again, then mist with water per the polymeric sand instructions to activate the binder.
Curing and Long-Term Care
Keep foot traffic off the patio for 24 hours after activating the polymeric sand and avoid heavy furniture for 72 hours. Re-sand any joints that settle in the first month. Once a year, pressure wash on a low setting (under 1,500 psi) and re-sand any open joints.
Knowing how to install patio stones correctly is mostly about respecting the base. Get the excavation, geotextile, compaction, and screed right, and the patio will outlast the rest of the yard. A well-built paver patio routinely lasts 25 to 40 years with nothing more than annual sweeping.
Sealing the Patio (Optional)
Sealing isn’t required, but it does deepen color, reduce weed growth in joints, and slow oil staining from grills. Use a breathable water-based sealer like Techniseal Wet Look or Alliance Gator Hybrid Seal at $50 to $90 per gallon, covering about 100 square feet per gallon. Apply 30 days after installation to let the polymeric sand fully cure.
Roll on with a 1/2-inch nap roller in two thin coats rather than one heavy coat — thick application can turn cloudy white in humid conditions. Re-seal every 3 to 5 years. Skip solvent-based sealers, which can soften polymeric sand and turn glossy in a way that looks more like wet plastic than stone.
Common DIY Mistakes
Three errors derail most weekend patio projects. Skipping the geotextile fabric saves $80 but causes the base to mix with native soil within 5 years. Dump-and-compact base installation, where homeowners pour all 6 inches of gravel at once, creates voids that settle into low spots before the first winter. Using the wrong sand — bagged play sand instead of coarse masonry sand — creates a layer that doesn’t pack tightly enough to support pavers.
Take your time with the screed step. A perfectly screeded sand layer is the difference between a flat patio that looks professional and a wavy one that telegraphs amateur work. Use a long aluminum straight-edge or a 10-foot pipe rather than a 2×4, which can bow under its own weight over long runs.