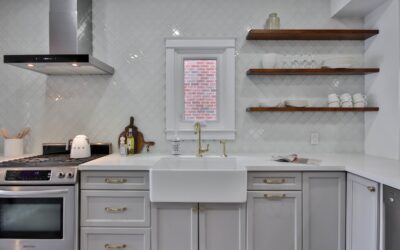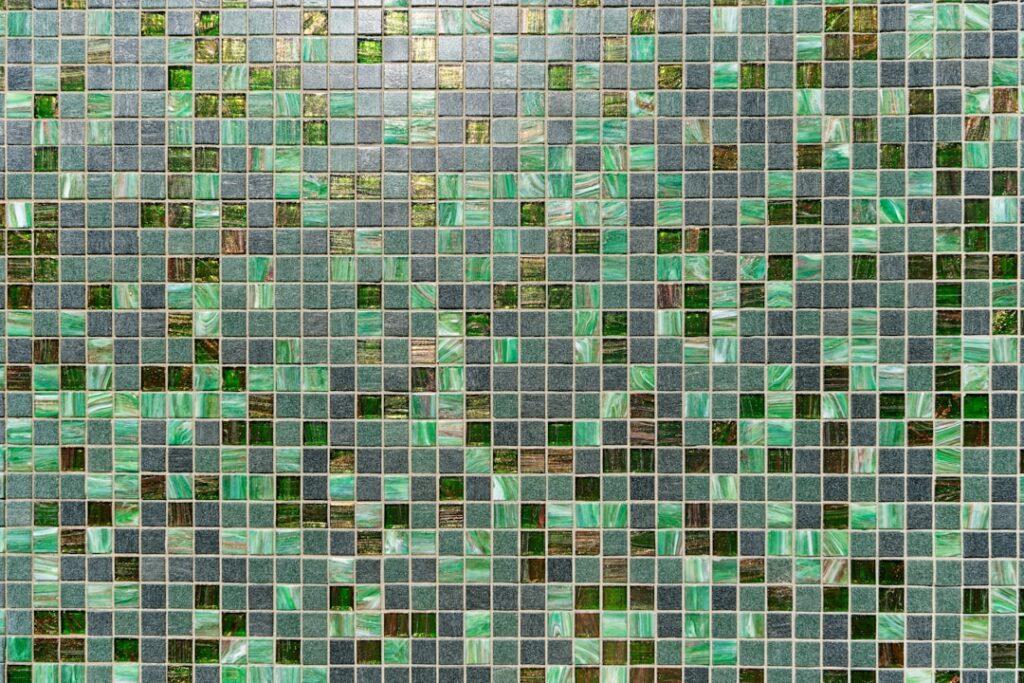
Nothing dresses up a kitchen or bathroom wall quite like a mosaic backsplash. Made of small tiles mounted on mesh sheets, a mosaic packs more pattern, color, and texture into a small area than any single large tile can. It is also surprisingly DIY-friendly, because the mesh backing keeps dozens of tiny pieces perfectly spaced so you install whole sheets at once instead of fiddling with individual chips. Whether you want a subtle glass shimmer behind the range or a bold stone-and-metal blend, the mosaic format gives you room to express style.
Part of our Kitchen Remodeling guide — explore the full guide →
What a Mosaic Backsplash Is
A mosaic is any tile design built from small pieces, typically 2 inches or smaller, arranged into a pattern. For backsplashes, these tiles arrive pre-arranged and bonded to a flexible mesh or paper sheet, usually about 12 inches square. You set the sheets like large tiles, and the small joints between pieces all line up automatically. This makes a complex-looking installation far more achievable for a homeowner than laying hundreds of loose chips.
Material Options
Mosaic sheets come in a wide range of materials, each with its own look and care needs:
- Glass — reflective, vibrant, and easy to wipe clean; a top choice for kitchens.
- Ceramic and porcelain — durable, affordable, and available in countless colors.
- Natural stone — marble, travertine, and slate for an organic, upscale look; needs sealing.
- Metal — stainless or aluminum chips for a modern, industrial accent.
- Mixed-media blends — combinations of glass, stone, and metal in one sheet.
Glass and porcelain are the most popular for ease of cleaning, while stone blends bring warmth at the cost of more upkeep.
Popular Shapes and Patterns
Beyond material, the shape of the pieces sets the style. Classic square mosaics read clean and grid-like. Hexagons feel contemporary and geometric. Penny rounds add a playful, retro charm. Elongated subway mosaics and herringbone arrangements look tailored and current. Mini-brick and arabesque shapes bring more movement. Pick a pattern that complements your counters and cabinets rather than competing with them.
Tools and Materials You Need
Before starting, gather your supplies:
- Mosaic sheets plus 10 percent extra for cuts and mistakes
- White thin-set mortar or a premixed mastic adhesive suited to the tile
- A small notched trowel, usually a 3/16-inch V-notch for mosaics
- Tile spacers, a level, and a tape measure
- A wet saw or tile nippers for cutting around outlets and edges
- Unsanded grout for narrow joints, a grout float, and a grout sponge
Choosing unsanded grout matters for glass and tight mosaic joints, since sanded grout can scratch glass and may not pack well into thin lines.
How to Install Mosaic Sheets
The mesh backing makes installation manageable:
- Clean and lightly sand the wall, then find your center line and a level starting point.
- Spread a thin, even layer of adhesive with the notched trowel over a small section.
- Press a sheet into the adhesive, aligning its edges so the small joints continue evenly into the next sheet.
- Use a grout float or a flat board to press the whole sheet flat for full contact.
- Cut sheets to fit edges and outlets, trimming the mesh and individual pieces as needed.
- Let the adhesive cure, then grout, working it into every small joint and wiping with a damp grout sponge.
Keeping the sheet joints consistent is the main skill; step back often to check that the pattern flows seamlessly.
Grouting and Sealing
Mosaics have far more grout line per square foot than large tile, so grouting takes patience. Push grout fully into the many small joints, then clean the surface with a damp sponge using light passes and clean water to avoid haze. After the grout cures, buff off any film with a dry microfiber cloth. If you used natural stone, seal both the stone and the grout to resist kitchen grease and stains. Glass and porcelain only need the grout sealed.
Cleaning and Maintenance
A mosaic backsplash is easy to maintain. Wipe glass and porcelain with a soft cloth and mild cleaner; they shrug off grease and splatter. Avoid abrasive pads that can scratch glass or metal. For stone mosaics, skip acidic cleaners like vinegar that etch the surface, and reseal periodically. Keep the grout clean and reseal it as needed so it stays bright between the pieces.
Cutting Around Outlets and Edges
The trickiest part of a mosaic backsplash is fitting around outlets, switches, and the ends of a run. Because the tiles are small and mesh-mounted, you have more flexibility than with large tile, but it takes patience. Turn off the power at the breaker before working near outlets. You can often trim the mesh and remove individual chips to fit around a box, then cut just the pieces that need it with a wet saw or nippers. Plan for outlet extenders so the receptacle sits flush with the new tile surface, and finish the exposed end of a run with a trim piece or a clean caulked edge for a polished look.
Cost and Budgeting
Mosaic sheets span a wide price range depending on material. Basic ceramic and porcelain mosaics are affordable, glass sits in the middle, and natural stone, metal, and designer blends run higher. Because a backsplash is a relatively small area, even a premium mosaic stays within reach for most budgets, which is why many homeowners splurge here for a focal point. Factor in the cost of adhesive, grout, and trim, and buy about 10 percent extra to cover cuts and mistakes. Doing the installation yourself can cut the total cost significantly, since labor often exceeds the price of the tile on a small job.
Final Thoughts
A mosaic backsplash delivers big visual impact in a small, achievable project. The mesh-sheet format makes a detailed look attainable for confident DIYers, while the range of materials and patterns means you can land anywhere from subtle to bold. Plan your layout, choose unsanded grout for tight joints, seal any stone, and take your time on the grout work and the cuts around outlets. The reward is a backsplash that becomes the standout feature of the room.