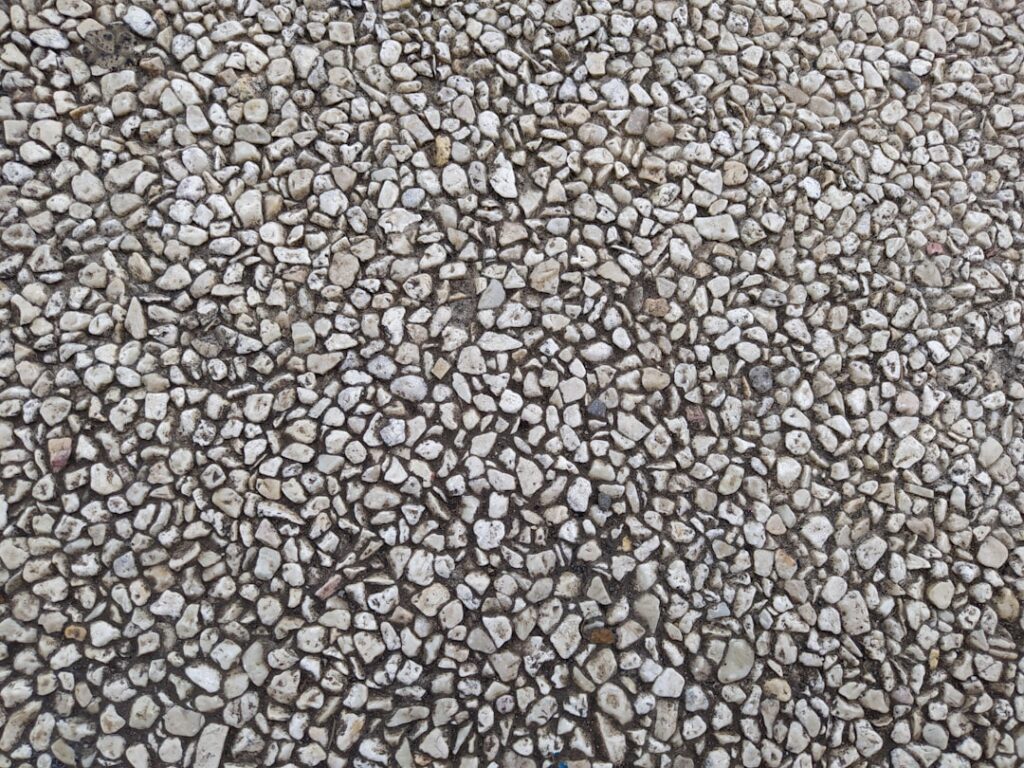
A pebble tile shower floor turns a plain shower base into a spa-like retreat, with smooth river stones underfoot that add texture, natural warmth, and genuinely good grip. The look is beautiful, and there’s a reason it shows up in so many high-end bathroom designs. But pebble floors also come with real maintenance and installation considerations that homeowners often discover too late.
Part of our Bathroom Remodeling & Flooring guide — explore the full guide →
I’ve installed and repaired plenty of these, and I love them for the right client. Here’s the honest picture, the good and the demanding, so you can decide with your eyes open.
Why People Love Pebble Shower Floors
The appeal starts with the feel. Standing barefoot on smooth, rounded stones is a small daily luxury, and it delivers a natural, organic aesthetic that flat tile can’t match.
- Excellent slip resistance thanks to the textured, dimensional surface
- A natural, spa-inspired look that pairs with almost any tile
- The rounded shape conforms well to a sloped shower pan
- A comfortable, foot-massage feel underfoot
That grip is a real functional benefit, not just marketing. The uneven surface gives your feet more to hold onto than a large flat tile, which matters on a wet floor.
The Downsides You Should Know
Now the honest part. Pebble floors have far more grout than flat tile, because grout fills every gap between every stone. More grout means more surface to clean and more places for soap scum and mildew to collect.
That grout maintenance is the single biggest complaint. The textured surface also traps a bit more dirt, and some people find the uneven stones uncomfortable to stand on for long, especially the natural, non-flattened varieties. Cleaning takes more effort than wiping a smooth floor, and neglected grout in a pebble floor looks bad fast.
Flat-Top Versus Natural Pebble
One choice makes a big difference in comfort and cleaning: standard rounded pebbles versus sliced flat-top pebbles. Flat-top or “sliced” pebble tile has the stones cut to a level surface, giving you the pebble look with a flatter, more comfortable, easier-to-clean floor.
If comfort underfoot and easier cleaning matter to you, flat-top pebble is worth the slightly higher cost. If you want the full rounded river-stone feel and the massage effect, standard pebbles deliver it. Try samples of both barefoot before deciding.
Installation Realities
Pebble tile usually comes in mesh-backed 12 by 12 sheets, which speeds installation but requires care to blend the seams so the sheet grid doesn’t show. A good installer picks loose stones from spare sheets to fill obvious gaps and hide the grid lines.
- Confirm the shower pan is properly waterproofed and sloped to the drain.
- Set the mesh sheets in a quality thin-set, pressing each stone into full contact.
- Adjust individual stones and fill seams so the grid disappears.
- Let the thin-set cure, then grout heavily to fill every void between stones.
- Clean the haze carefully without pulling grout out of the deep joints.
Grouting a pebble floor uses far more grout than flat tile and takes patience to pack fully around each stone. This is where a rushed job shows, with hollow gaps that trap water.
Sealing Is Not Optional
Here’s the step that determines whether your floor thrives or turns into a moldy headache. Natural stone pebbles are porous, and the abundant grout is porous too, so both must be sealed to resist water, staining, and mildew.
Seal the stones and grout with a quality penetrating sealer after installation, and plan to reseal periodically, typically every year or two depending on use and the product. In a constantly wet shower, sealing is what keeps water from soaking into the stone and grout and breeding mildew underneath. Skipping it is the most common reason pebble floors go bad.
Cleaning and Long-Term Care
Keep up with cleaning and a pebble floor stays gorgeous; neglect it and the grout suffers. Squeegee or towel the floor after showers to cut down standing water, and clean regularly with a pH-neutral cleaner that won’t degrade the sealer.
Avoid harsh acidic cleaners on natural stone pebbles, which etch and dull the surface. A soft brush helps you get into the textured grout lines that a flat cloth can’t reach. A little routine care goes a long way toward keeping mildew out of all that grout.
Is It Right for You?
A pebble tile shower floor is a beautiful, grippy, spa-like choice if you accept the trade-off of more grout to maintain and diligent sealing. Choose flat-top pebbles for easier cleaning and comfort, insist on proper waterproofing and heavy grouting, and commit to sealing and routine care. Do that, and you’ll have a shower floor that looks like a luxury spa for years. Ignore the maintenance, and the very grout that makes it beautiful becomes its weakness.
Sealing and Grout Considerations
A pebble shower floor has a lot of grout, far more surface area of grout lines than a standard tile, and that shapes the whole maintenance picture. All that grout needs thorough sealing to resist mildew and staining in the constant moisture of a shower. Plan to seal the grout and, if the stones are natural and unpolished, the pebbles themselves after installation, then reseal periodically.
Choosing an epoxy grout instead of cement grout is a smart upgrade here, since it is waterproof and stain-resistant and dramatically cuts the sealing chore in a wet environment.
Comfort, Drainage, and Slip Resistance
The rounded stones are the appeal and the catch. Underfoot they give a pleasant reflexology-like massage that many homeowners love, though some find sharper pebbles uncomfortable, so run your bare foot over a sample first. On the plus side, the textured, uneven surface offers excellent natural slip resistance, a genuine safety benefit in a shower. Drainage requires care: the many grout channels between stones can trap soap scum, so slope the floor properly to the drain and clean it regularly. Sliced or flat pebble tile is a variant worth considering if you want the pebble look with a flatter, easier-to-clean surface and better contact under a shower chair.
Prefer to explore on your own?
See how new flooring looks in your actual room in seconds — free, no signup.
Try the free Floor Studio →